Templates Overview
Last Updated on 2020-09-04Features
Creating a Custom Template from LayerStack VM
Templates allow you to manually create an image of the current state of a cloud server which can later be used to create new cloud servers with the exact same configuration.
Templates are retained until the cloud server is manually deleted from your account. You can restore a cloud server to an earlier time when the template was made.
Creating a template can take several minutes, depending on the size of your cloud server and the amount of data on it.
Importing a Custom VM Template
LayerPanel’s VM Import feature allows you to import virtual machine (VM) images from your own virtualization environment for installing new cloud servers in the future. By importing an image of an existing VM, it saves you time and effort during the installation process as you do not need to redo the configuration and security settings again.
Our Templates currently support VMDK, RAW, VDI, VHDX and QCOW2 formats.
Regional Availability
Templates are available for all cloud servers.
Role Permissions
| Role | Permissions |
|---|---|
| Owner | Create Templates, View Templates, Restore from Template, Deploy Cloud Server from Template, Delete Templates |
| Member | Not Available |
| Billing Member | Not Available |
| Billing Admin | Not Available |
Limits
Each account can have up to 2 concurrent template copies of up to 150GB.
The templates cannot be transferred or used between different LayerStack accounts.
If you delete a cloud server in the account, the system will delete all the template copies. This action is irreversible even if it is performed by accident.
You will not have access to your Templates during a service suspension or termination.
Quick Start Guide
Create Custom Template
You can create custom templates in two ways: create a new one via LayerPanel or import your own VM image file.
Creating from LayerStack Cloud Servers
- Log in to LayerPanel, go to the Services section and click Cloud Servers button, and then select the cloud server of which you want to create a custom template.
- Click on the Template button.
- Enter your template name, then click Create button.
- The template status will read In Progress on the Template List page. Once the template is created successfully, the status will read Working. You can also view the template name, region, and date in this section.
Importing a Custom VM Template
Log in to LayerPanel, go to the Services section and click Cloud Servers button, and then click on the Cloud Servers you want to use VM image file.
Click the Template button.
Click the Upload option and you will see three options here.
Choose URL:
File Location: Enter the HTTP download URL
File Name: Enter your name of VM image file (E.g CentOS8)
Example: http://xxx.com/pub/Linux/centos/8/xxx.isoNOTE: If your template file is stored in an FTP server, you need to use the FTP method and change the URL from http:// to ftp://.
Example:
http://ftp.xxx.hk/pub/Linux/centos/8/xxx.iso
needs to be changed to
ftp://ftp.xxx.hk/pub/Linux/centos/8/xxx.isoChoose FTP:
File Location: Enter the FTP directory path
File Name: Enter your name of VM image file (E.g CentOS8)
FTP Login: Enter your FTP login username
FTP Password: Enter your FTP passwordExample: ftp://ftp.xxx.hk/pub/Linux/centos/8/xxx.iso
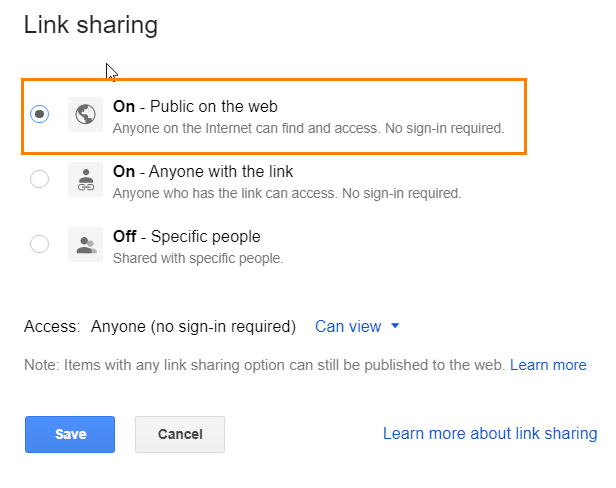
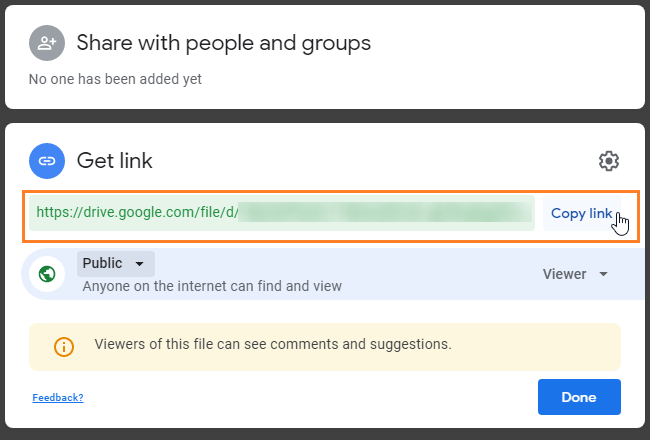
Choose Google Drive Link:
File Location: Enter the HTTP download URL
File Name: Enter your name of VM image file (E.g CentOS8)Example: https://drive.google.com/file/xxx/view?usp=sharing
NOTE: Make sure to select the Public on the web because the connection is public between your computer and our server.
Select File Format of your VM image file (E.g. vmdk, raw, vdi, vhdx and qcow2), and then click Upload to start uploading the file.
- The template status will read In Progress on the Template List page. Once the template is created successfully, the status will read Working.
Install the server with Custom Template / VM Image File
- Select Rebuild.
- Click on Choose OS Image. From the drop-down menu, select the desired template file.
- Enter the new server administrator/root password. Then click Confirm and Reinstall.
- Confirm the data removal in the modal that follows. Once the installation is completed, your server will be ready to use.
Delete a Custom Template / VM Image File
- Log in to LayerPanel, go to the Services section and click Template. button.
- Locate the template you want to remove and click Edit on the right-hand side.
- Click Remove.
- Confirm the deletion in the modal that follows.