This guide outlines the steps that can be used to add a DNS zone in cPanel/WHM.
Log in to WHM with the below URL.
https://IPaddress:2087/
OR
http://IPaddress:2086/
NOTE: Enter the Original IP address in the above URLs and enter your login information.
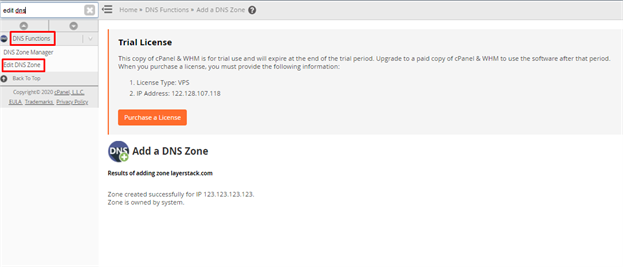
Find DNS Functions section and click Add a DNS Zone option on the left navigation menu.

Enter the IP address and domain name for which you want to add zone and click on Add zone mentioned in the below image.

NOTE: Replace the IP address and domain name with the original.
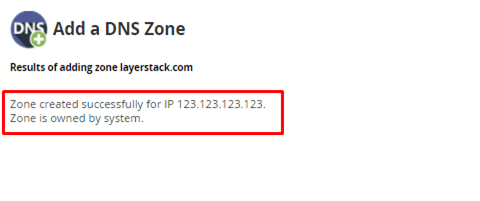
Now the zone can be created successfully as follows.
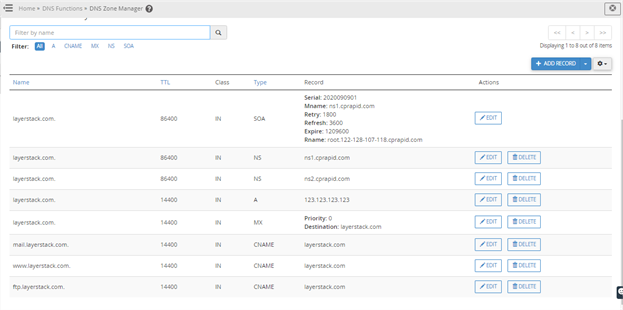
Find the same DNS Functions section and click Edit DNS Zone option on the left navigation menu to view and edit the DNS zone.
Choose the domain name that you need to view and edit, and then click on the MANAGE option that is shown in the below image.

You can add new entries by entering DNS record information and click ADD RECORD to add them.
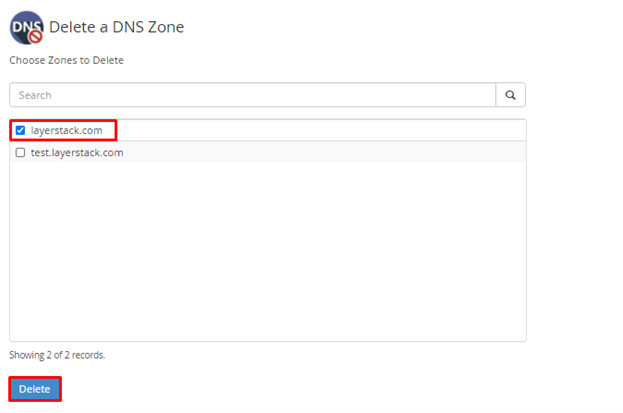
If you need to delete unnecessary DNS zone, you may find DNS Functions section and click Delete a DNS Zone option on the left navigation menu to delete the DNS zone.
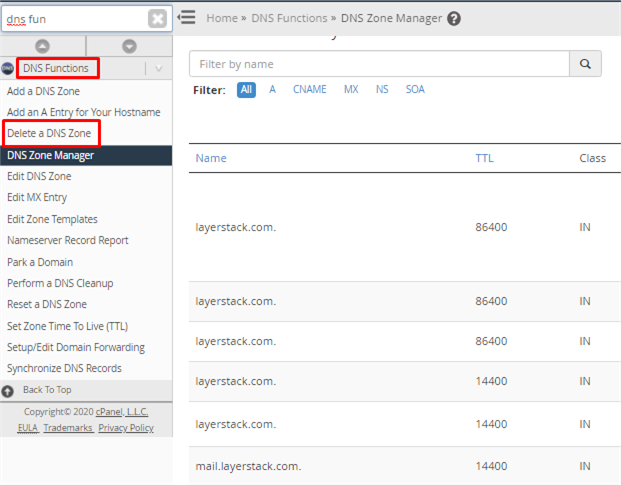
Select the zone and click on Delete.
Then the related DNS zone would be removed.