Plesk is a world-renowned web management solution with an intuitive and user-friendly graphical interface. It can be easily used to set up websites, email accounts as well as manage DNS records. The latest Plesk Obsidian delivers a new level of enhanced security for the hosted websites as well as provides deep integration with CMS applications like WordPress.
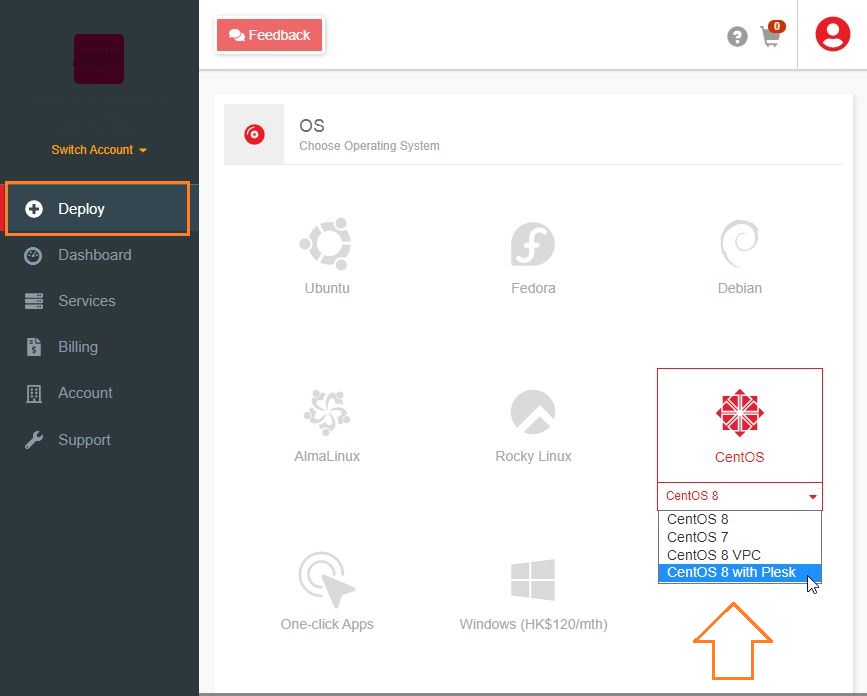
LayerStack customers can deploy Cloud Servers with Plesk using CentOS 8 with Plesk OS via LayerPanel as follows.
Also, you may check the following instructions for installing Plesk control panel on Windows and Linux as below.
Start to install Plesk control panel
Windows OS
Log in to the Windows server via Remote Desktop Connection.
Download Plesk Installer via (https://installer-win.plesk.com/plesk-installer.exe).
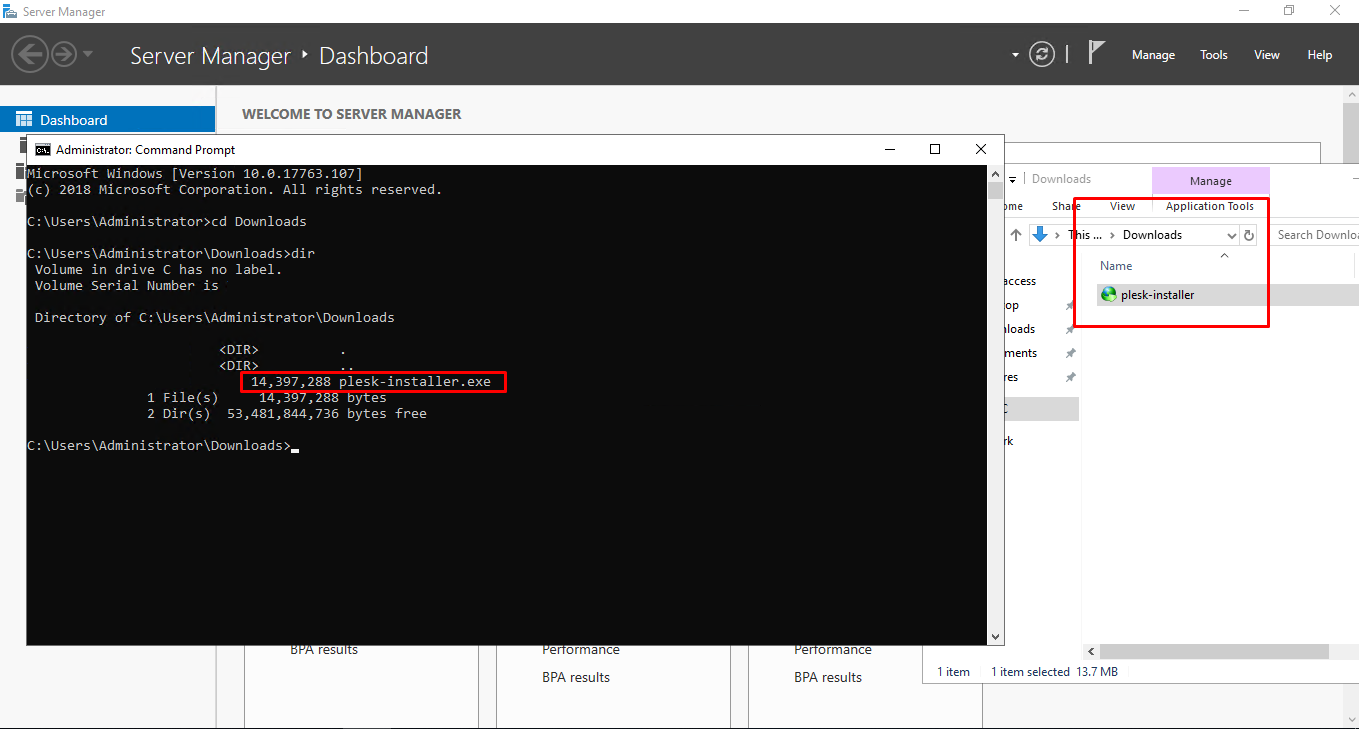
The Plesk installed will be downloaded by default to the Downloads folder of the Administrator user account in the server (C:\Users\Administrator\Downloads).
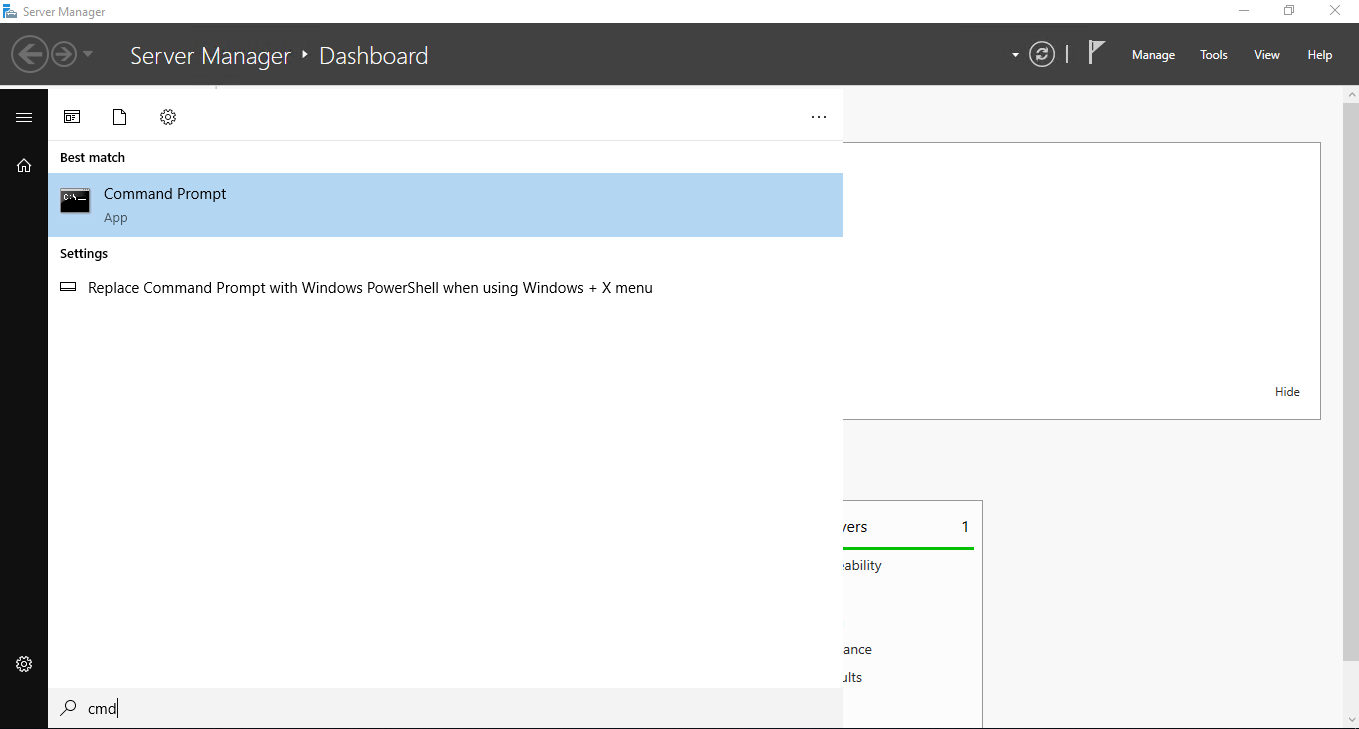
Open the Windows command prompt cmd.
Change the directory to the one where the installer binary is saved. For this, run the below command from the command prompt.
# cd Downloads
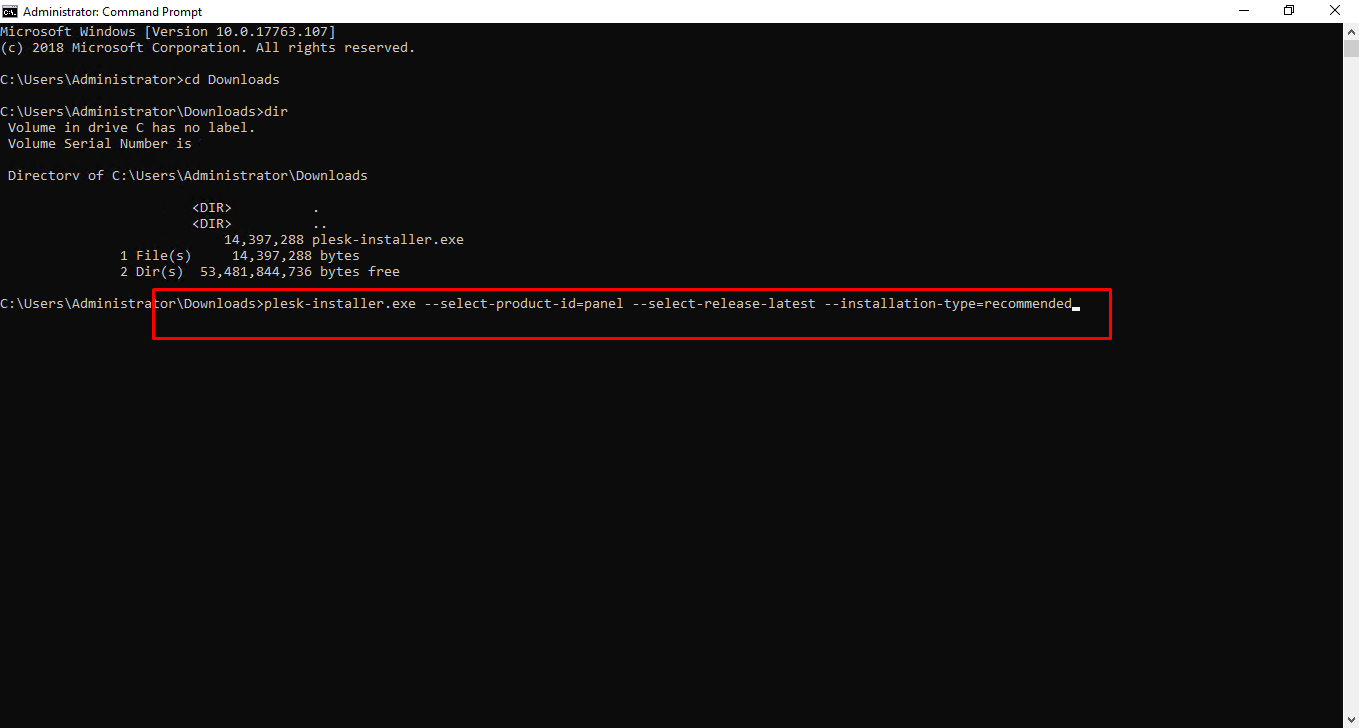
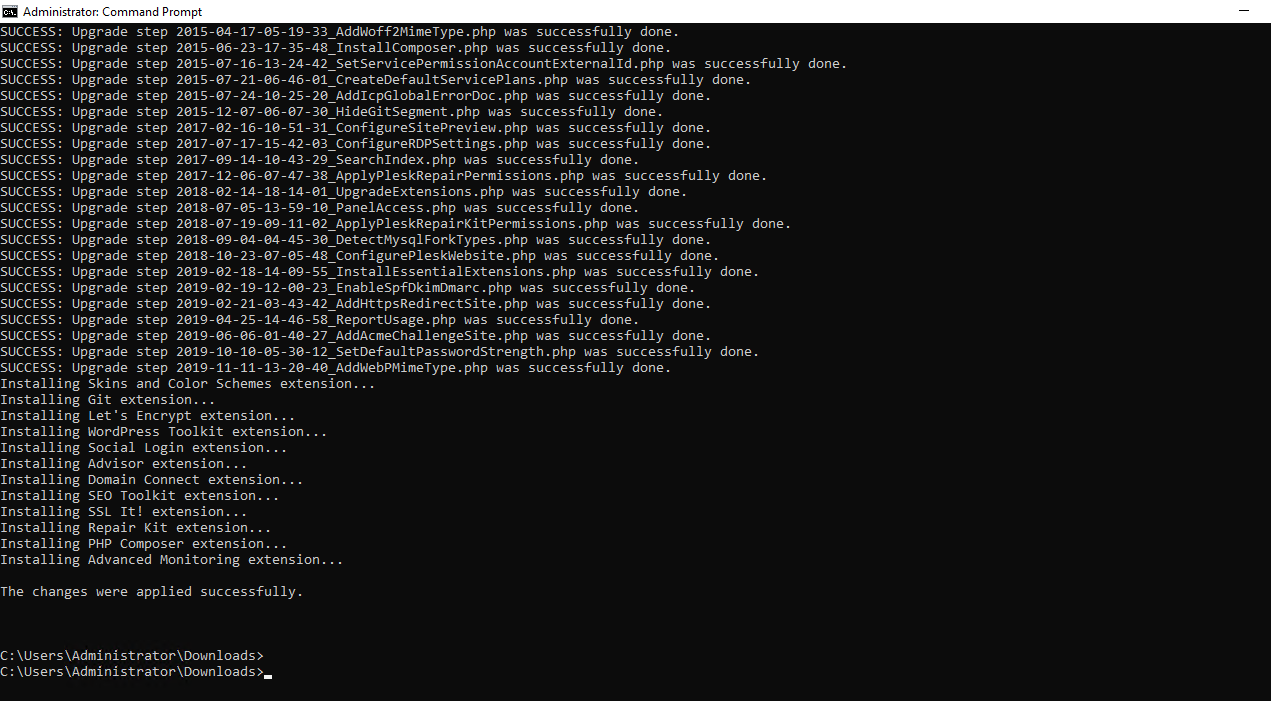
Run the following command for running the installation.
# plesk-installer.exe --select-product-id=panel --select-release-latest --installation-type=recommended
NOTE: The installation will proceed automatically, taking between thirty minutes and an hour (on average).
Linux OS
Log in to the Linux server via SSH as the root user.
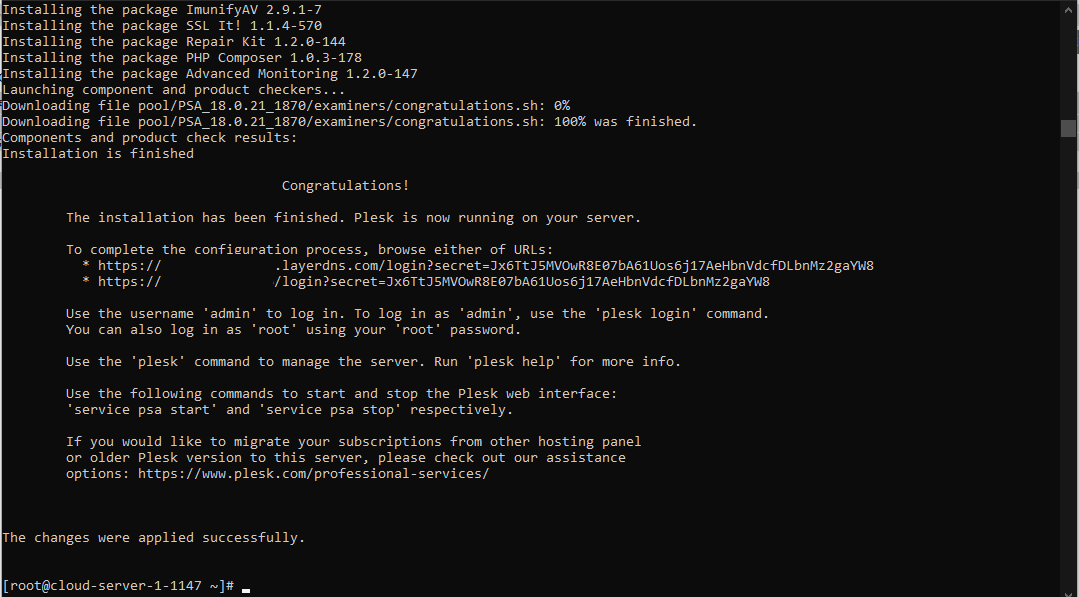
Run the following command for running the installation.
# sh <(curl https://autoinstall.plesk.com/ one-click-installer || wget -O - https://autoinstall.plesk.com/one-click-installer)
NOTE: The installation will proceed automatically, taking between thirty minutes and an hour (on average).

Apply Plesk license (*Applicable for both Windows and Linux Cloud Servers)
Once Plesk has been installed in the server, the Plesk panel can be accessed with the server IP address over the browser using either of the below links.
https://<ip_address>:8443
(or)
http://<ip_address>:8880
The Plesk panel is a licensed product and a valid license is to be applied to the panel to have access to all the features of the panel. Once the Plesk panel is accessed and the general setup completed, the Plesk license key needs to be installed.
LayerStack provides Plesk panel service and once subscribed to the service, the technical support team can be contacted to assist in applying for the license key in the panel.
If the Plesk license is purchased directly from the Plesk official, the below steps can be referred to for applying for the license.
The License Management page for the Plesk panel would be similar as below:
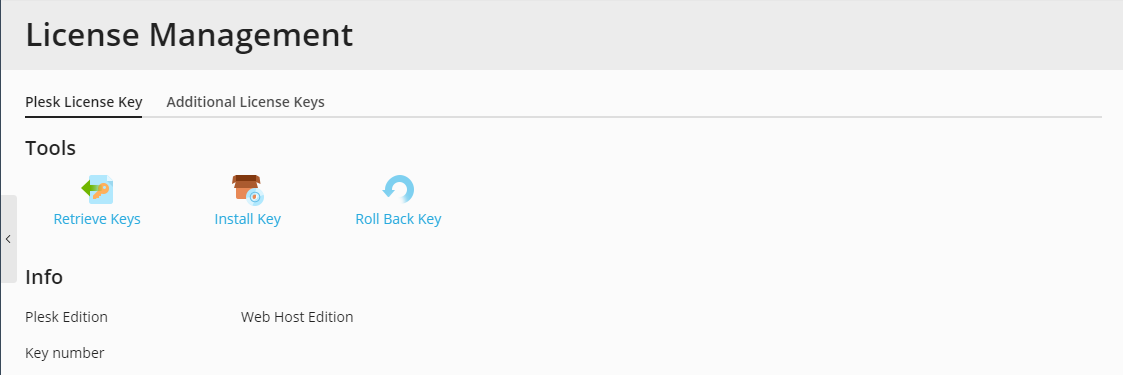
Click on Install key and input the Plesk license key in the Enter an activation code field and click on OK.
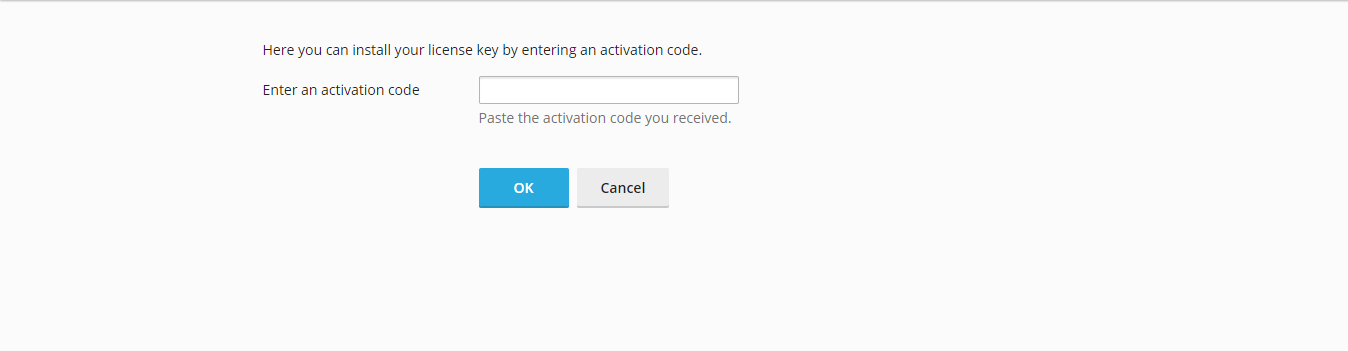
Once this has been done, the Plesk panel will be licensed and will have all the features based on the purchased license plan.
Related LayerStack Product
Related tutorials
