How to set up & configure Ubuntu Firewall (UFW) for Ubuntu 18
UFW is the default firewall configuration tool for Ubuntu and it was developed to ease iptables firewall configuration. It provides a user-friendly way to create an IPv4 or IPv6 host-based firewall and it is disabled by default on the ubuntu system.
Steps to install UFW
It should be installed by default in Ubuntu 18, otherwise use the command below to install.
# apt install ufw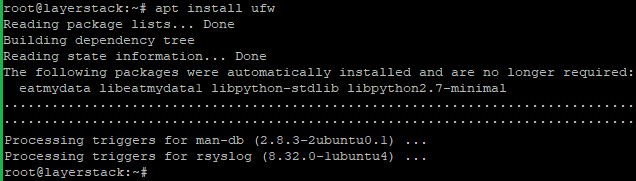
Check the UFW status once the installation is completed.
# ufw status verbose
It is disabled by default, so use the below commands to enable and disable UFW.
# ufw enable

# ufw disable
Application Profiles
While installing any package with the apt command, it will add an application profile to /etc/ufw/applications.d directory to describe the service and contains UFW settings.
Run the below command to list all application profiles available on your server.
# ufw app list
Run the below command to find more information about a specific profile and included rules.
# ufw app info Apache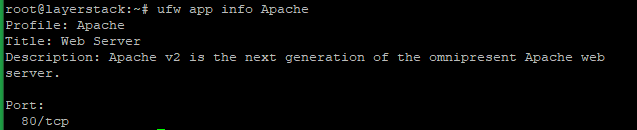
Note: Replace the Application
Apachewith the original Application name.
Steps to Allow Connections
Run the below command to allow the SSH connection.
# ufw allow ssh
Run the below command to allow any custom port.
# ufw allow 3322/tcp
Note: Replace the port number
3322with your required custom port.Run the below commands to allow
HTTP - Port 80as an example.# ufw allow http # ufw allow 80/tcp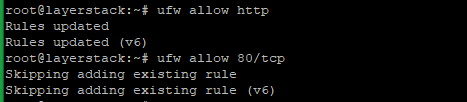
Run the below commands to allow
HTTPS - Port 443as an example.# ufw allow https # ufw allow 443/tcp
Run the below commands to allow both TCP and UDP port ranges as an example.
# ufw allow 8200:8300/tcp

# ufw allow 8200:8300/udp
Note: Replace the
port rangewith your required range.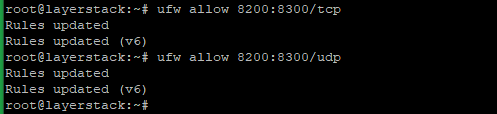
Run the below commands to allow specific IP addresses and specific IP addresses on a specific port as an example.
# ufw allow from 123.123.123.123

# ufw allow from 123.123.123.123 to any port 22
Note: Replace the
IP addressandportwith your original IP address and required port setting.
Steps to Deny Connections
Run the below command to deny all connections from an IP address.
# ufw deny from 123.123.123.123/24
Note: Replace the
IP addresswith the original IP address.If only need to deny access to any ports from the IP address, use the below command.
# ufw deny from 123.123.123.123/24 to any port 80
Note: Using deny rules is the same as using allow rules, here only need to replace allow with denying.
Delete UFW Rules
You can delete the UFW rules by rule number and by specifying the actual rule. Run the below commands to check the rule number and remove UFW rules.
# ufw status numbered

# ufw delete 5
Note: Replace the
rule numberwith the original number.

Run the below command to remove the UFW rule by specifying the actual rule as an example.
# ufw delete allow 443/tcp
Note: Replace the rule
allow 443/tcpwith the original rule.
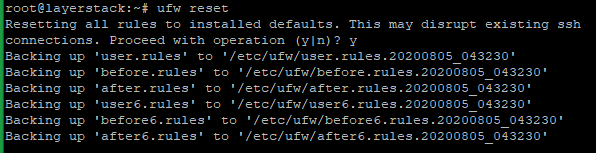
Reset UFW
Resetting UFW will disable UFW and delete all active rules and it is the way if you want to revert all of your changes and start fresh.
# ufw reset
Related Tutorials
How to set up & configure firewall using FirewallD for CentOS 8
How to test Firewall Configuration with Nmap on Linux Cloud Servers
How to check if TCP / UDP port is open on Linux & Windows Cloud Servers
How to Enable & Disable Ping (ICMP Echo Requests) in Windows Server 2019 Firewall
How to Enable & Disable Ping (ICMP Echo Requests) from IPTables on Linux Cloud Servers
Setting up Windows Firewall for your Windows Cloud Servers 2016
