How to Migrate a Plesk Server to LayerStack
This article explains how to transfer a Plesk server from an alternative provider to LayerStack. You will use the Plesk inbuilt migration tool - Plesk Migrator to complete the transfer. And please finish a basic WHM configuration on the new LayerStack cloud server before using the Transfer Tool.
Note
All your accounts & subscriptions except the Plesk settings will be transferred by using the Transfer Tool. The Plesk settings are required to recreate on your LayerStack cloud server separately.
Deploy your Plesk service on the LayerStack cloud server
You could refer to this section to set up a Plesk on a LayerStack cloud.
Create a cloud server with the minimum system requirement for the Plesk installation.
Install Plesk on this server with the reference of the installation of Plesk on LayerStack cloud server.
Configure the basic setting for Plesk.
Use the Plesk migration tool
Below shows the steps on how to use the Plesk Transfer Tool for cloud server migration after the completion of basic configuration.
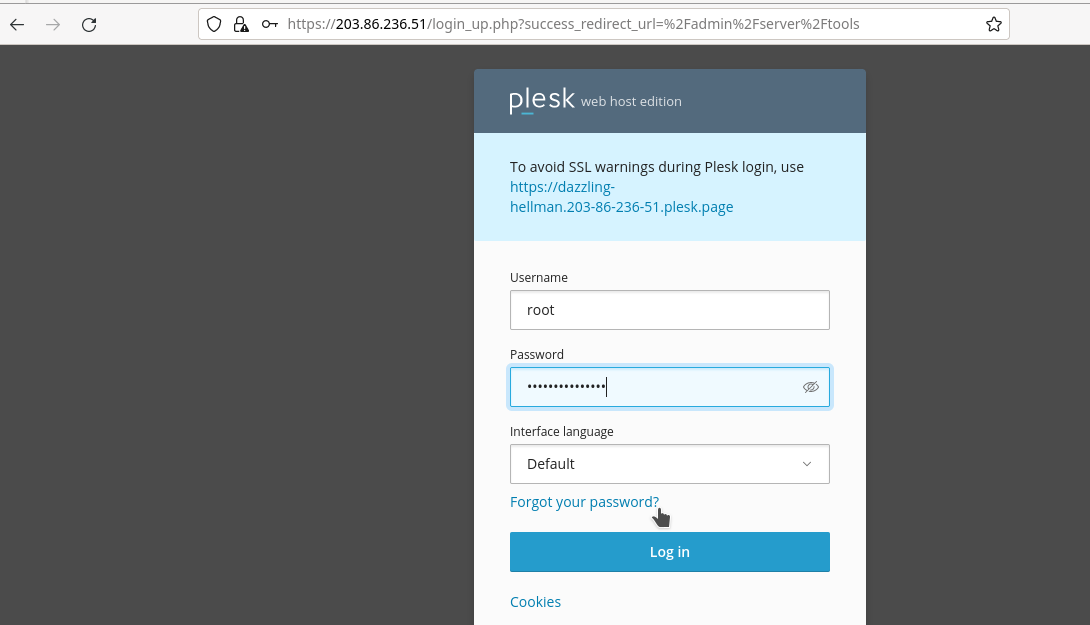
Log in to the destination Plesk with the root credentials to the URL (https://server_ip:8443). You can bypass the SSL certificate warning.
Initiate the migration tool.
a. Select the
Tools & Settingsin the left side menub. Click
Migration and Transfer ManagerClick the
Start a New Migrationbutton.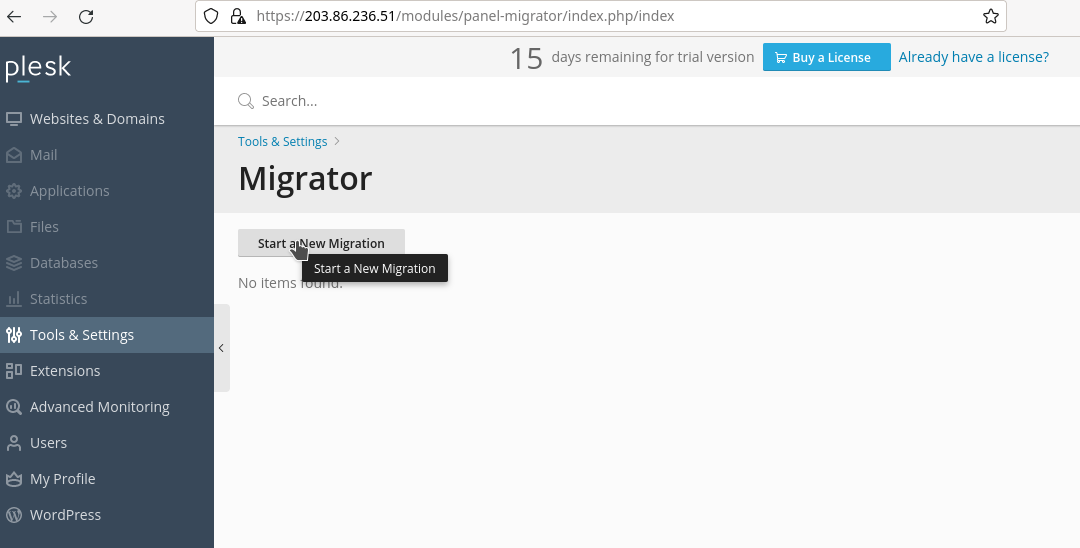
Provide the source server details and credentials. Then, click the
Prepare migrationbutton.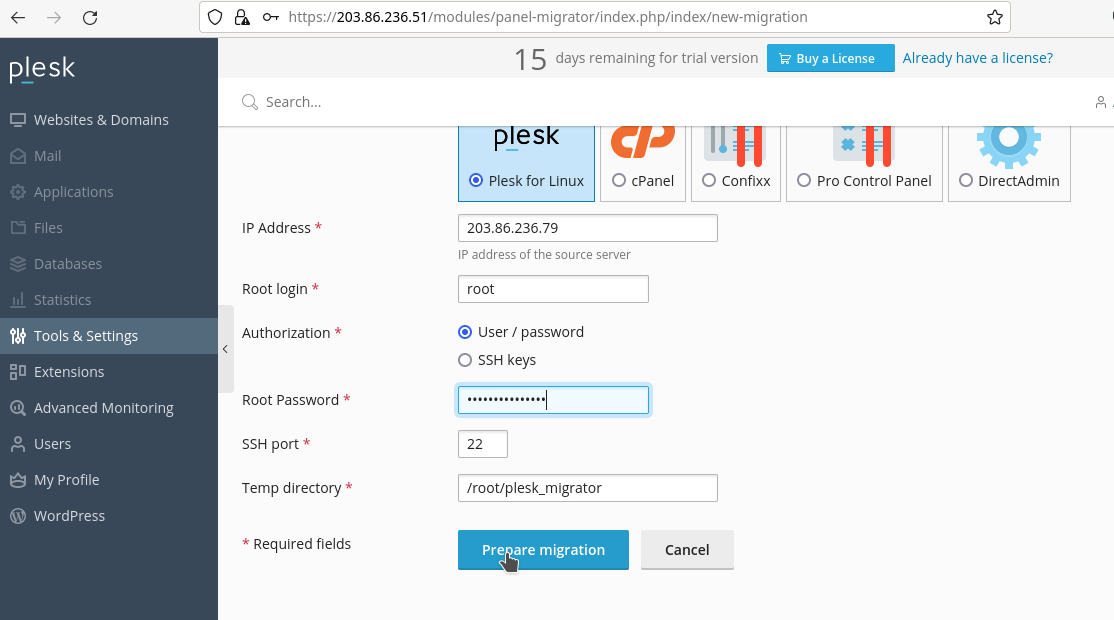
Select the required accounts and resources to be migrated to the new cloud server.
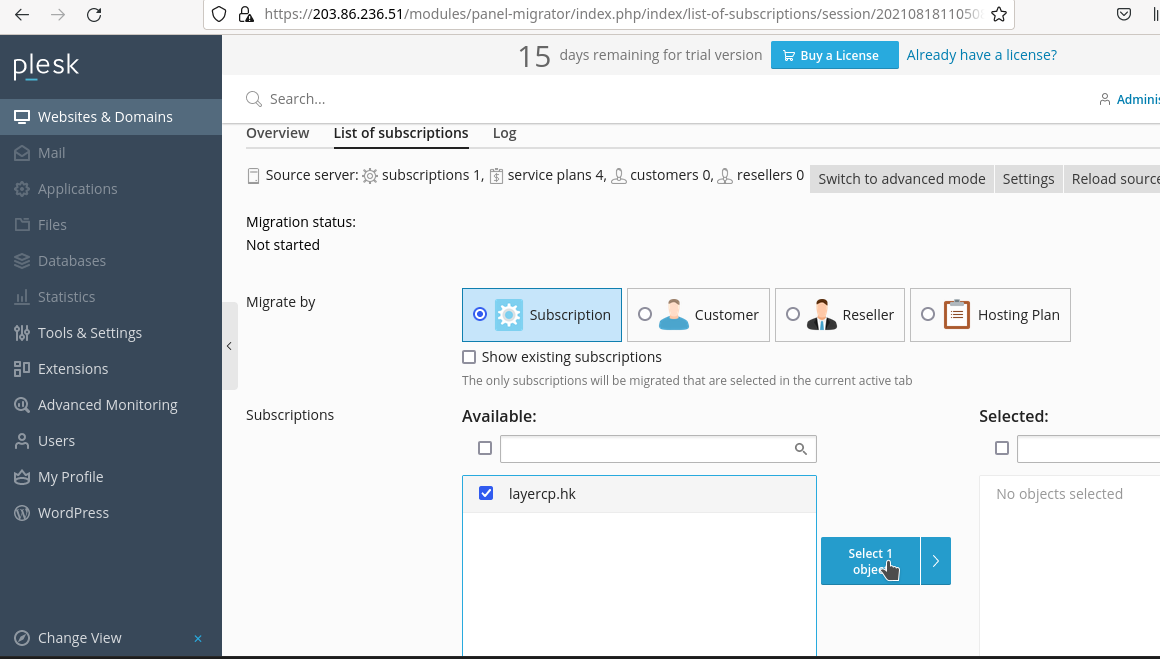
Click the
Migratebutton to start the migration.
It will pop up a windows
Pre-migration Checks: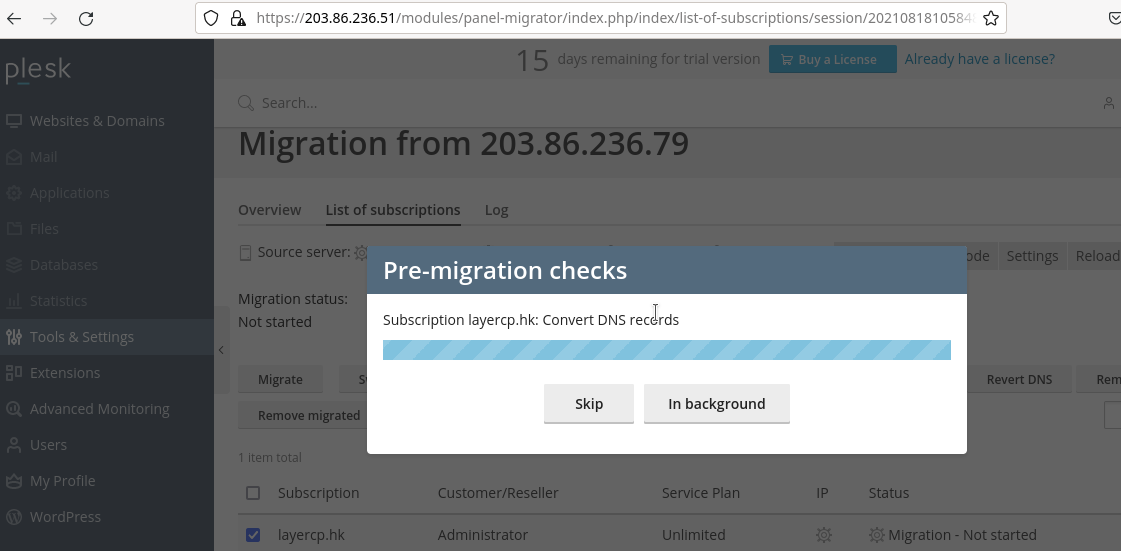
Click the
Start migrationbutton after the pre-migration checks are completed.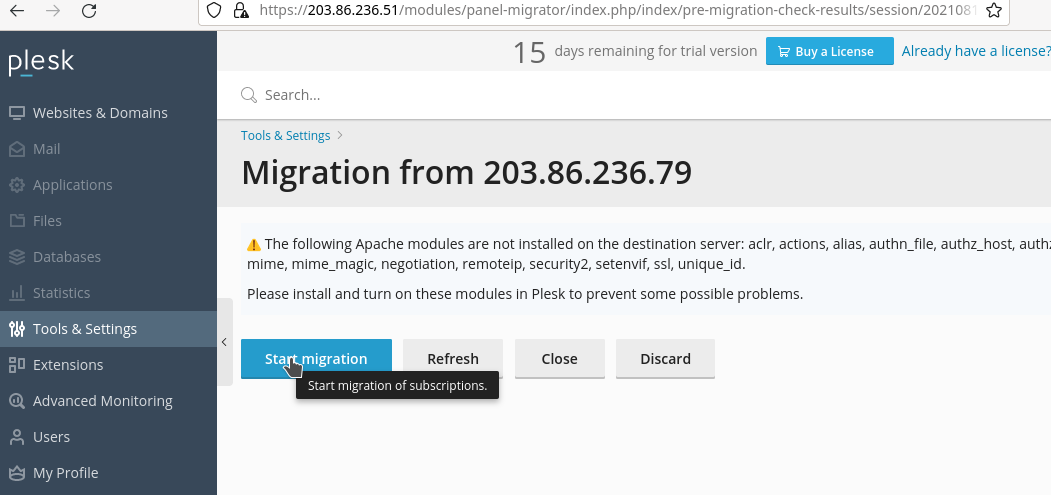
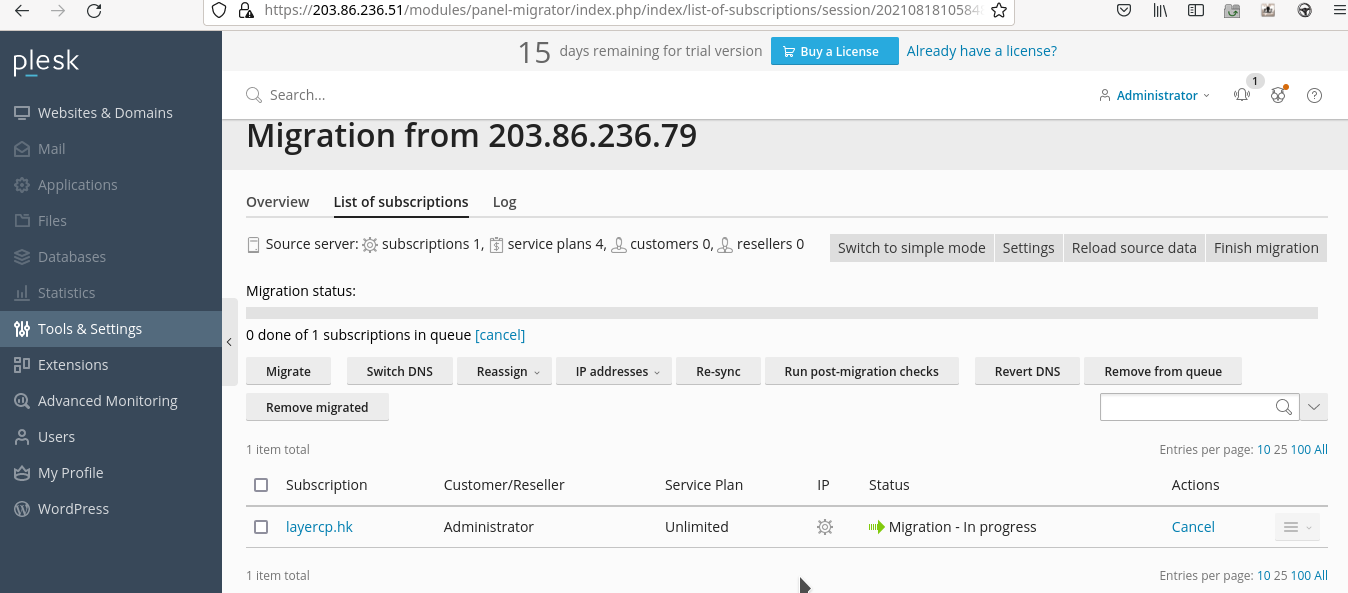
Status will show Migration – in progress.
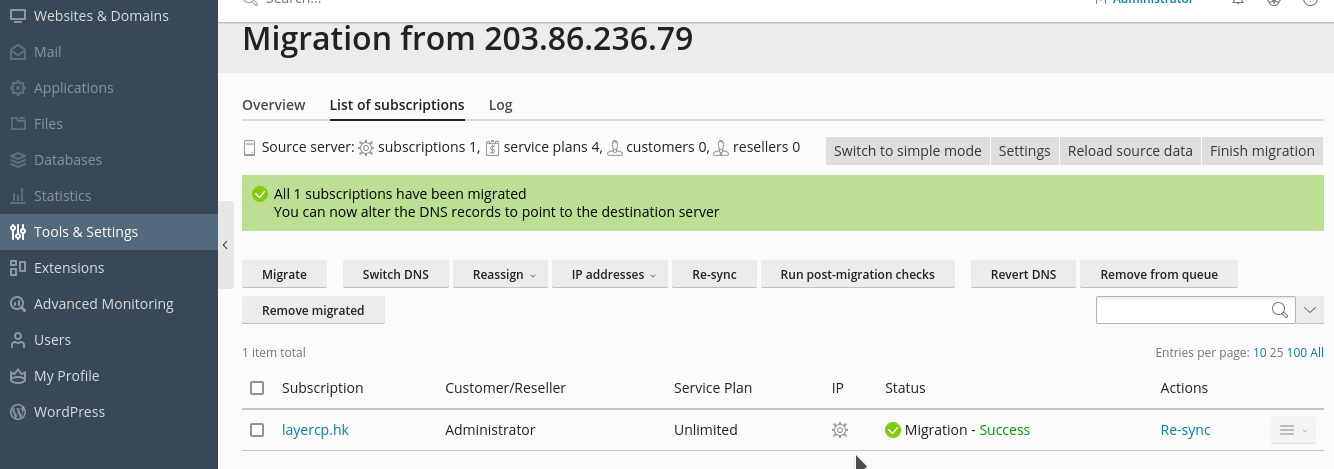
Status will change to Migration – success when the process is completed.
Verify Transferred Accounts
Once the transfer is finished, you can see the status ‘Success’ to the corresponding domain row in the panel. Then verify the associated accounts and IP address assignment from the panel.
Select the Websites & Domains at the left side menu.

Test Your New Plesk Deployment
The webpage served by your Plesk will not appear if you visit your LayerStack IP address in your browser. This is due to the fact that the Plesk server wants your domain name to be given in your web request, and you have yet to update your DNS.
However, by adding a hosts entry to your local system, you may test the website from the new server. Also, you could use the preview feature available on the Plesk panel.
Select
Websites & Domainsat the left side menu and search for the domains.Click
Previewbutton.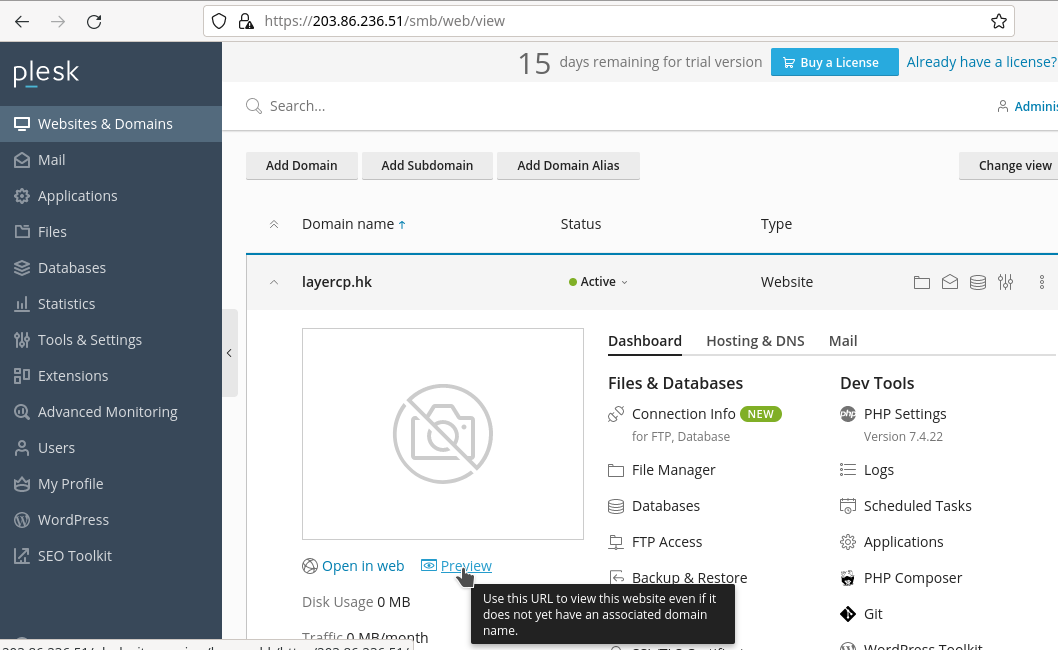
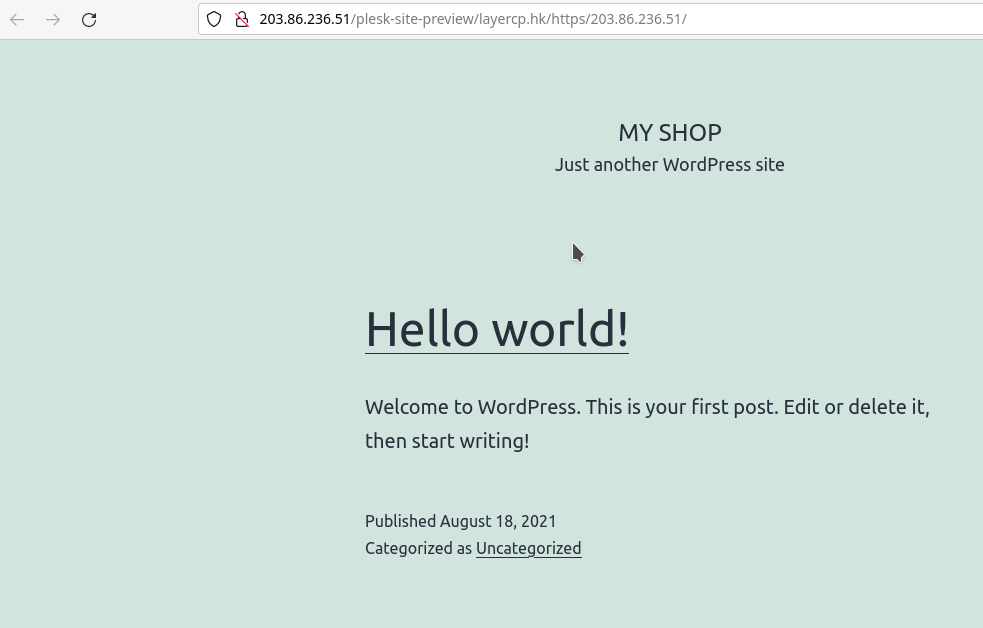
You can see the website in Plesk’s preview.
Migrating DNS Records
Update your DNS records to reflect your new LayerStack IP after completing the Plesk migration. Visitors will begin loading your Plesk accounts' services from your new LayerStack account once this is completed.
(Optional)
Make sure your domain name is ready to move. Lowering the Time to Live (TTL) option for your domain is a recommended initial step to ensure that the migration has minimal impact on your site's visitors. TTL specifies how long DNS caching servers should keep information about your domain. The default TTL is normally roughly 24 hours because DNS addresses do not frequently change server IP addresses.
When switching servers, reduce the TTL to ensure that any changes to your domain information take effect immediately. Otherwise, your domain may resolve to the IP address of your old server for up to 24 hours.
Update Server Hostname
Update the hostname for the LayerStack cloud server from Plesk and follow the below instructions.
Log in to the Plesk and select the
Tools & Settingsin the left side menu. Then, click theServer Settingsbutton under the General Settings section.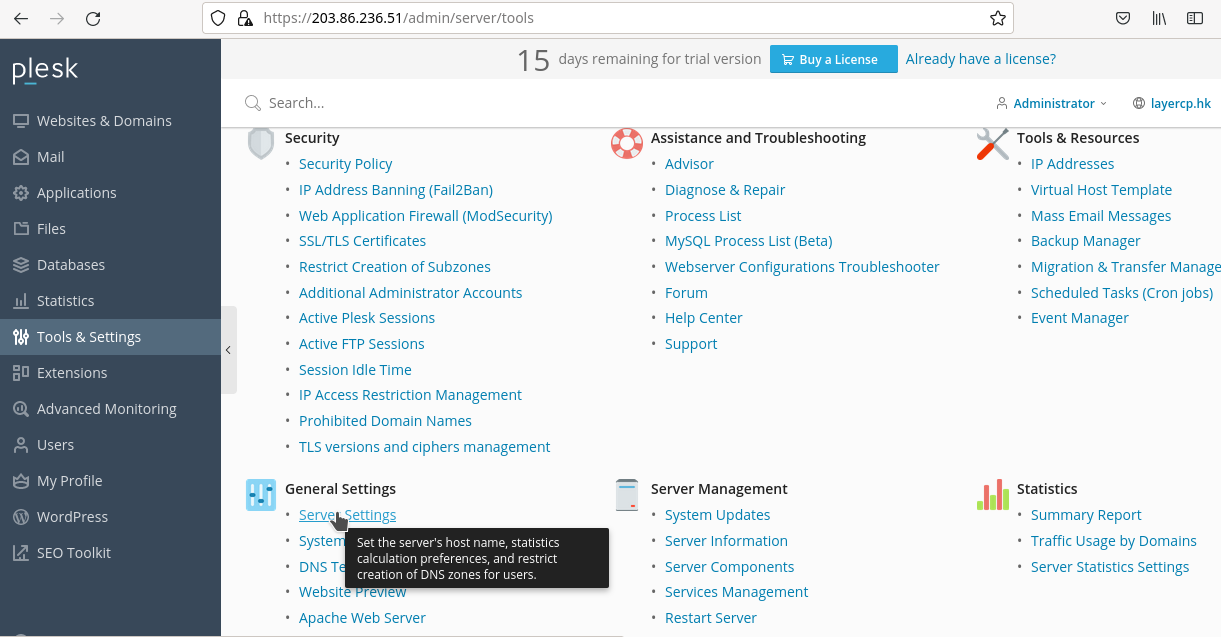
Enter the new hostname. Them, click
OKbutton at the bottom of the page.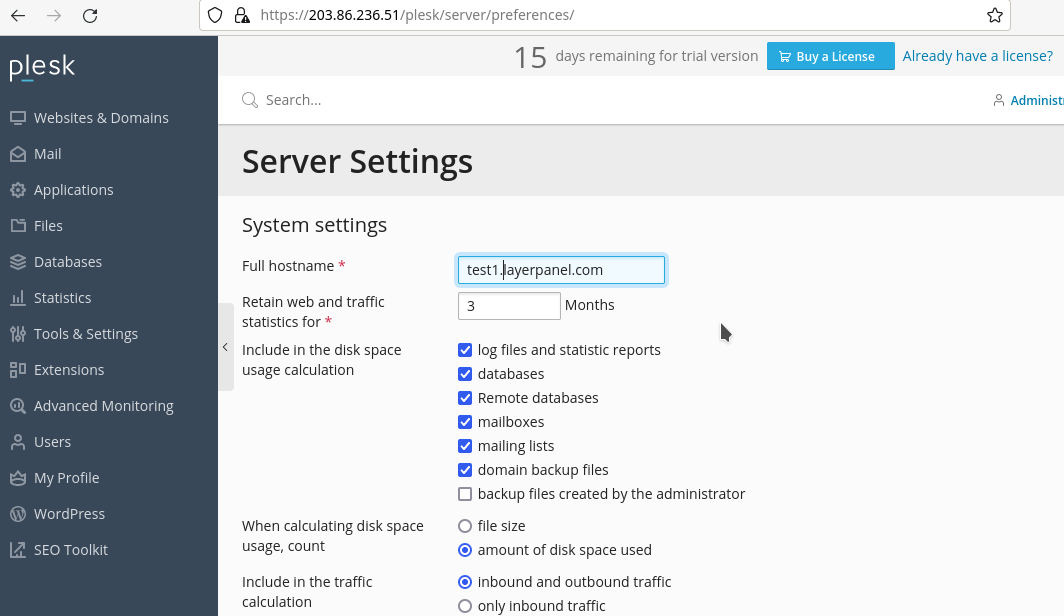
Transfer the Plesk license
If you bought your license from Plesk directly, you'll need to update it to reflect your new LayerStack cloud IP address.
If you bought your license from your prior host, you'll have to buy a new one from LayerStack for your LayerStack cloud setup.
Also, you can get a 15 days trial license from Plesk and when the migration is done change the old key IP to the new server. You could refer to the Plesk official documentation for the license update.
Select
Tools & Settingsin the left side menu. Then, click theLicense Managementunder the Plesk section.Click the
Install Keybutton.Enter a new activation code, then click the
OKbutton.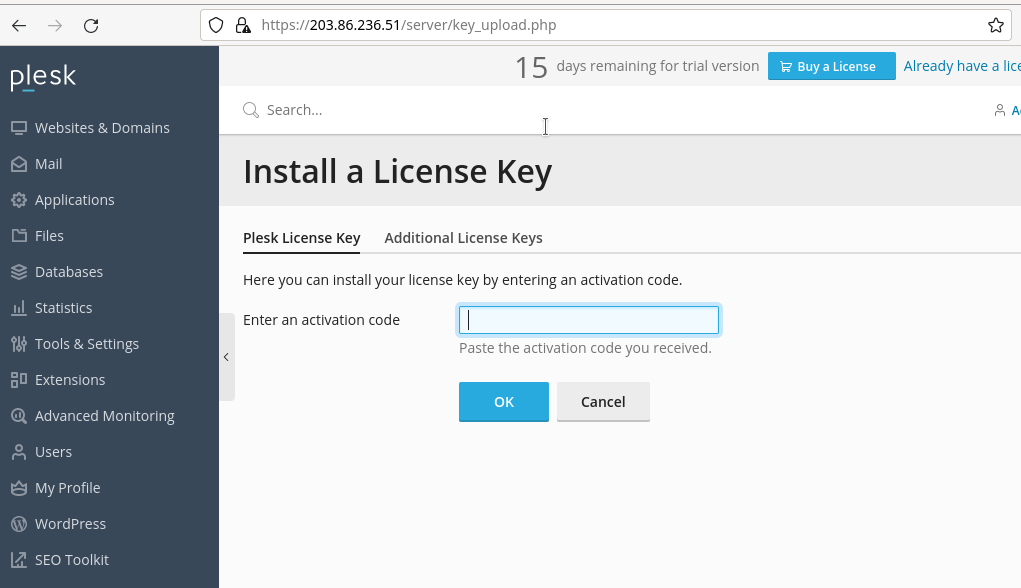
Related LayerStack Product
Related Tutorials
