Install WordPress on Windows Cloud Servers
WordPress is a widely used CMS (Content Management System) application, which is based on PHP and MySQL. It is the most popular and the simplest way of creating a website or a blog.
This guide outlines the basic steps of installing WordPress application in a Windows server, assuming that the server already has a web service (IIS), database service (MySQL/MariaDB) and PHP installed in it.
Create WordPress database
The first step before installing WordPress in the server would be to create a database which would be used to store the WordPress data.
Login to the database server by executing the below command.
# mysql.exe -u root -p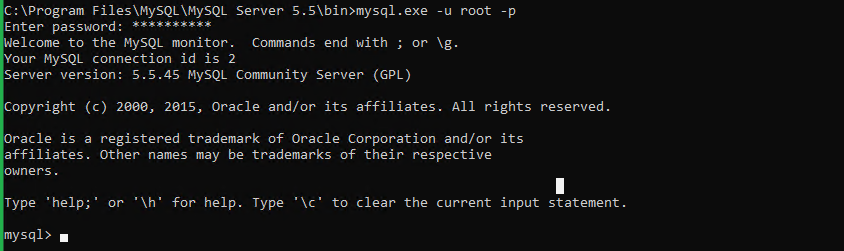
Note: Here, the path where the MySQL service is installed in the server is
C:\Program Files\MySQL\MySQL Server 5.5.Create the WordPress database and an associated database user.
# CREATE DATABASE lswp_db; # CREATE USER 'lswp_usr'@'localhost' IDENTIFIED BY 'wpusrpwd';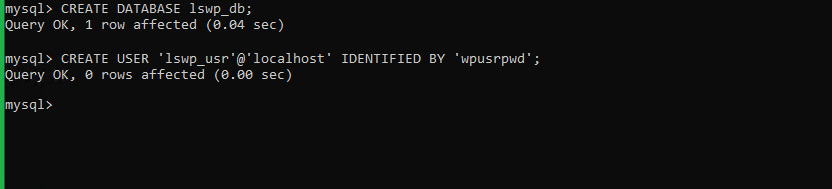 In the above example commands,
 lswp_dbis the database name,lswp_usris the database user associated withlswp_dbandwpusrpwdis the password for the userlswp_usr.Grant permissions for the database user to access the WordPress database.
# GRANT ALL ON lswp_db.* TO 'lswp_usr'@'localhost' IDENTIFIED BY 'wpusrpwd';
Exit the MySQL/MariaDB database server.
# FLUSH PRIVILEGES;

# quit;
Installing WordPress
For installing WordPress, the latest WordPress installation archive file first needs to be downloaded. This can be done from the official WordPress downloads page https://wordpress.org/download/.
Navigate to the path under which WordPress application is to be installed. This can be under the default IIS website or under any website.
In the below example, WordPress is being installed under the default IIS website
(C:\inetpub\wwwroot).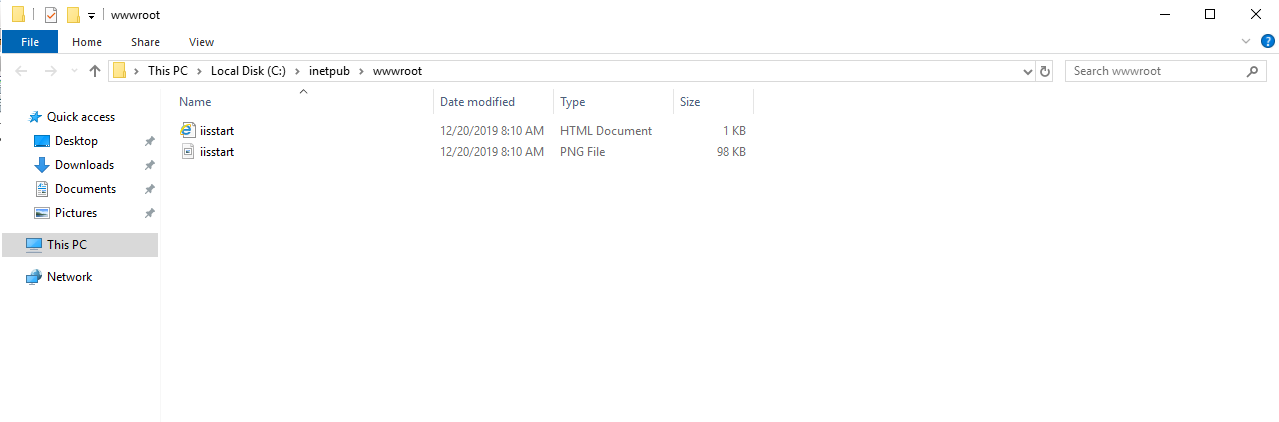
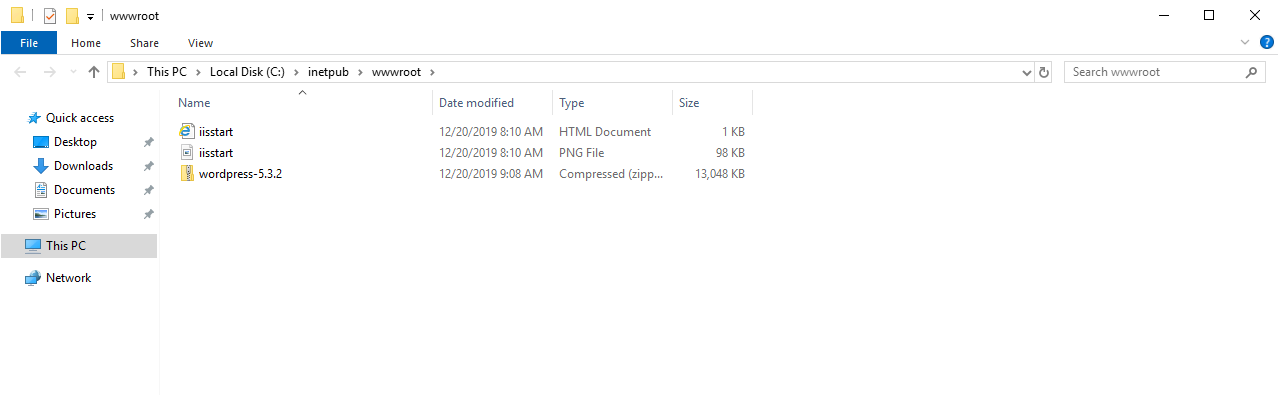
Download the latest WordPress installation archive file and copy over the archive file to the path under which WordPress is to be installed.
https://wordpress.org/latest.zip
Extract the ZIP archive by right clicking on the file and then on
Extract All…(latest.tar.gz), which will create a folder with the same name as the ZIP archive containing the installation files.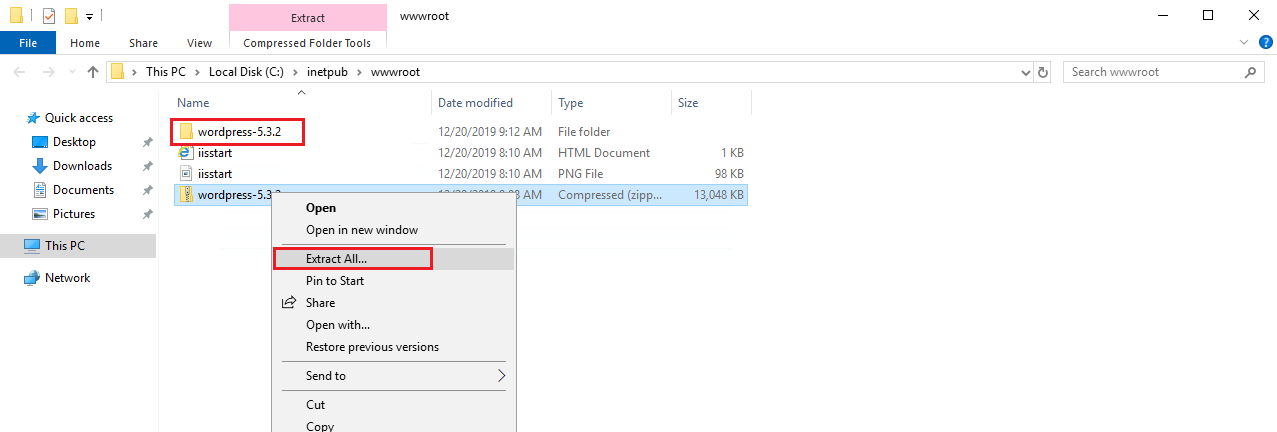
Inside the newly created folder, there will be a folder named
wordpress.Move this folder over to the default IIS website path(C:\inetpub\wwwroot).The WordPress installation page can now be browsed using a browser.
http://ipaddress/wordpress (if wordpress installed under default IIS website)
(or)
http://websitename/wordpress (if wordpress installed under a website)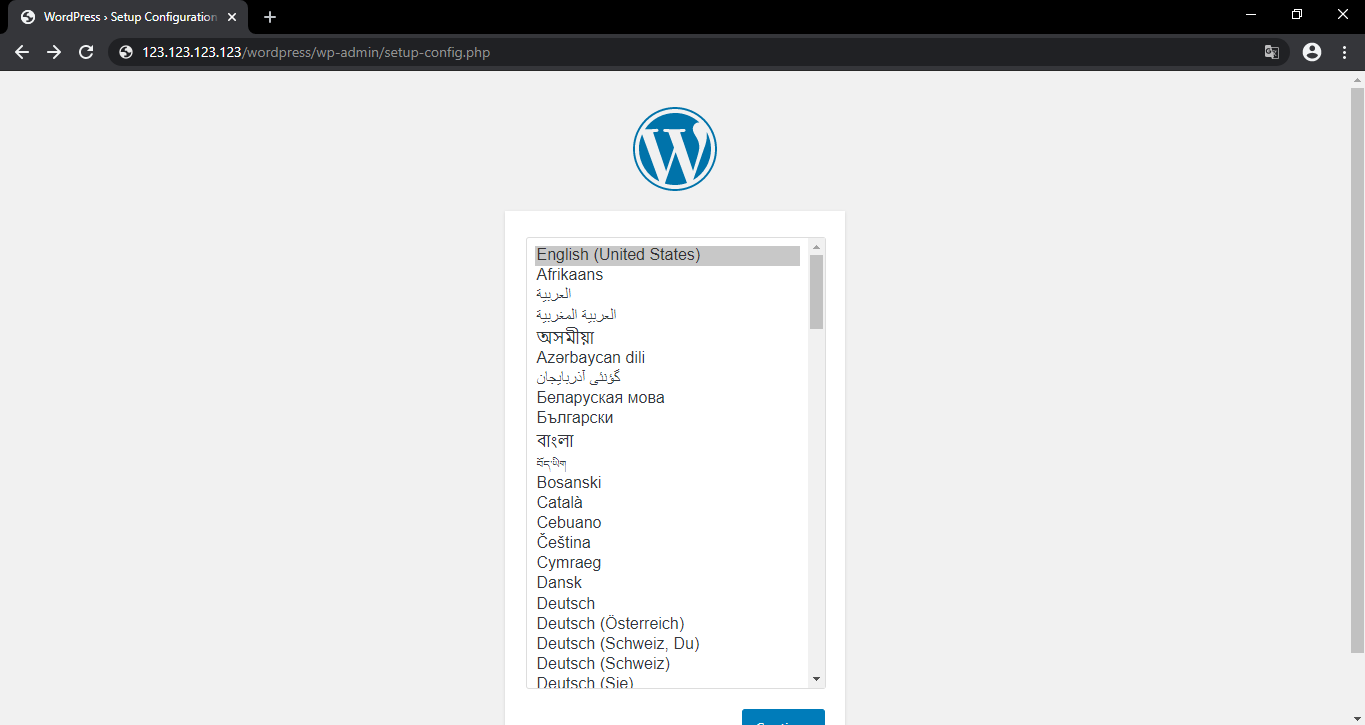
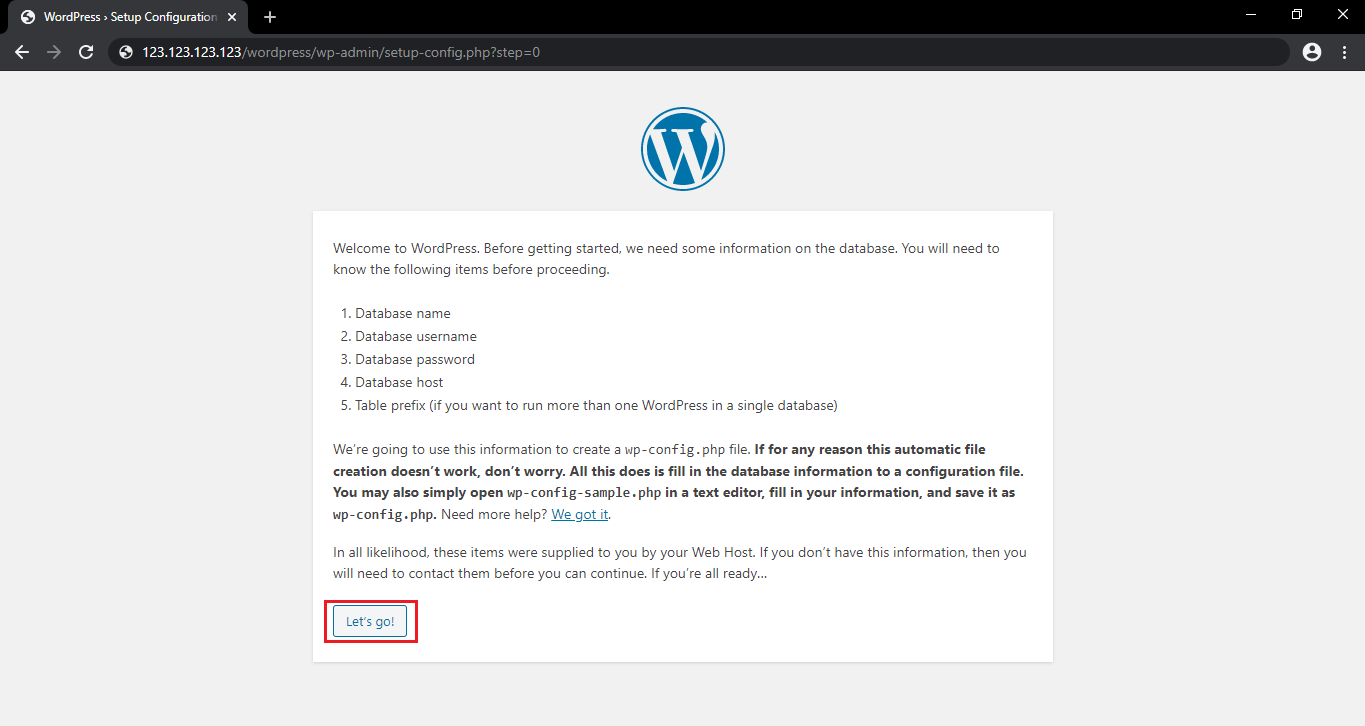
Select the preferred installation language and click on
Let’s go!in the next page to continue with the WordPress installation wizard.
In the next page, fill in the details of the database that was created earlier. The WordPress default data would be loaded into this database. The
Database HostandTable Prefixfields can be left changed.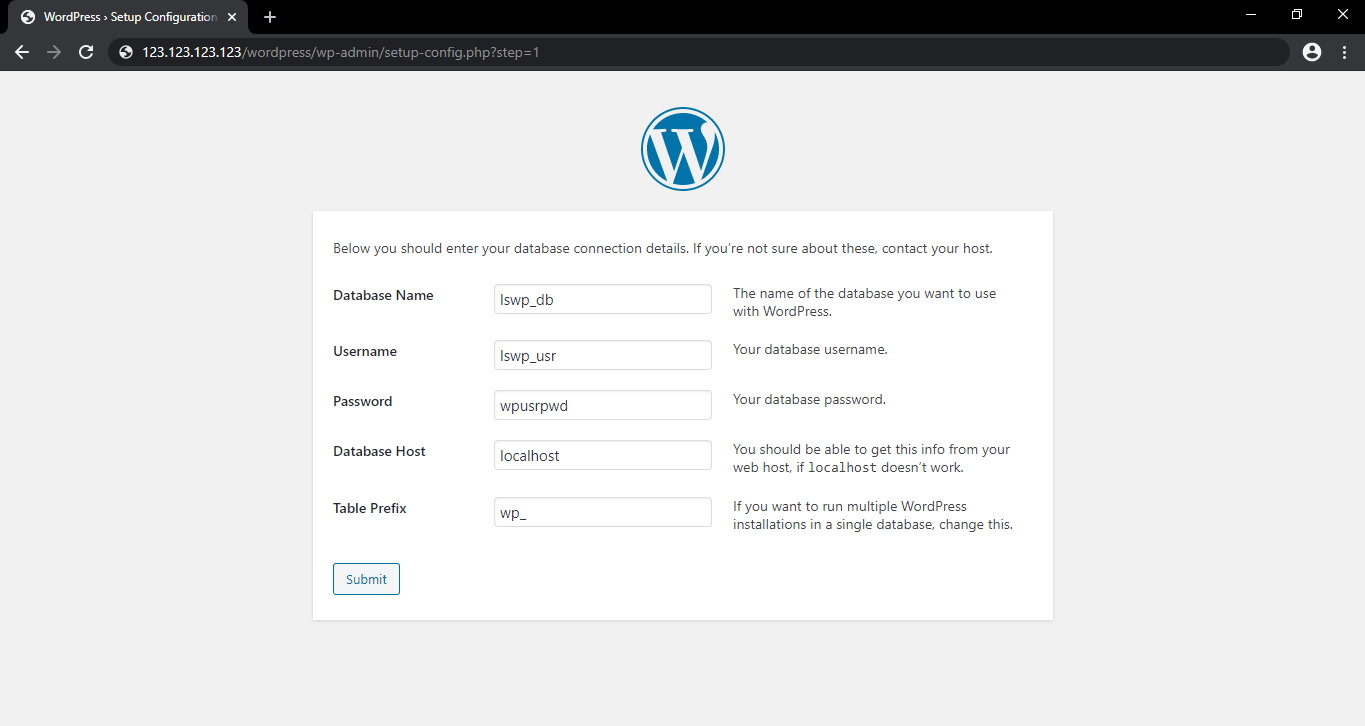
Click on
Run the installationto proceed.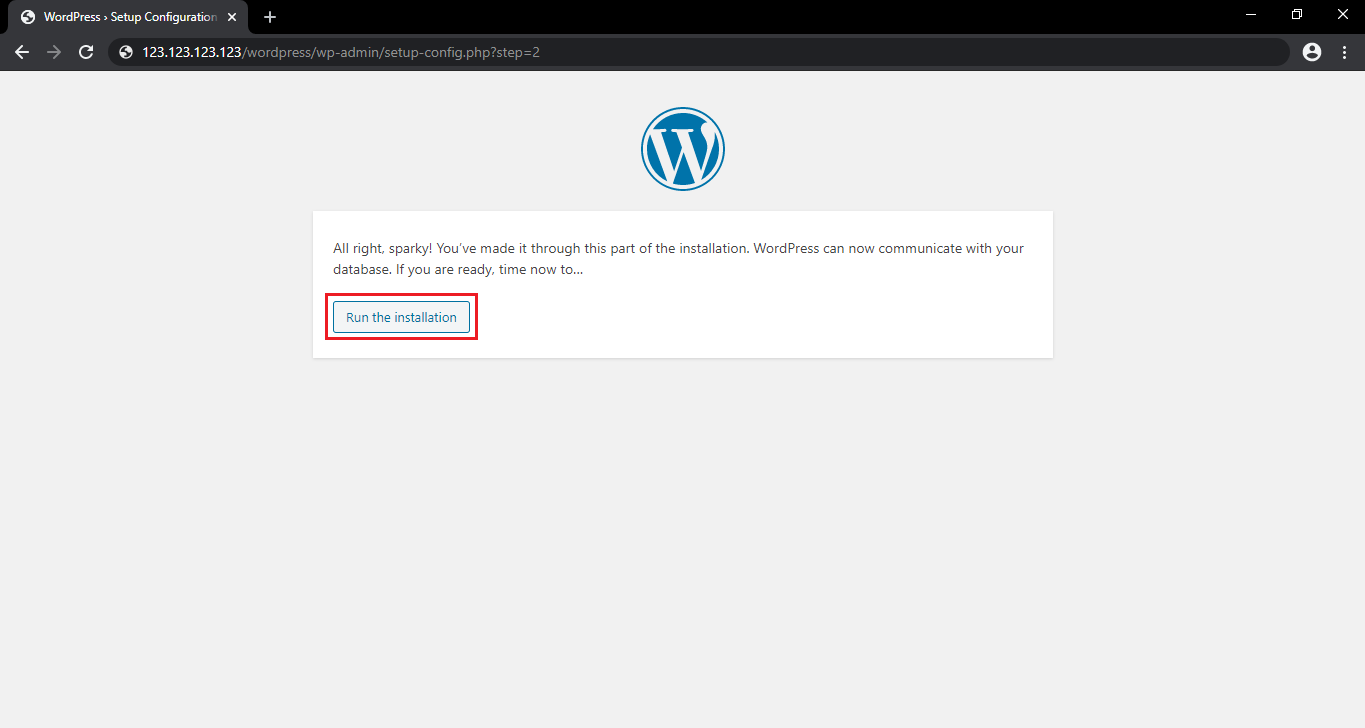
Type in additional details required such as
Site Title, Username, PasswordandEmail address. Make sure that a strong password is used and the user credentials are saved safely. Once all details are filled in, scroll down and click onInstall WordPress.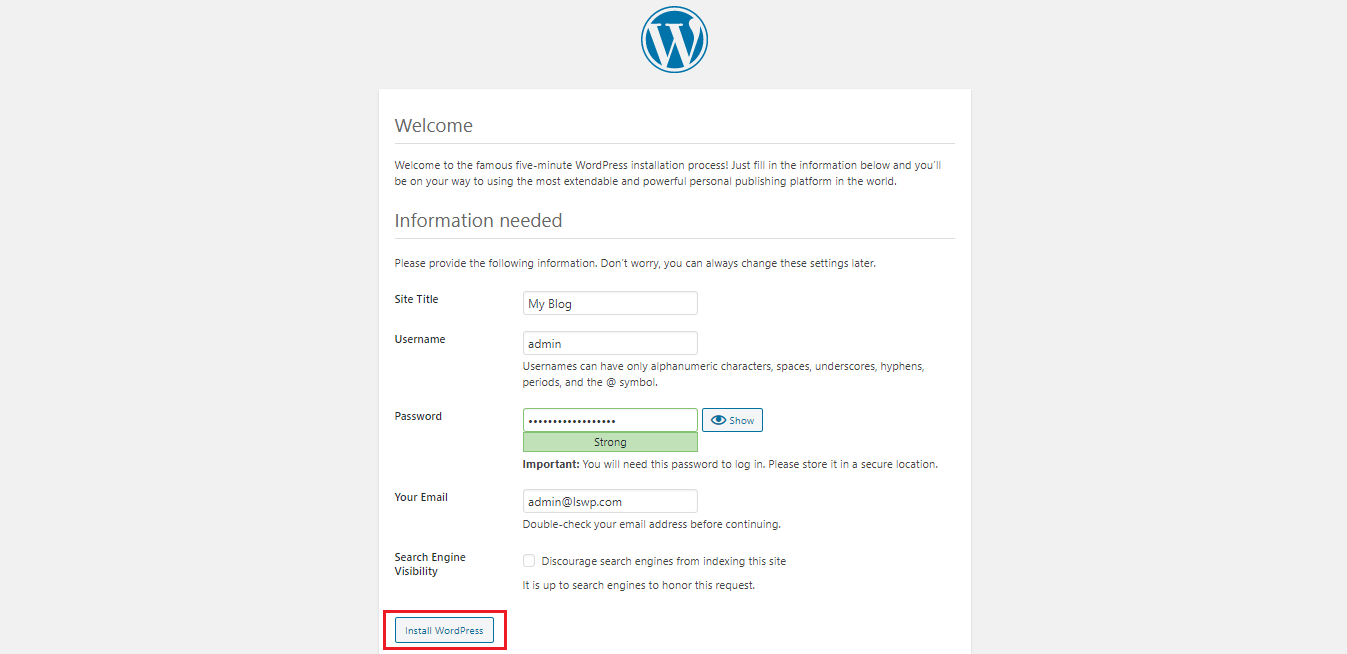
Once the installation has been completed, a
Success!notification will be shown.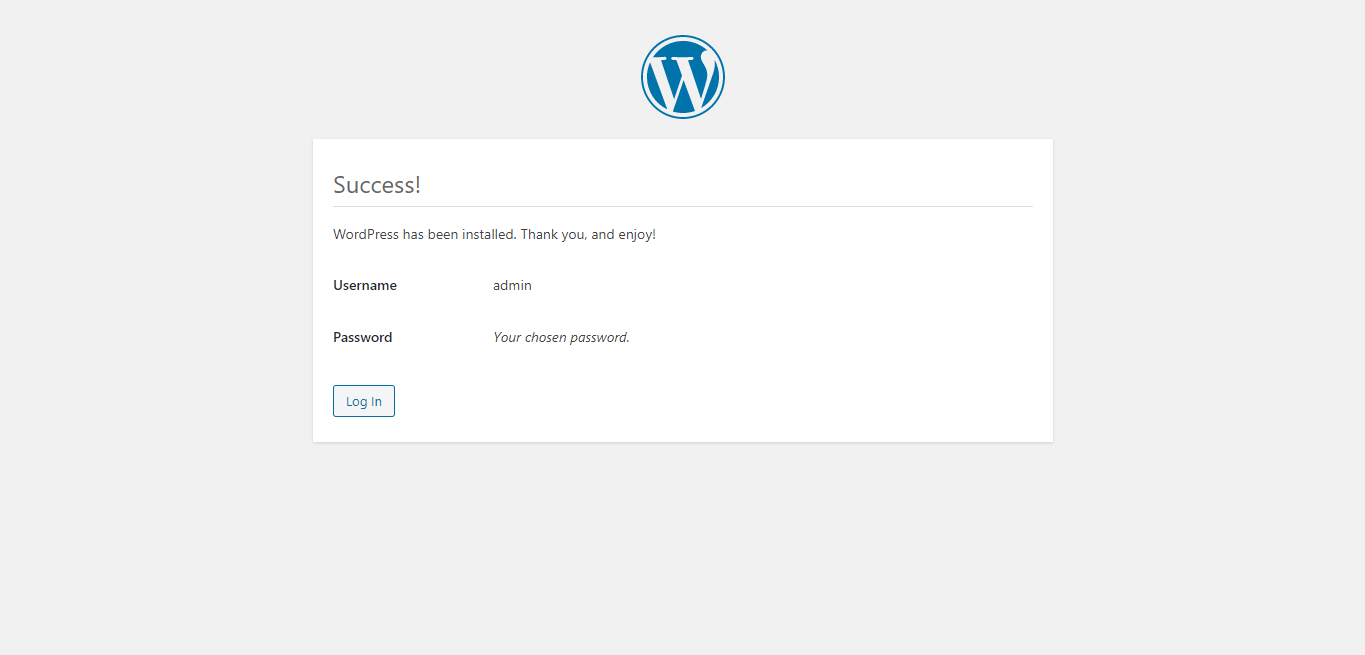
Click on the
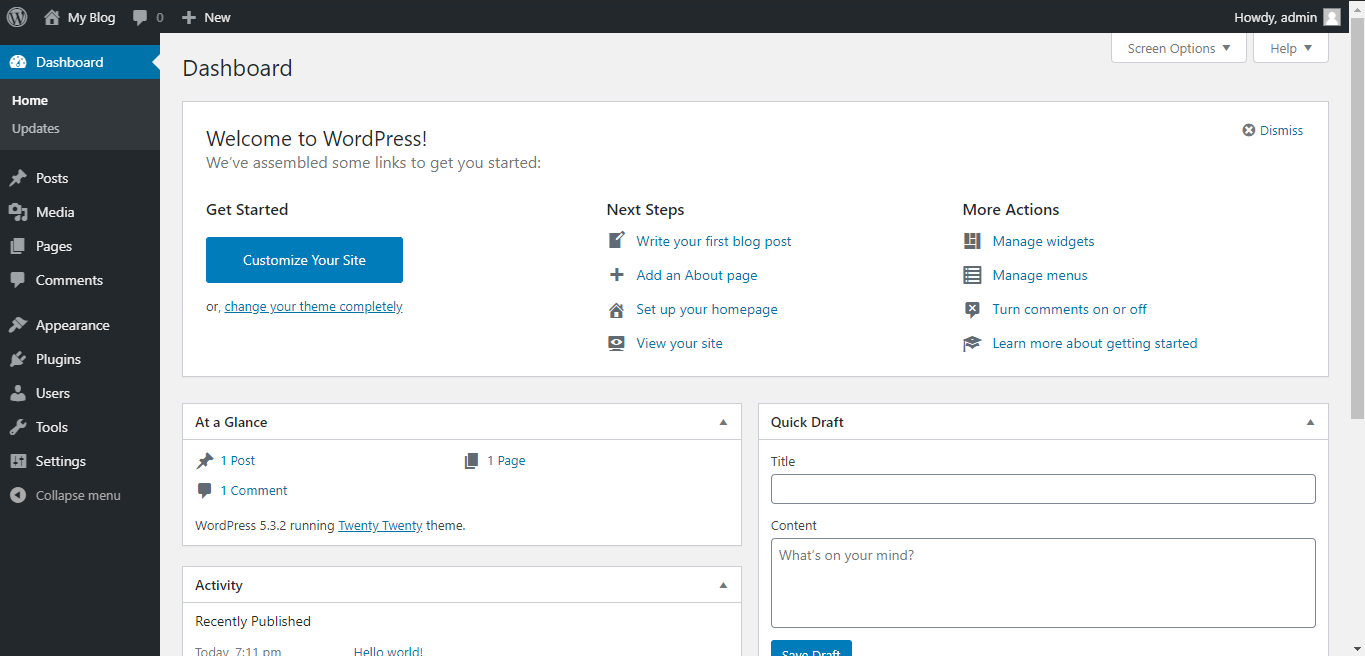
Log Inbutton to access the login page of WordPress. Type in the user credentials to access the WordPress dashboard, which can be used to further develop the website.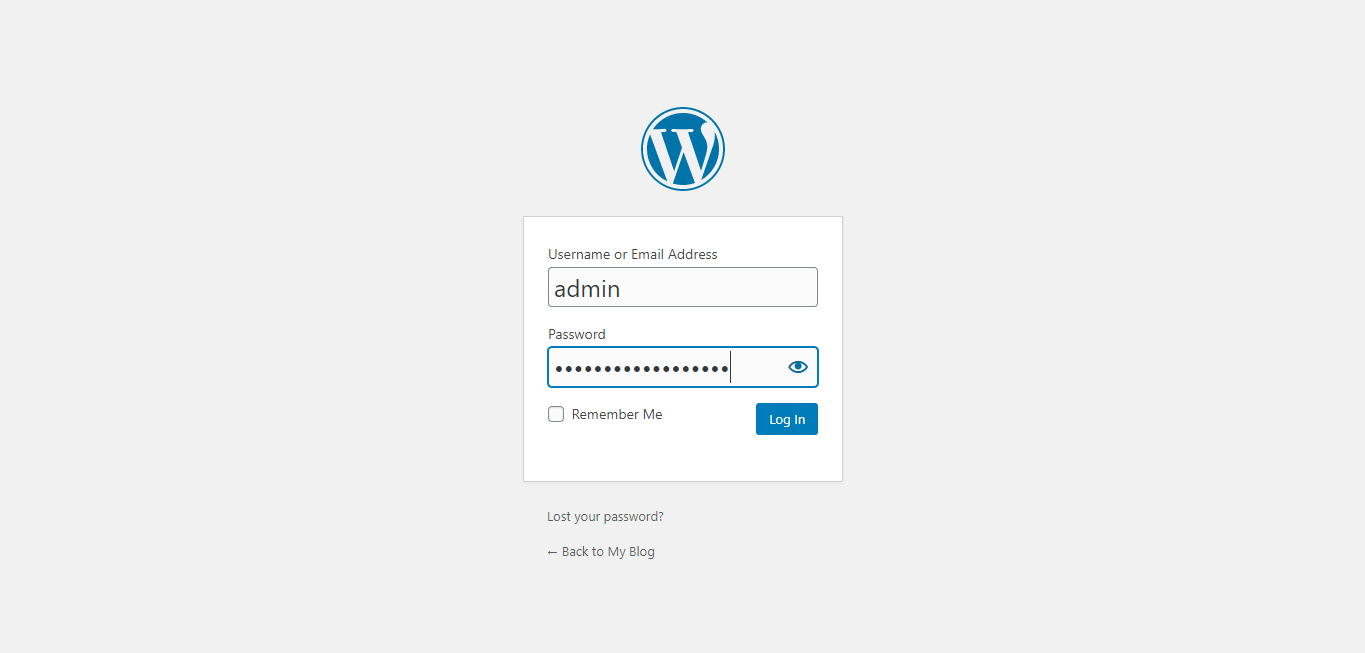
Related Tutorials
