Accidentally removing essential components like Netplan.io from your Ubuntu cloud server can lead to the loss of network connectivity. Netplan.io is a Linux utility used for configuring and managing network settings on Ubuntu systems through YAML-based configuration files, simplifying the process of network setup and management. It helps users define network interfaces, IP addresses, and routing rules in a structured manner.
After encountering installation issues on Ubuntu, various attempts were made to rectify the problem using commands like apt purge, remove, autoclean, and autoremove. Unfortunately, these efforts may result in the removal of both netplan and network connectivity.
In this guide, we will walk you through the steps to recover network access and restore your server's connectivity.
Utilize the ip a command to verify whether the server has an IP configuration.
# ip a
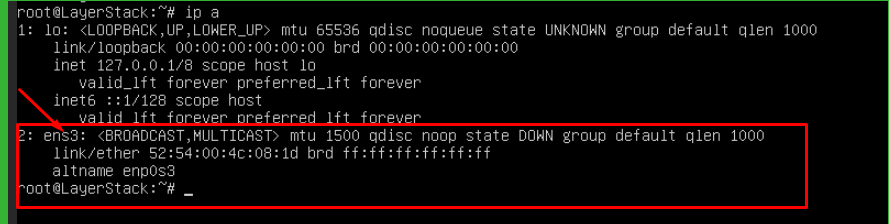
In the screenshot provided above, it is apparent that the server does not have any IP configuration set.
Command cat /etc/netplan/50-cloud-init.yaml is used to display the contents of the 50-cloud-init.yaml file located in the /etc/netplan/ directory.
# cat /etc/netplan/50-cloud-init.yaml
This file is part of the Netplan configuration system on Ubuntu Linux systems and is commonly used to define and manage network interfaces and settings.
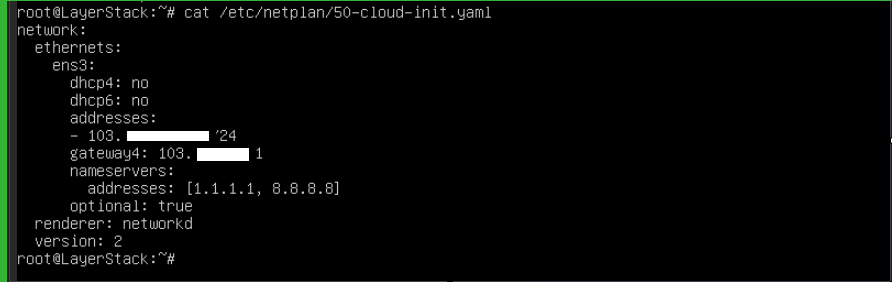
From the screenshot above, it's evident that there are no problems with the netplan.io network configuration file.
Utilize the networkctl command to inspect the network card status on the server.
# networkctl
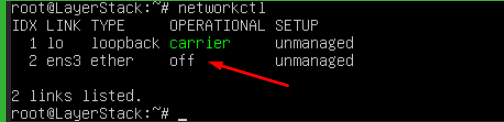
See that the ens3 is off in the server.
Use the commands below to enable network for the server.
# ip link set ens3 up

# ip address add <ip address="">/24 dev ens3

# ip route add default via <gateway> dev ens3

In a network setup, if the IP address is chosen as 203.86.232.3, the gateway assigned is 203.86.232.1, adjusting the last segment of the IP address to 1 designates the gateway for LayerStack server.
Run the update command on the server.
# apt update
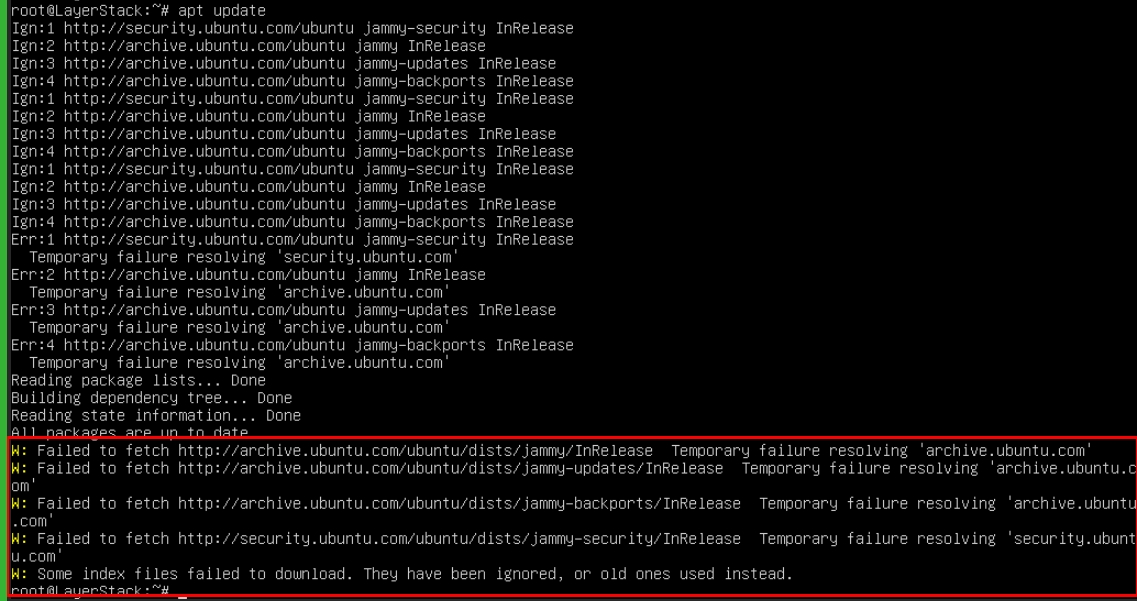
There is an error while running the update command.
Add 2 DNS servers such as 8.8.8.8 and 8.8.4.4 in your /etc/resolve.conf.
# vi /etc/resolve.conf

nameserver 8.8.8.8
nameserver 8.8.4.4


Run update command on the server again.
# apt update
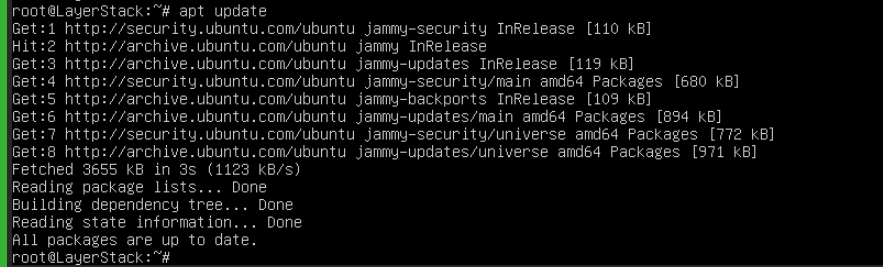
The update is running fine now from the above screenshot.
Install netplan.io.
# apt install netplan.io
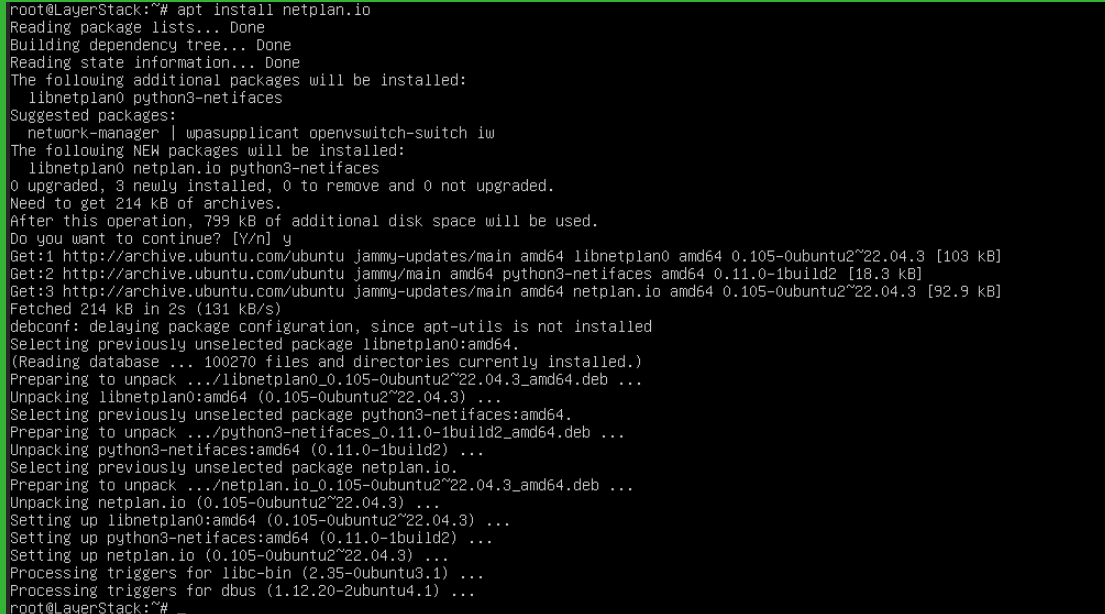
Once netplan.io is installed, make sure to reboot the server once. The network connection will be running smoothly.
