How to install WordPress in a subdomain on Cloud Servers with Nginx
WordPress, one of the most popular content management and blog platforms, is a free open-source CMS software, that allows to create and manage a vast variety of website content efficiently.
This tutorial explains how to install WordPress in a subdomain for eg: support.layerstacksupport.com with Nginx. The tutorial assumes the server is already equipped with the following:
Server installed with Nginx, PHP and MySQL
Root access to the server
Subdomain created and pointed to the server
Now, as part of installing WordPress to a subdomain, we start with creating and setting up Database for the subdomain.
Log in to MySQL and create a new database for the subdomain.
# mysql

MariaDB > CREATE DATABASE supportdb;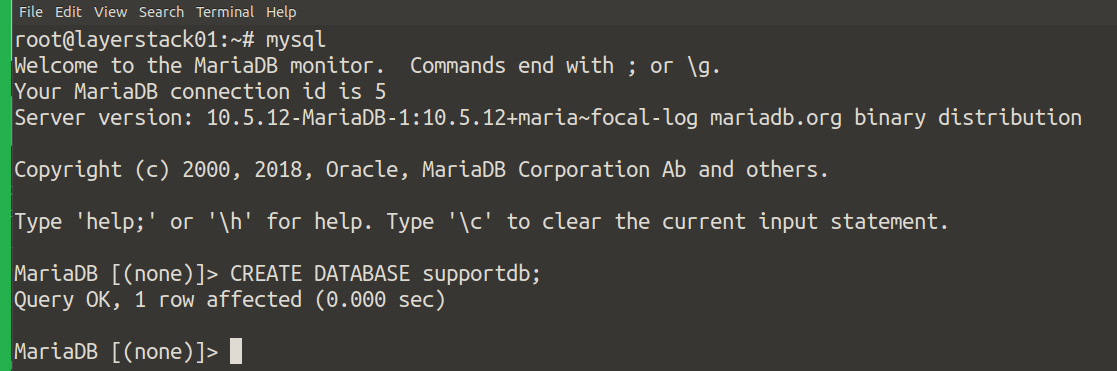
Grant the privileges to the newly created database and assign them with a strong password.
Mariadb > grant all privileges on supportdb.* TO ‘wpuser’@’localhost’ identified by ‘mypassword’
Refresh the privileges and rules set to the database using the command.
Mariadb > FLUSH PRIVILEGES;
Once done, it is okay to leave the MySQL command line by exit command.
The next stage is to install WordPress to the subdomain pointed, and follow the steps for installation.
Create a directory for the subdomain and download the WordPress and then extract the archive files.
# mkdir /var/www/support.layerstacksupport.com
# cd /var/www/support.layerstacksupport.com
# wget http://wordpress.org/latest.tar.gz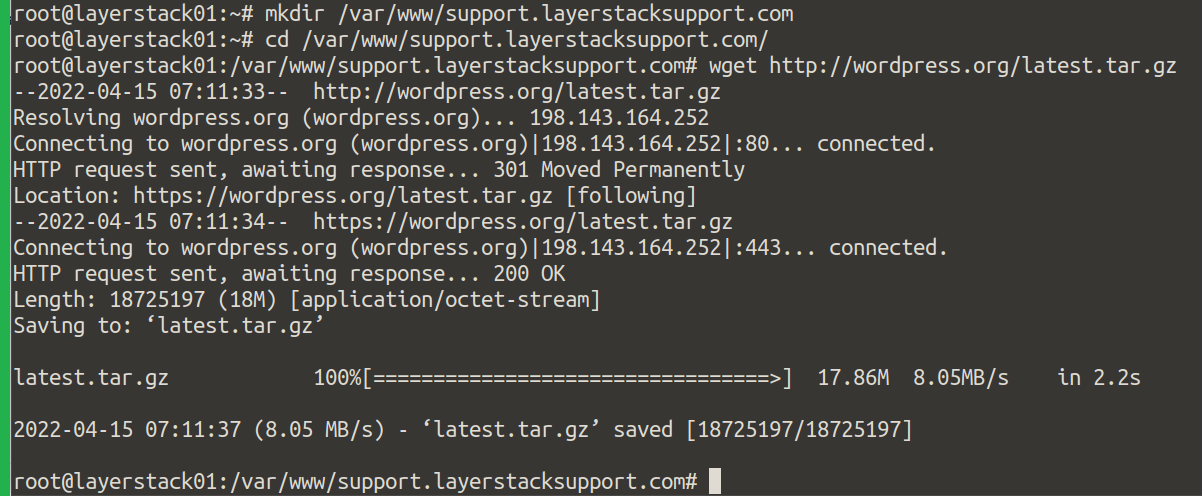
After extracting the files, copy the files inside the created directory.
# tar –xzf latest.tar.gz
# mv wordpress/* .
# chown –R www-data:www-data .
After setting up the WordPress files, it is required to set the Nginx configuration. Now, the permission has to be set correctly, and now setting the Nginx configuration for the website.
Create a new file in location
/etc/nginx/sites-available.# cd /etc/nginx/sites-available # touch support.layerstacksupport.com.conf
Copy below the Nginx configuration and save it in the file
support.layerstacksupport.com.conf.server { server_name support.layerstacksupport.com www.support.layerstacksupport.com; access_log /var/log/nginx/support.layerstacksupport.com.access.log rt_cache; error_log /var/log/nginx/support.layerstacksupport.com.error.log; root /var/www/support.layerstacksupport.com; index index.php index.html index.htm; include common/php74.conf; include common/wpcommon-php74.conf; include common/locations-wo.conf; include /var/www/support.layerstacksupport.com/conf/nginx/*.conf; }After saving the configuration file, please check the Nginx syntax if it is correct.
# nginx -t
Now, create a symlink by activating the Nginx server block by linking it to the
/etc/nginx/sites-enabledusing the below command:# ln –s /etc/nginx/sites-available/support.layerstacksupport.com.conf /etc/nginx/sites-enabled/support.layerstacksupport.com.conf
After the above changes, the configuration is to be refreshed, therefore we restart both the Nginx and PHP processes:
# systemctl restart nginx.service

# systemctl restart php7.4-fpm.service
Finally, the WordPress installation phase. Now, log in to the subdomain, and proceed with the installation:
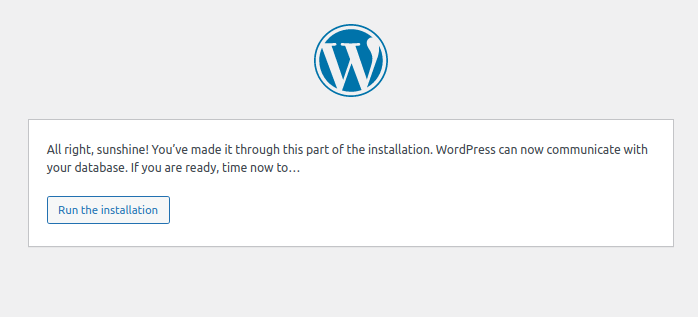
Click on
Run the installationand proceed further and select the Language and proceed further.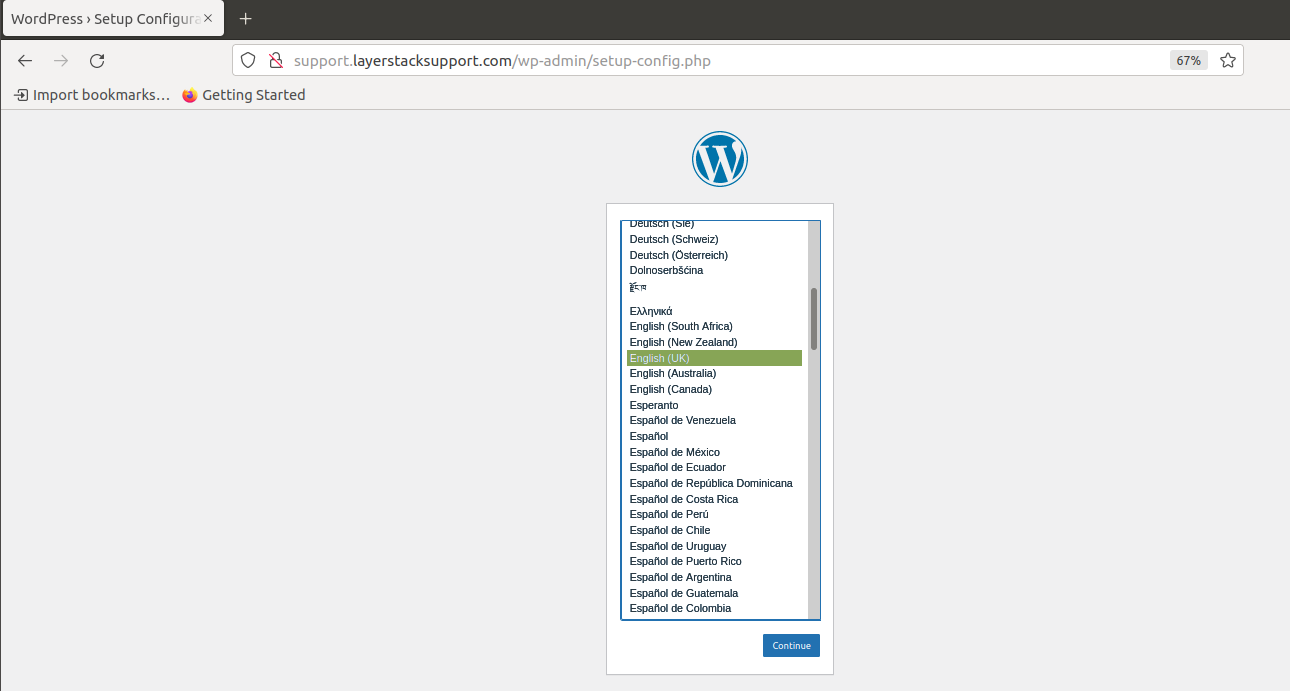
Go ahead and click on
Continue.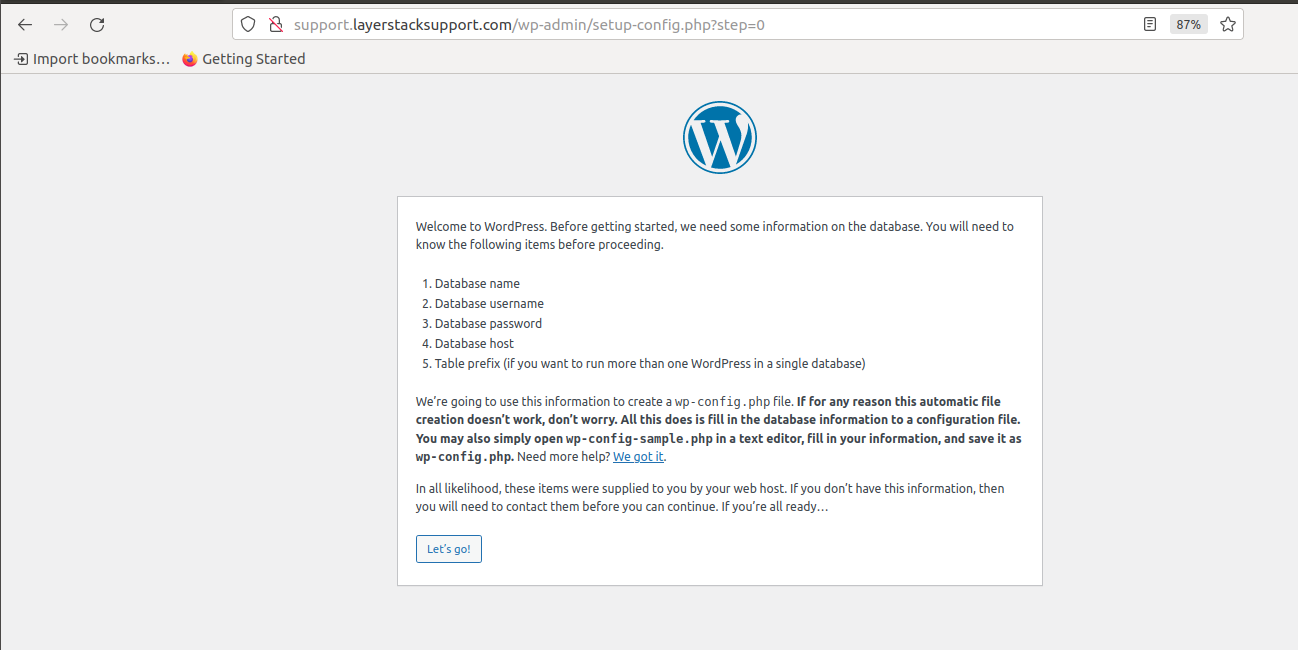
Click on
Let’s goand this will continue with the installation wizard of WordPress, enter the database details and make sure the Database host is localhost.Note: The database details are the same ones that are used when creating the database:
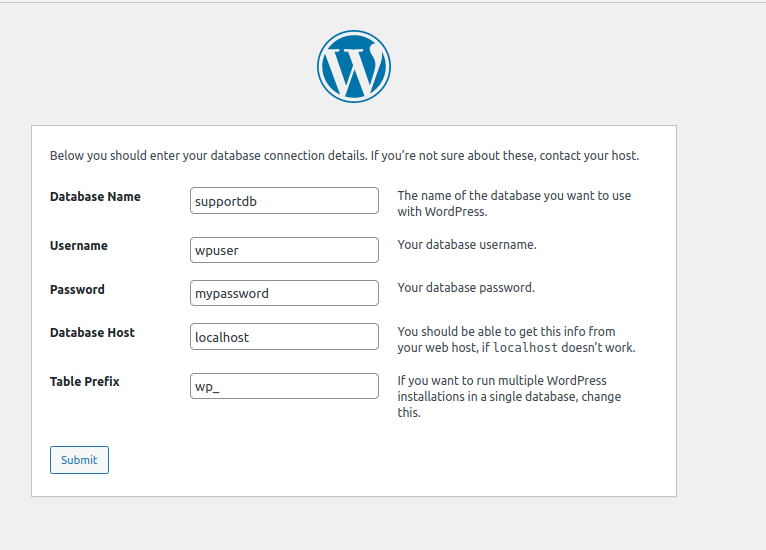
Once filling in the details, click on
Submitand theSite TitleandWordPress login detailsare to be entered.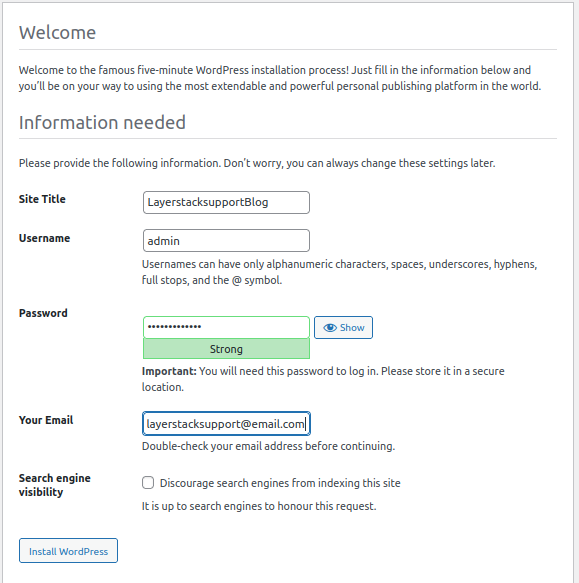
Click the
Install WordPressand the final step for the installation is done, you can log in using the above username and password.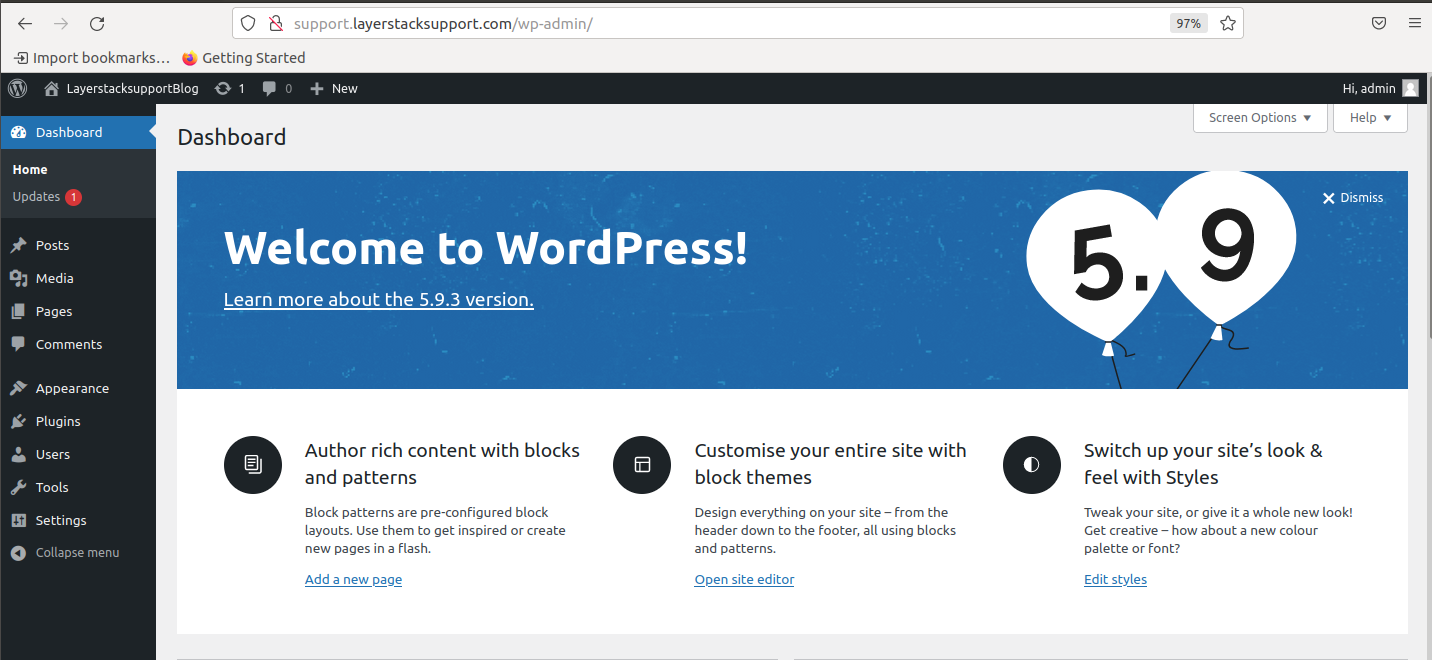
The installation of WordPress has concluded. Once the above steps are correct, you would be able to view the WordPress dashboard.
Related Tutorials
How to use the WordPress One-Click Install on LayerStack Cloud Servers
How to migrate WordPress to LayerStack Cloud Servers by Plesk Panel
How to reset WordPress Admin Password via MySQL Command Line
How to change the maximum Upload Size for WordPress (One-click Apps)
How to harden WordPress Security between Cloud Servers and Cloudflare
