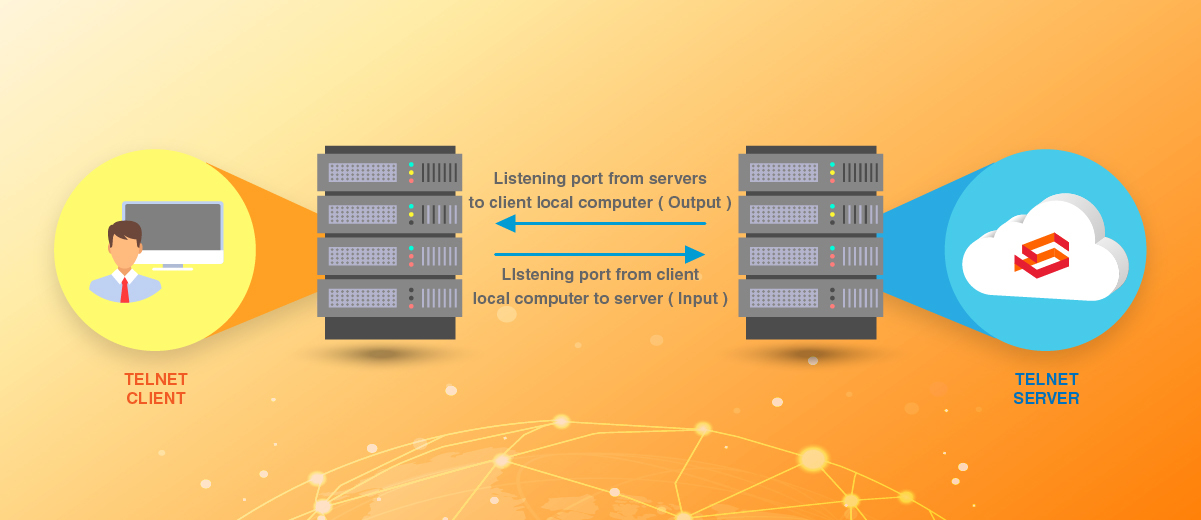
Telnet is a command protocol that allows a user to connect to a remote host. It makes use of TCP/IP protocol to establish a connection with the remote computer.
This command is a valuable tool that allows for troubleshooting and testing of various services in a server. One of the main uses of the telnet command is to check if a particular port is listening on a server. The general format of the telnet command is as below:
telnet [hostname/ipaddress] [port number]
The below example command tests if port 22 is listening for the server's IP address 123.123.123.123.
telnet 123.123.123.123 22
By default, the Telnet client is not installed on macOS. This guide outlines the general steps to install telnet commands in your Mac machine.
Open Terminal and start to install Homebrew on macOS.
/usr/bin/ruby -e "$(curl -fsSL https://raw.githubusercontent.com/Homebrew/install/master/install)"
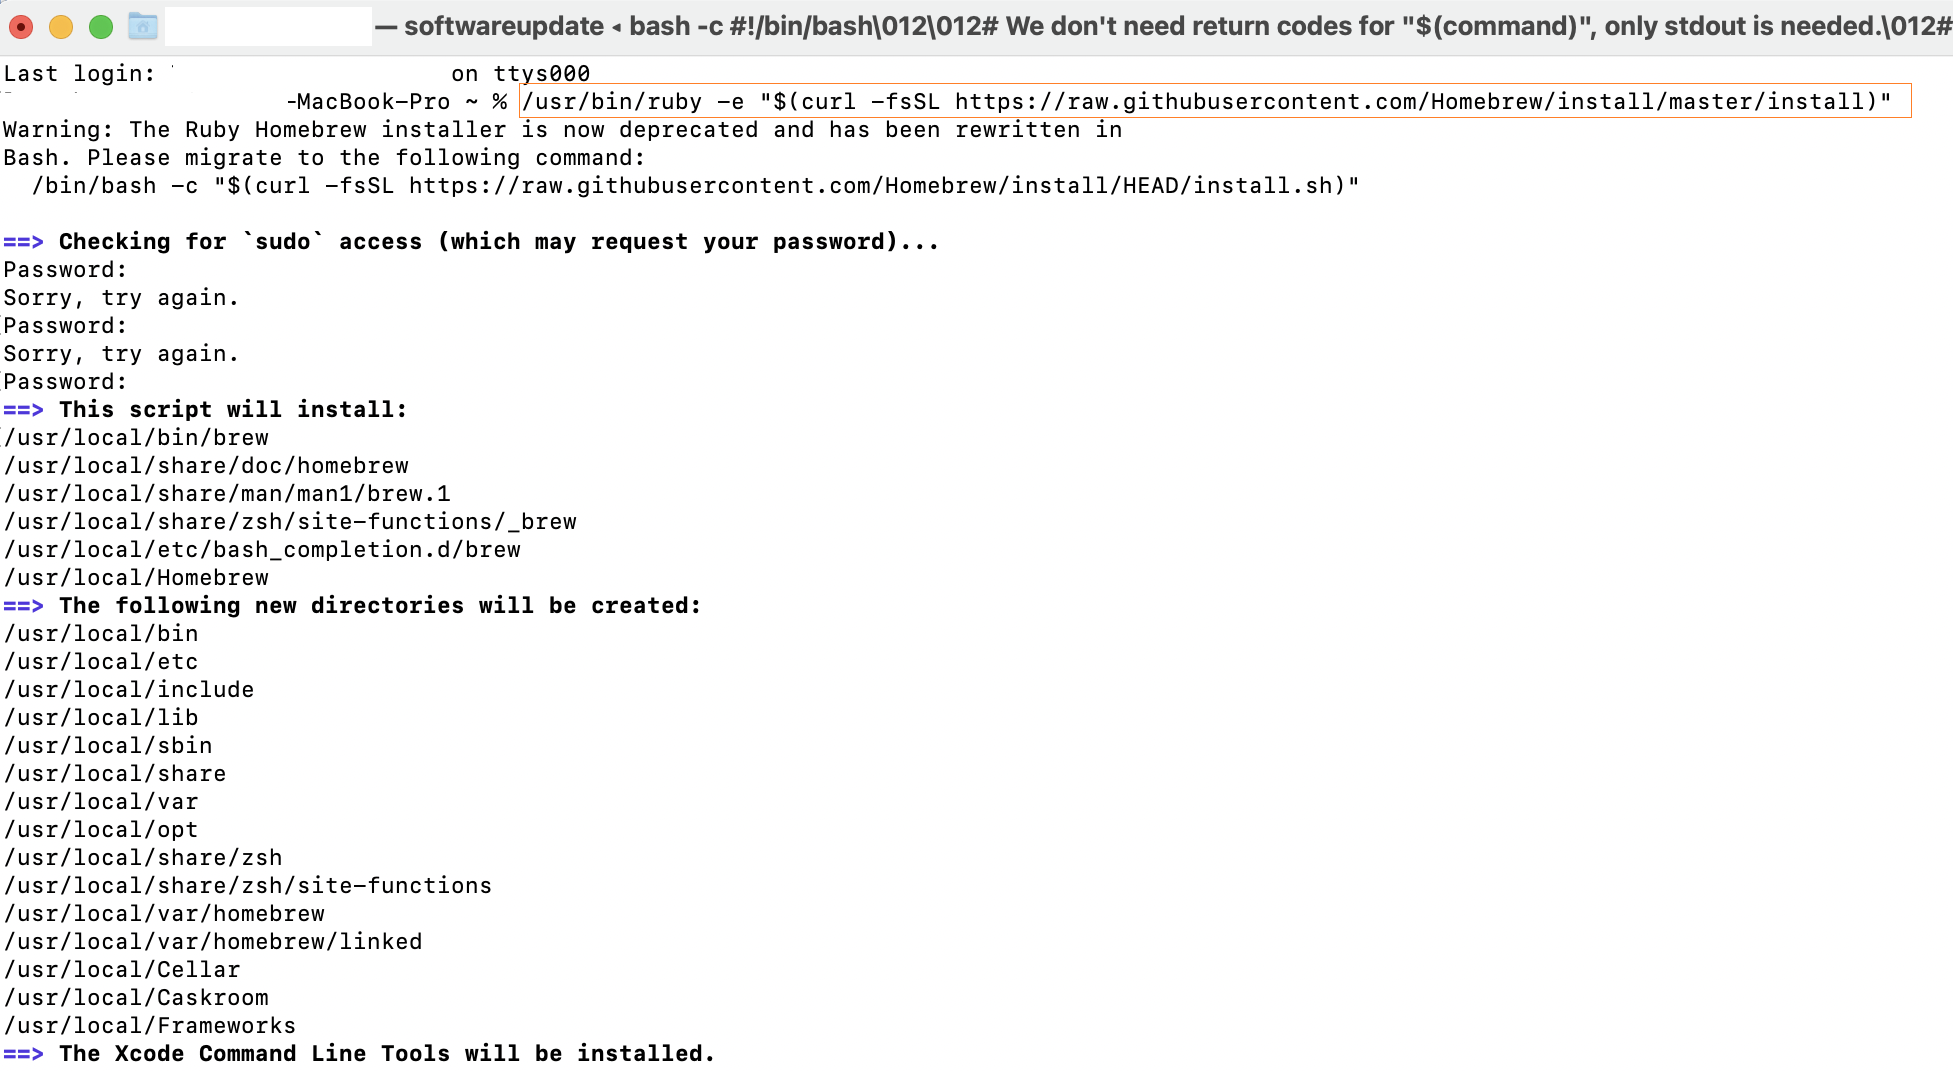
Input your administrator password and authorize the installation.
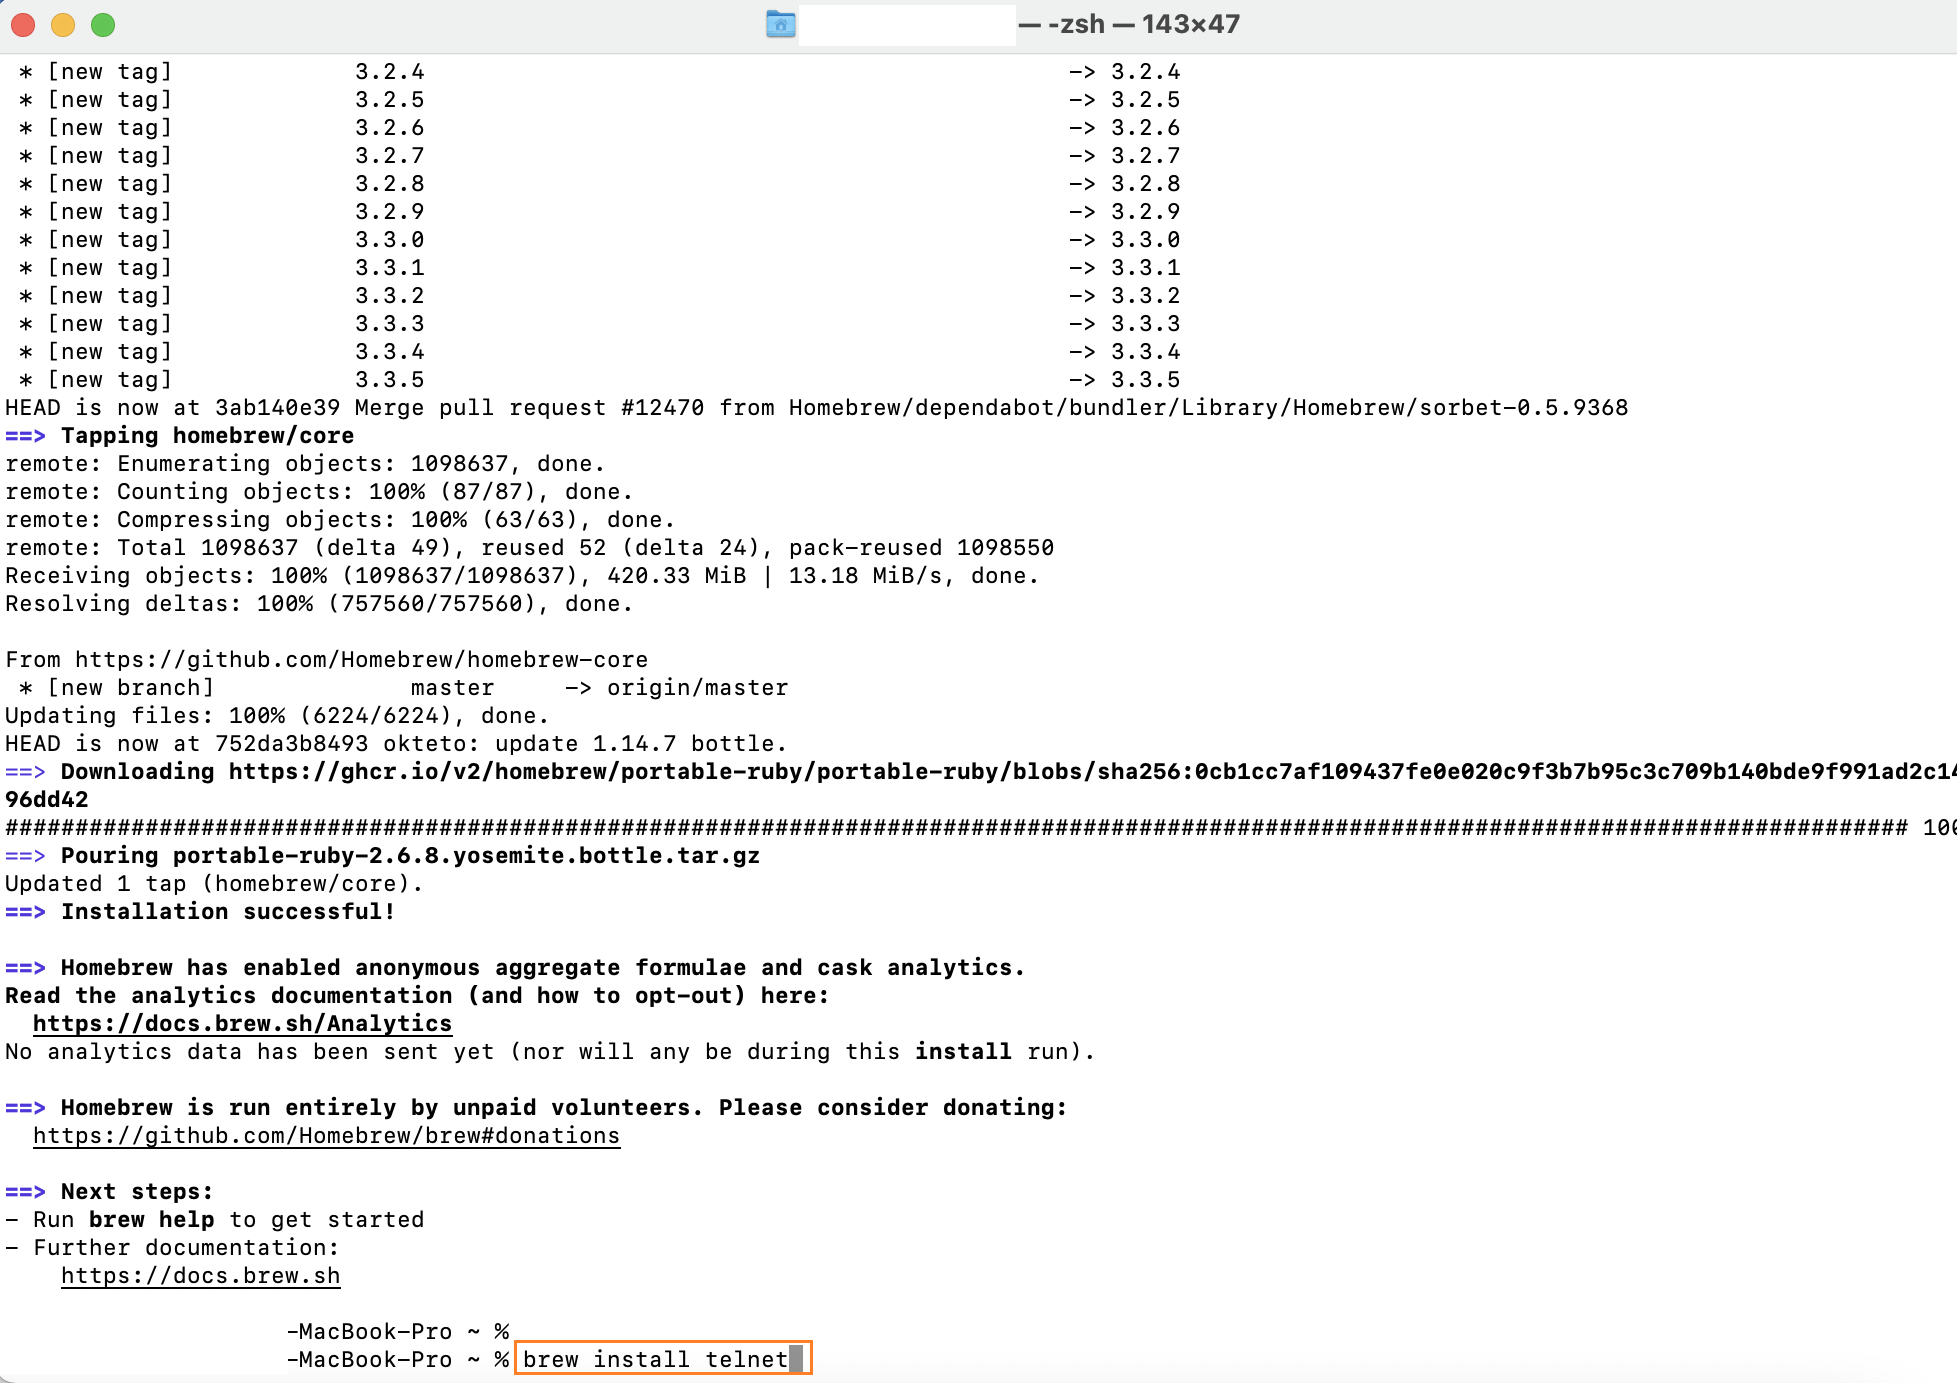
Once Homebrew is installed, can start to install the telnet client with the following command.
brew install telnet
When installation has complete, you can run Telnet as usual:
telnet [hostname/ipaddress] [port number]
Related Tutorials
