Installing Magento on Linux Cloud Servers
Magento, which is created using the Zend framework, is one of the most popular and widely used e-commerce platforms. It is written in PHP and can be made use of to develop shopping cart systems.
The guide outlines the basic steps of installing the Magento application in an Ubuntu server which also applies to all Linux distribution, assuming that the server already has a web service (Apache), database service (MySQL/MariaDB) and PHP installed in it.
Create Magento database
The first step before installing Magento in the server would be to create a database that would be used to store the Magento data.
Log in to the database server by executing the below command.
# mysql -u root -p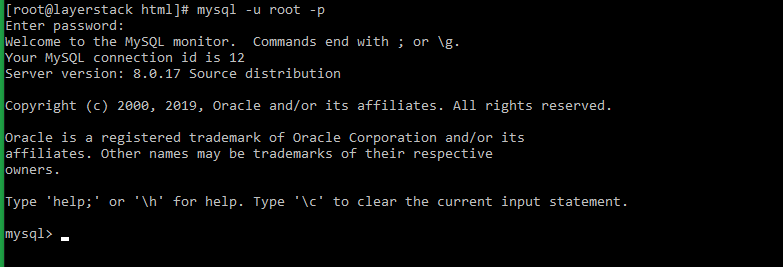
Create the Magento database and an associated database user.
# CREATE DATABASE lsmgn_db;

# CREATE USER 'lsmgn_usr'@'localhost' IDENTIFIED BY 'mgnusrpwd';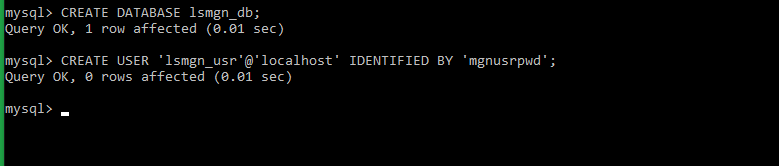
In the above example commands,
lsmgn_dbis the database name,lsmgn_usris the database user associated withlsmgn_dbandmgnusrpwdis the password for the userlsmgn_usr.Grant permissions for the database user to access the Magento database.
# GRANT ALL ON lsmgn_db.* TO 'lsmgn_usr'@'localhost';
Exit the MySQL/MariaDB database server.
# FLUSH PRIVILEGES;

# quit;
Start to install Magento
For installing Magento, the latest Magento Community Edition installation archive file first needs to be downloaded. This can be done from the official Magento website downloads page https://magento.com/tech-resources/download.
Kindly note that you would need to register for a free account on the Magento website in-order to download the Magento installation archive.
Download the Magento installation tarball (
Magento-CE-X.X.tar.gz) to the local machine and then copy over the downloaded file to the path under which the Magento application is to be installed in the server using FTP/SFTP.Navigate to the path under which the Magento application is to be installed. This can be under the default document root of the web service or under any website.
In the below example, Magento is being installed under the default document directory of Apache (
/var/www/html/).# cd /var/www/html/
Extract the tarball and all the files/folders of the Magento installation archive will be extracted to the directory.
# tar -xvf Magento-CE-X.X.tar.gzExecute below two commands to set the required permissions for the folder and files that have been extracted.
# find /var/www/html/ -type d -exec chmod 755 {} \;

# find /var/www/html/ -type f -exec chmod 644 {} \;
The Magento installation page can now be browsed using a browser.
http://<ipaddress>/ (if Magento is installed under default directory)
OR
http://<websitename>/ (if Magento is installed under a website)
Click on
Agree and Setup Magentoto proceed with the installation.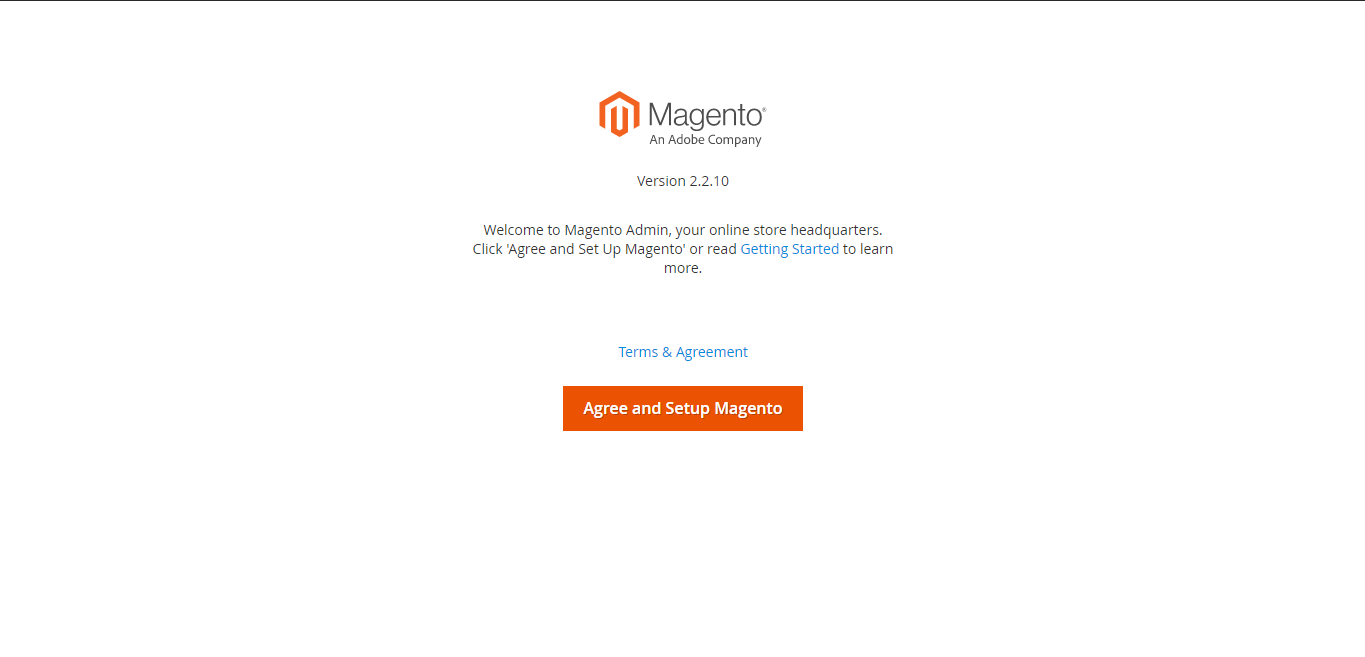
On the next page, click on
Start Readiness Checkwhich will automatically check and verify if the server parameters are suitable for the installation of Magento. If any of the requirements is not fulfilled, this must be corrected first before proceeding further.Once all parameters are satisfied, a screen like the below will appear. Click on
Next.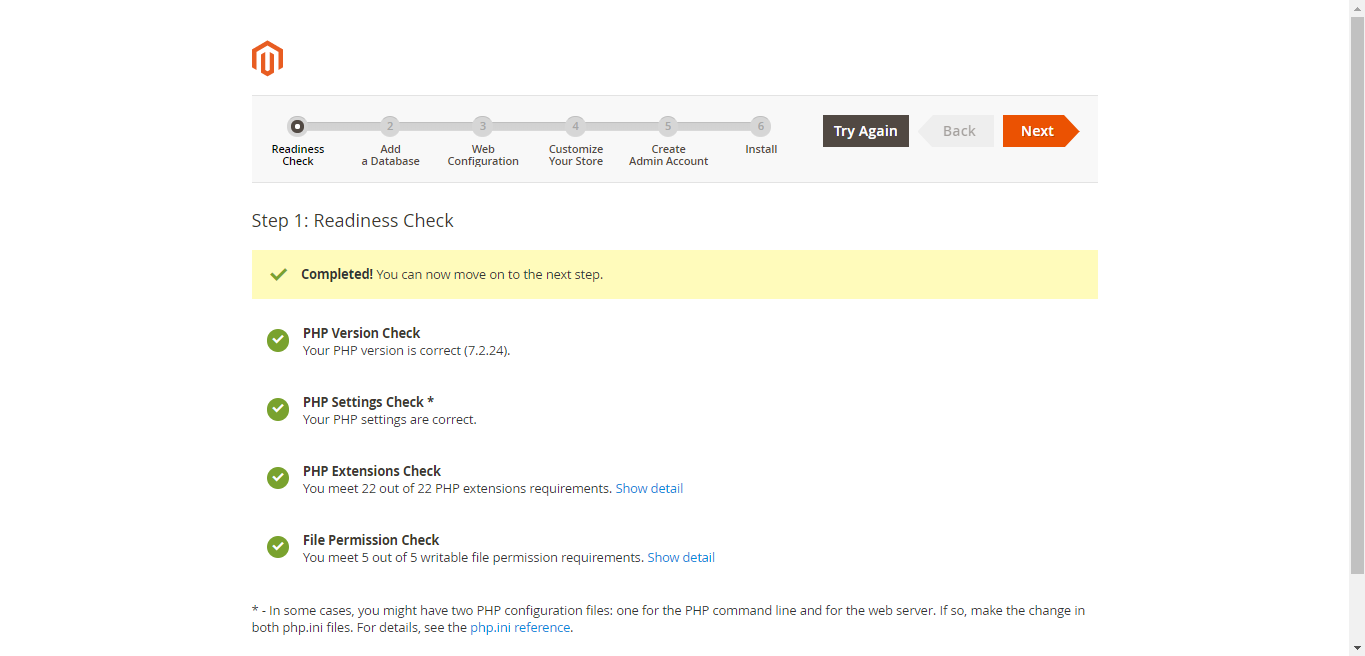
On the next page, fill in the details of the database that was created earlier. The Magento default data would be loaded into this database. The
Database Server HostandTable prefixfields can be left changed. Once all details are entered, click onNext.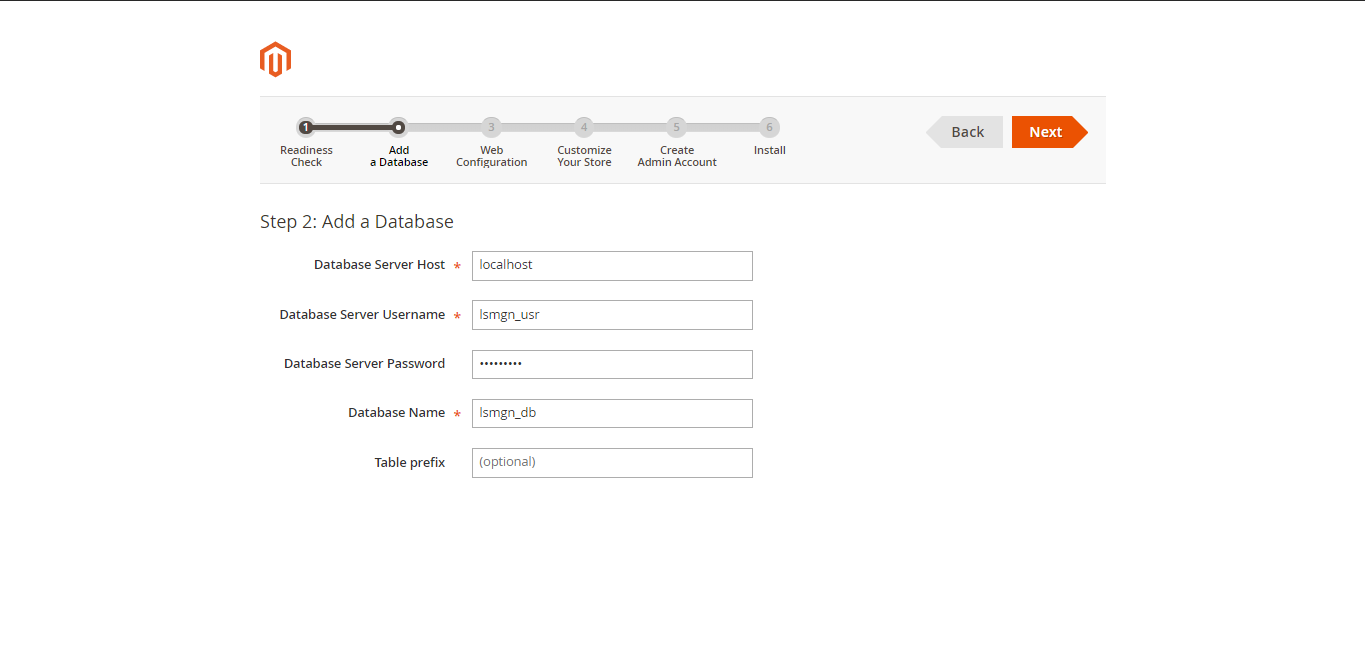
Type in the Magento store website address as well as the admin dashboard web address. Further additional settings can also be configured from this page. Click on
Nextto proceed.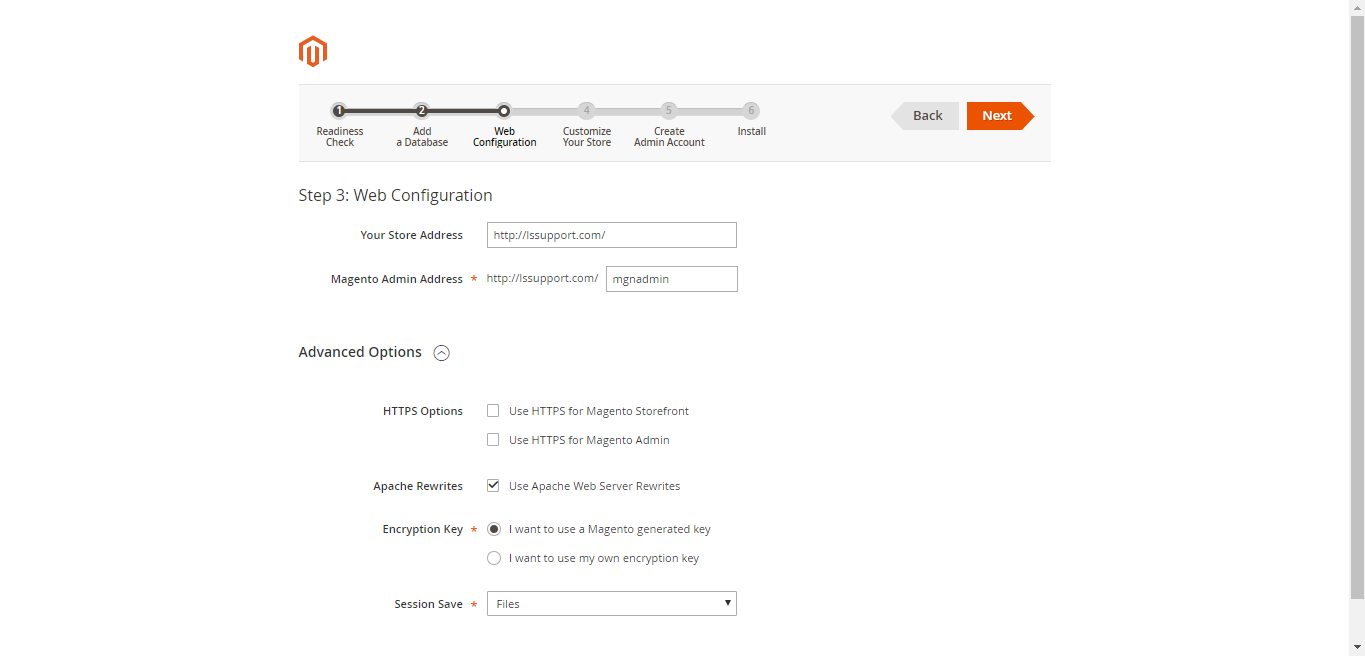
Further settings to customize the Magento store can be set up on the next page. Once this has been done, click on
Next.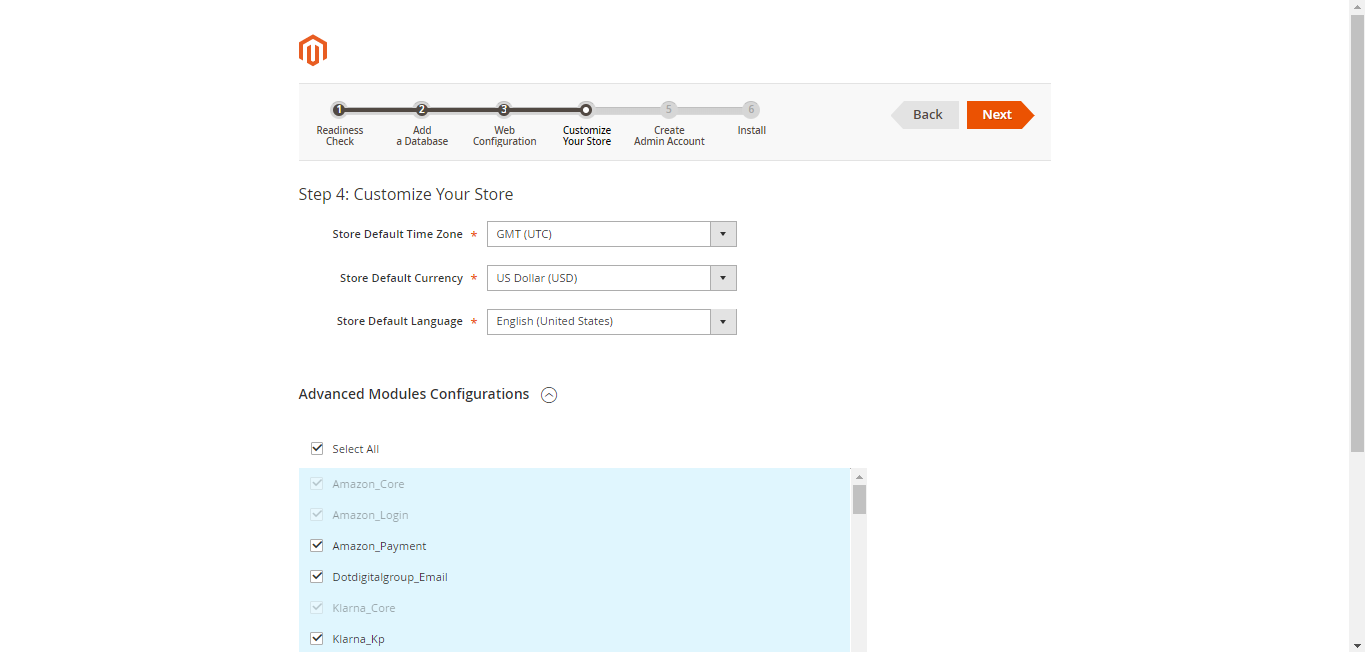
On the next page, create the admin account which will be used to access the Magento admin dashboard. Admin username, password and a valid email address are required to be filled in. Click on
Nextonce this has been done.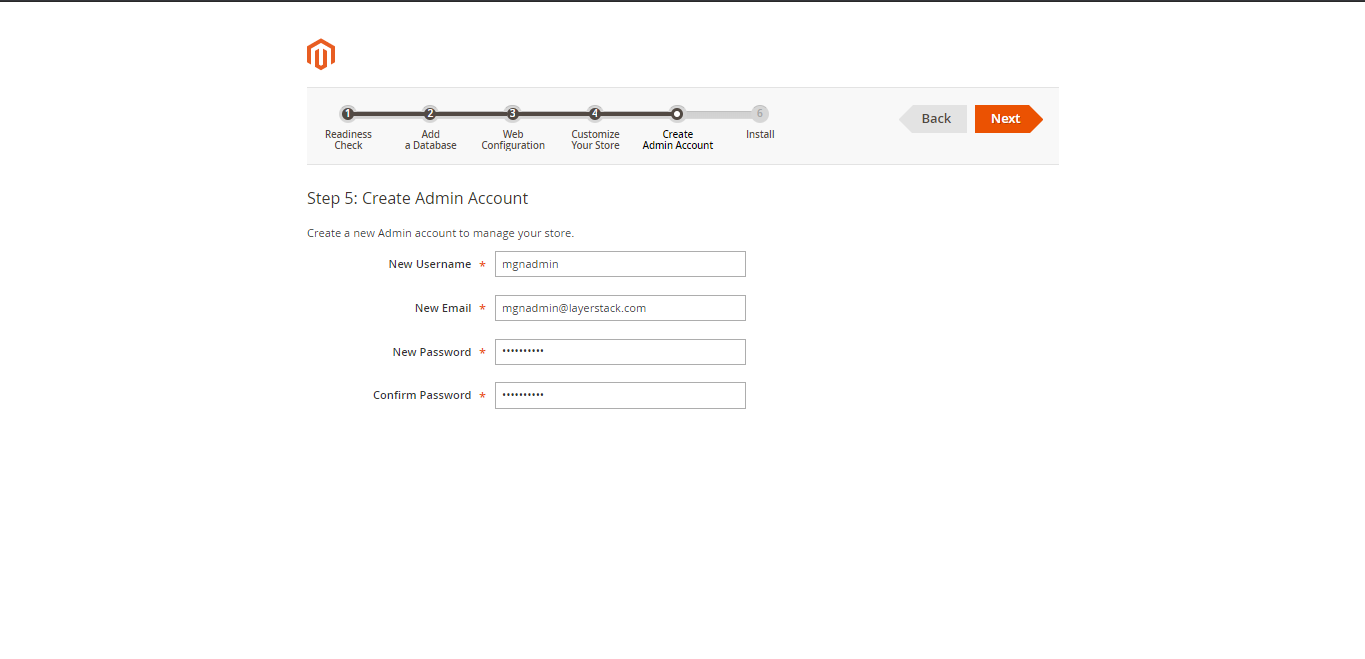
Click on
Install Nowto proceed with the final installation of the Magento Application.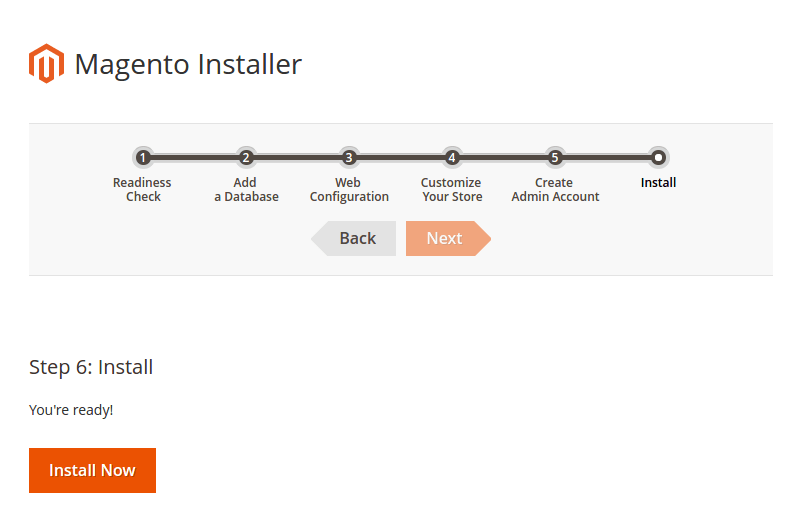
The installation may take few minutes to get completed. Once completed, a summary of the installation will be displayed indicating a successful installation of Magento.
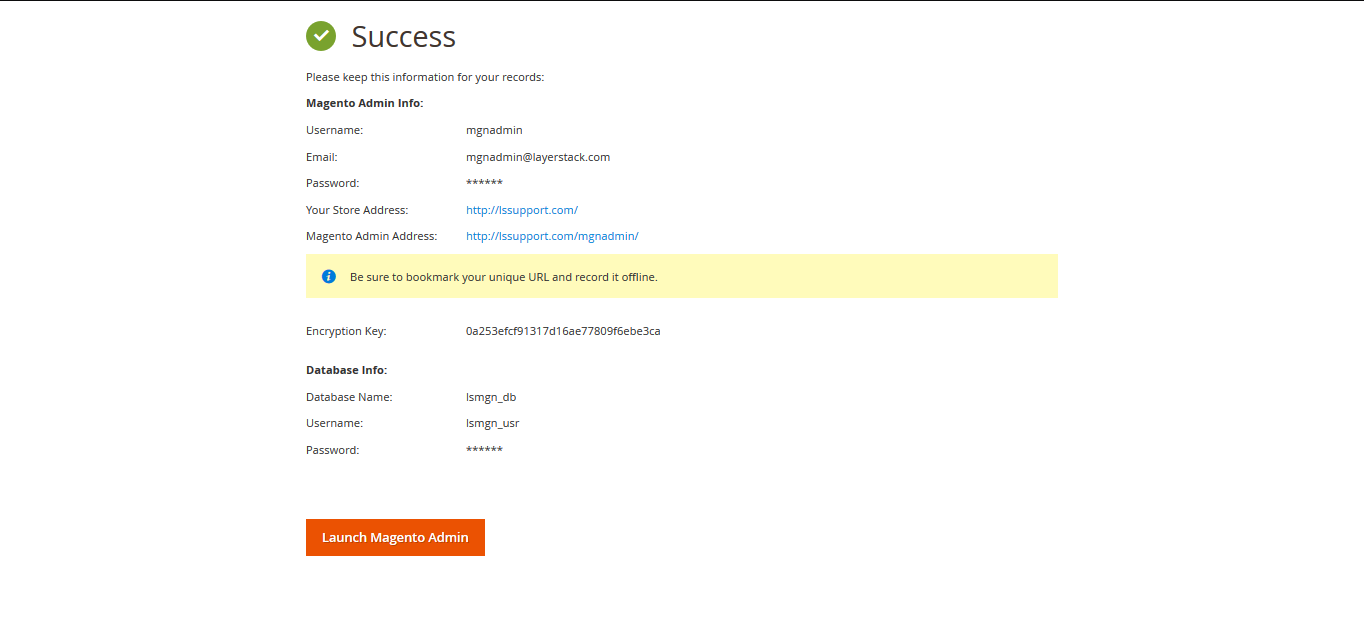
Click on
Launch Magento Adminbutton to access the admin dashboard of the Magento application. Log in to the dashboard, with the admin login details that were set up earlier (Step 11).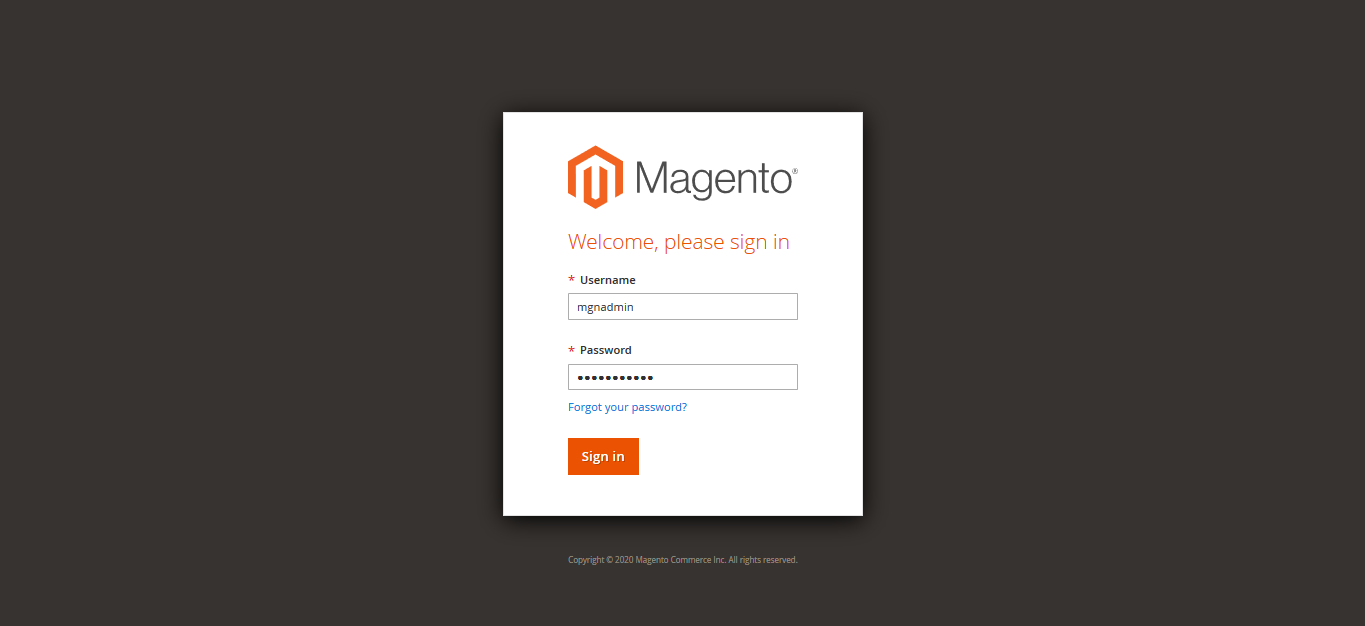
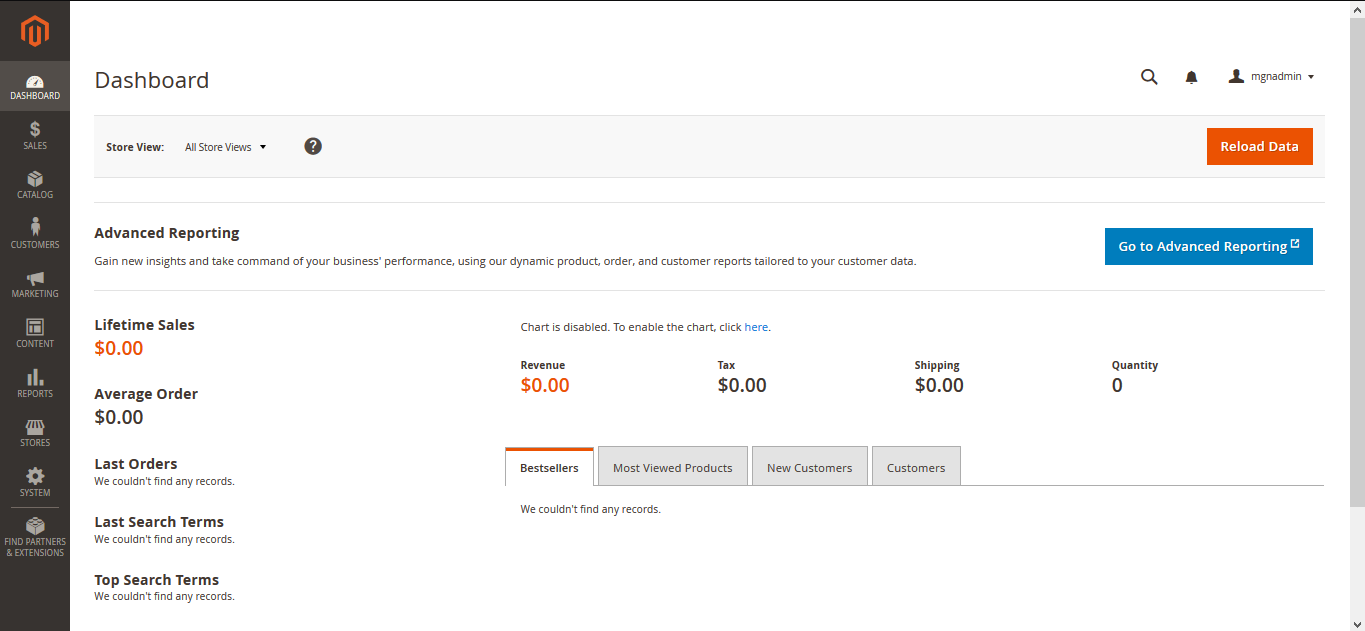
Once inside the admin dashboard, the Magento website can be personalized and set up as per requirements.
Related Tutorials
