Git is a Distributed Version Control tool used to track changes in the source code and store different versions of a file in a remote or local repository.
This guide will describe the steps to install Git in the Linux and Windows servers.
Double click on the Windows option mentioned in the below image.

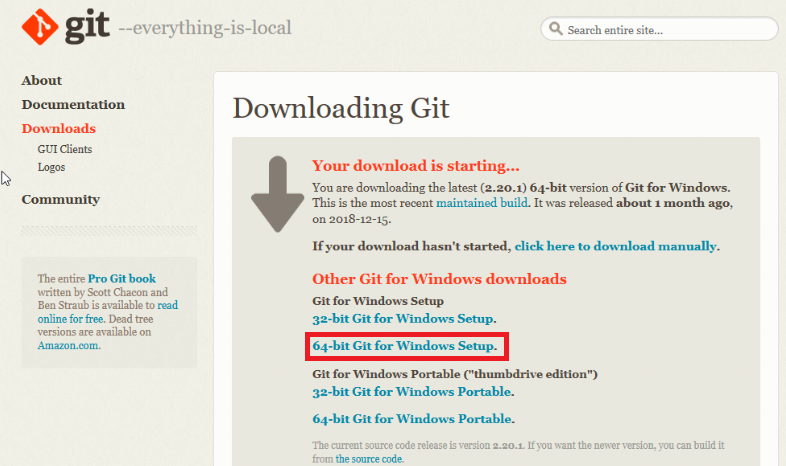
Double click on the package name mentioned in the below image to download the most current version for your operating system.
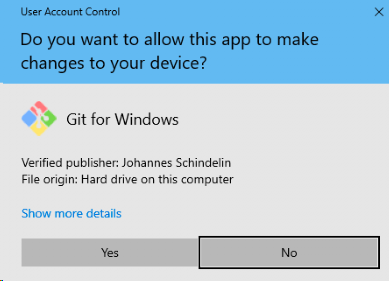
Once the downloading is completed, open it and click YES to continue.
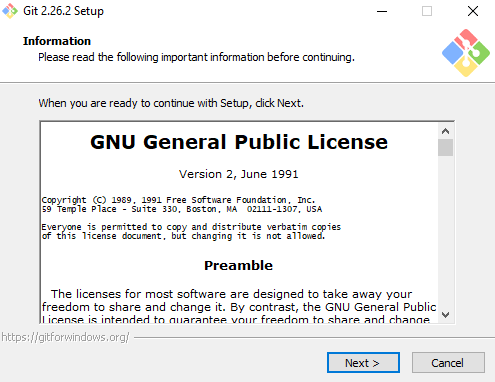
Click Next to continue.
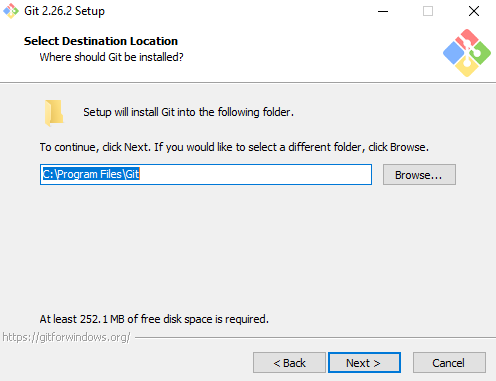
Click on next to continue with the default location or click Browse and select a new location.
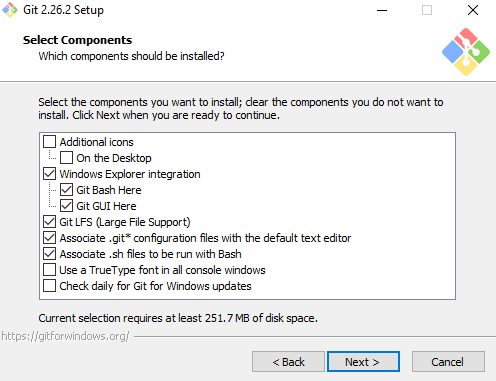
Click on next to continue with the default components otherwise select the new components before clicking the Next button.
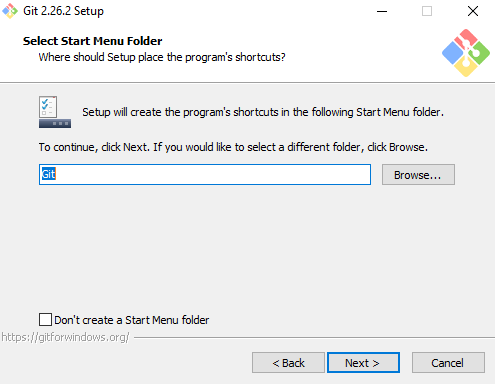
Click on next to accept the default Start Menu folder otherwise use Browse to select a new folder location.
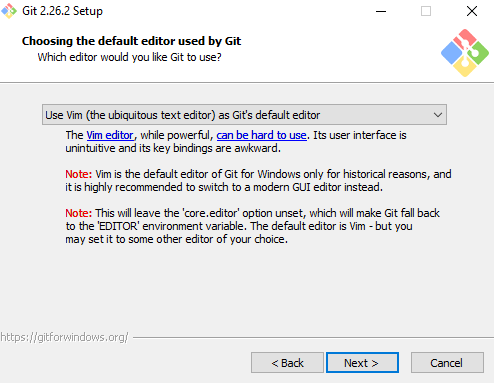
Select default text Editor Vim for the Git and then Click next.
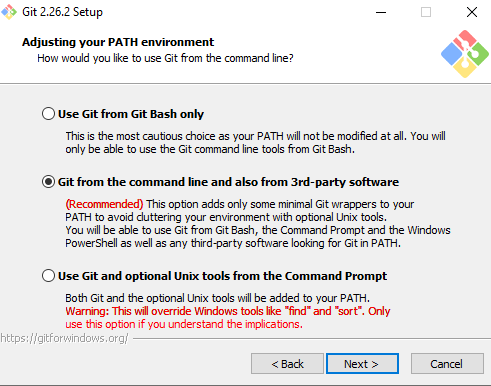
Adjust the path environment and then click on Next, you may choose Recommended that one.
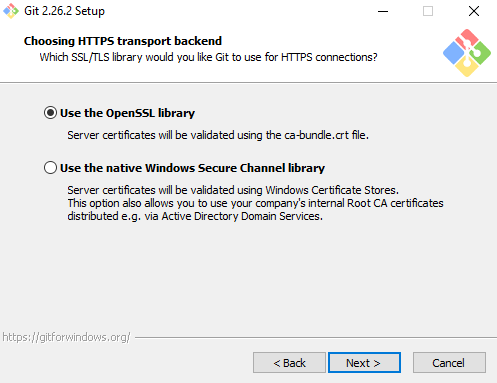
Choose the required SSL/TLS library that will be used for HTTPS, click on Next.
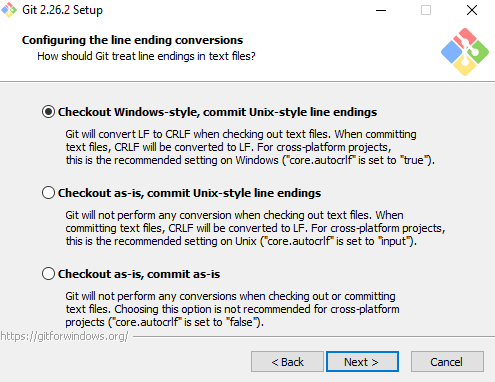
Click on next to keep the default line ending conversion otherwise choose one of the two other choices before clicking Next.
Choose the terminal emulator that will use, and then click on Next.
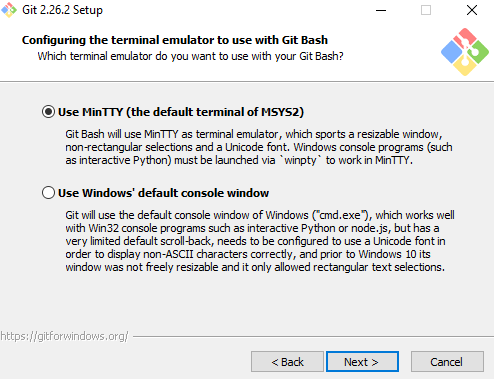
Click Install to continue.
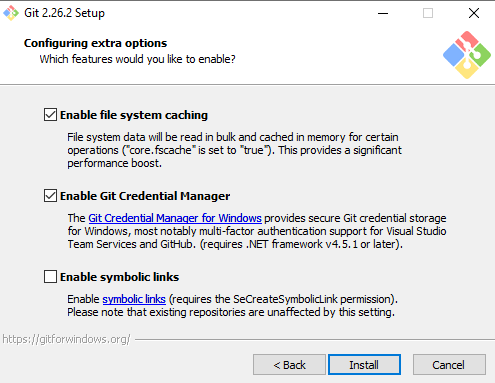
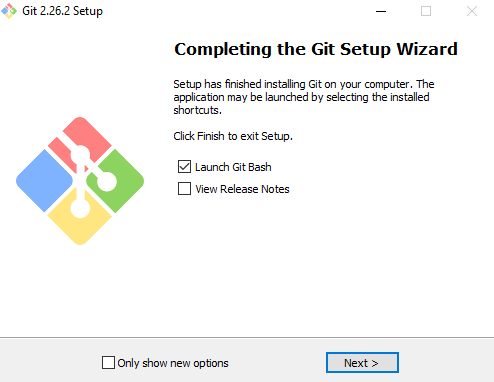
Check Launch Git Bash and then select Next to complete.
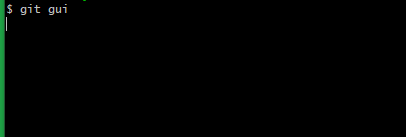
Launch the Git GUI from the bash shell by using the below command.
git gui
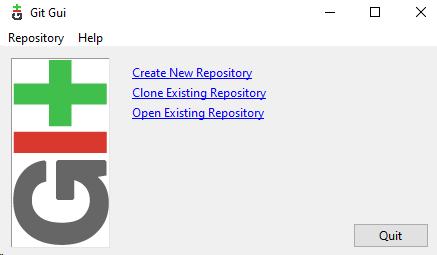
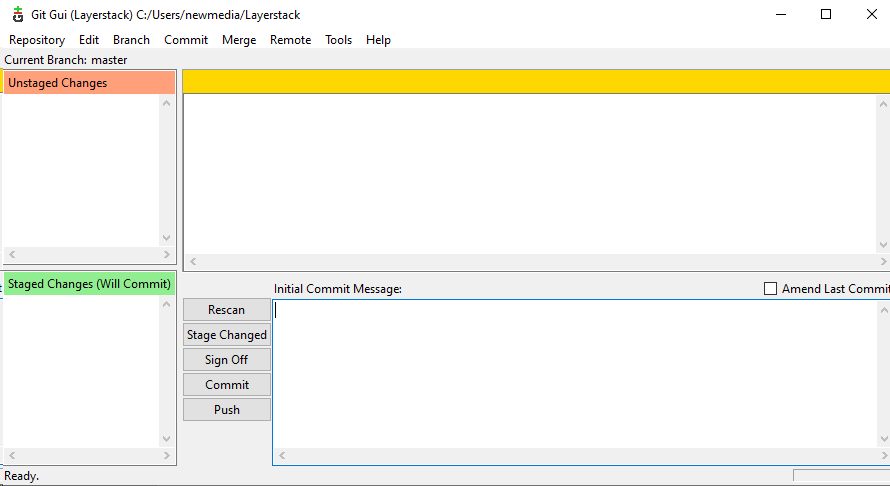
Then will get the Git GUI interface. From there can Create New, Clone Existing, or Open Existing Repository.
