Node.js is a free, open-source and cross-platform Javascript run-time environment to execute server-side Javascript code. It can be used to develop intensive and dynamic web applications such as video streaming sites and single-page applications. This tutorial will guide you on how to install Node.js on Windows server.
Download the Node.js .msi Installer from the official website ( https://nodejs.org/en/download/ ).
Run the Node.js installer from the downloaded folder.
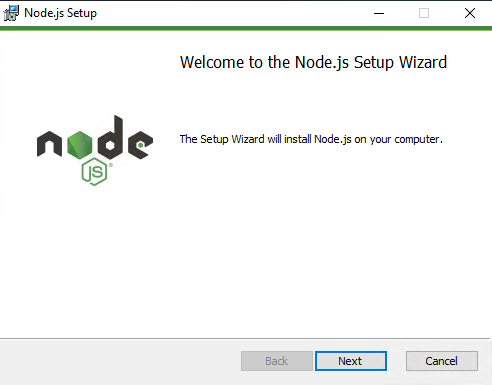
Welcome to the Node.js Setup Wizard, click Next.
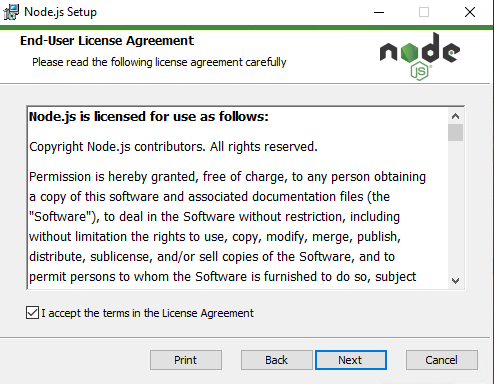
Check the box I Accept the terms in the license Agreement and click Next.
Select the Destination Folder and click Next.

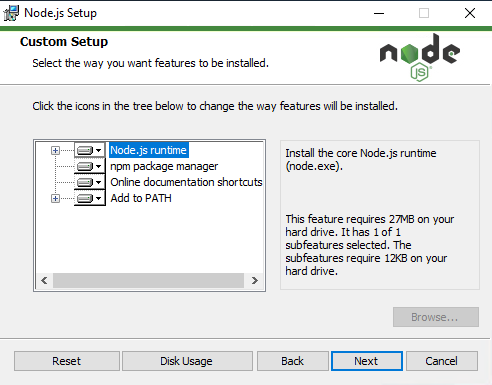
On Custom Setup, select the required features and click Next.
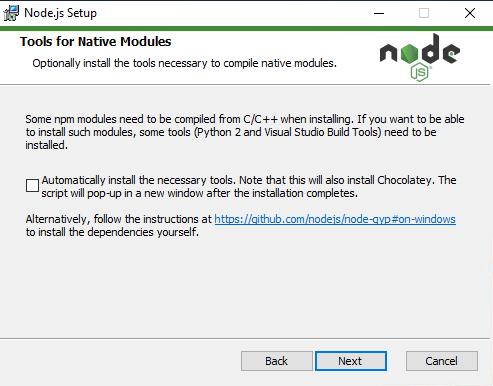
Tools for Native Modules are optional. Check the box Automatically install the necessary tools if needed and click Next.
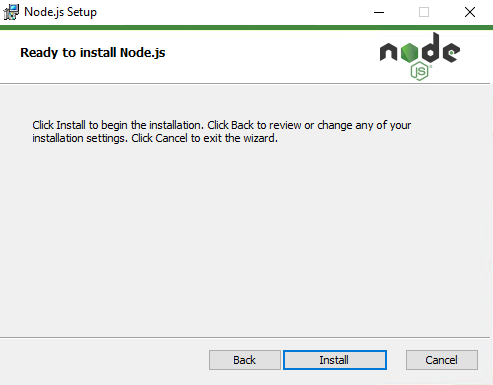
Click Install to begin the installation.
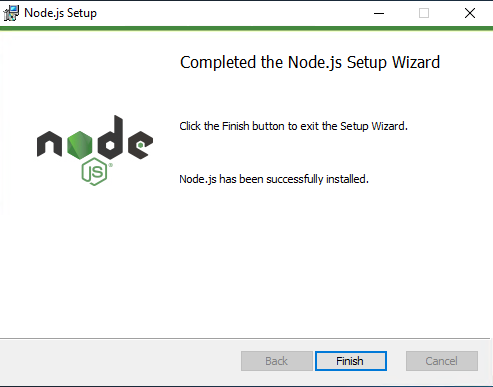
After Node.js is successfully installed, click Finish.
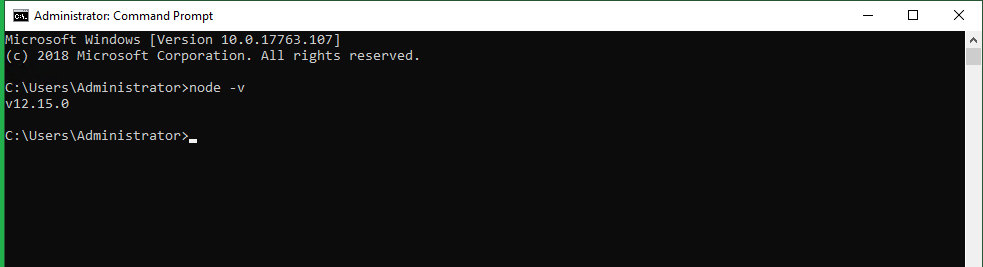
To verify the Node.js was Properly installed, open CMD and type node -v , the command prompt will print the version Installed.
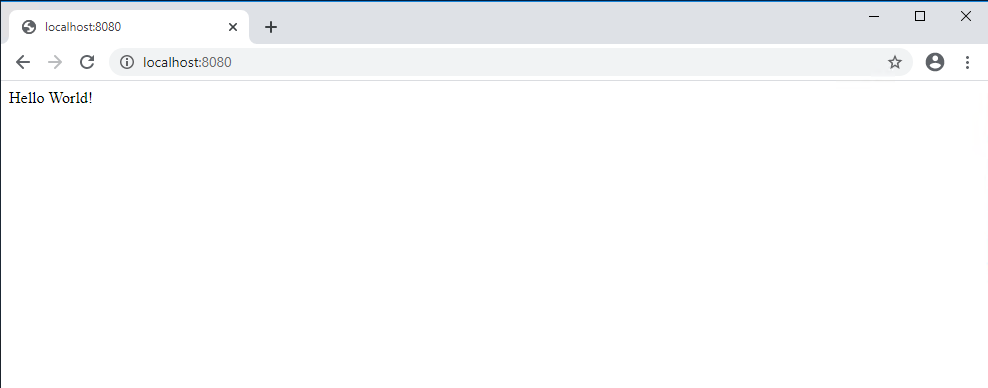
Now you may test Node.js.