How to install and configure the Wiki.js on CentOS 8 Cloud Servers
Wiki.js is a free and open-source wiki application built on Node.js. It uses Markdown files to save contents which can be saved directly to the Markdown file and synced with a Git repository.
Wiki.js offers features such as integrated access control, proper asset management as well as a built-in search engine.
This guide outlines the steps required to install Wiki.js on a CentOS8 Cloud server:
Requirements:
- Updated CentOS8 server
- Node.js, GIT and Redis
- NGINX and MariaDB
Updating OS packages in server
Log in to the server through SSH and execute the below command to update the OS packages.
# dnf update -y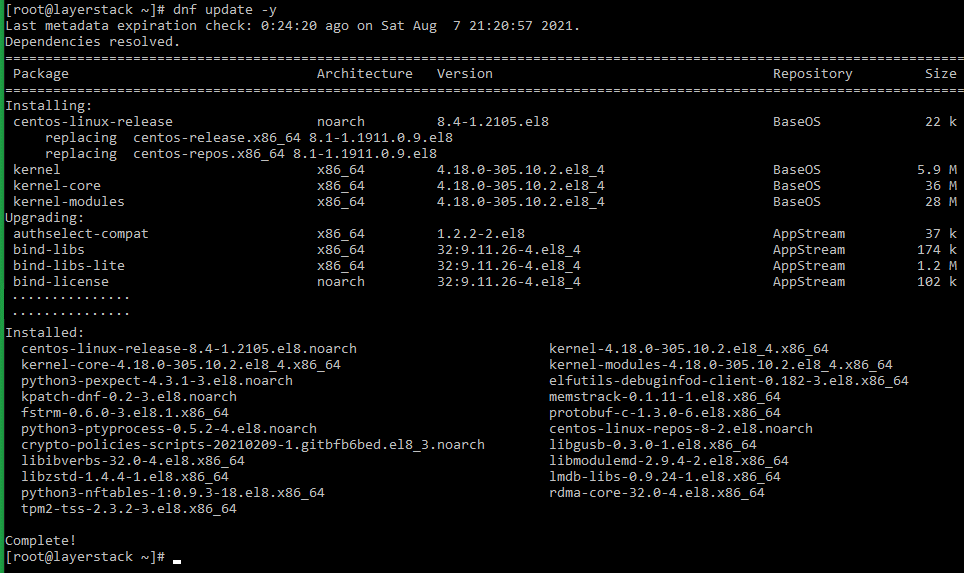
Installing Node.js, GIT and Redis
Node.js needs to be installed in the server since Wiki.js is built on it.
Before proceeding with the installation of Node.js, run the below command to install all required dependencies.
# dnf install epel-release git curl unzip -y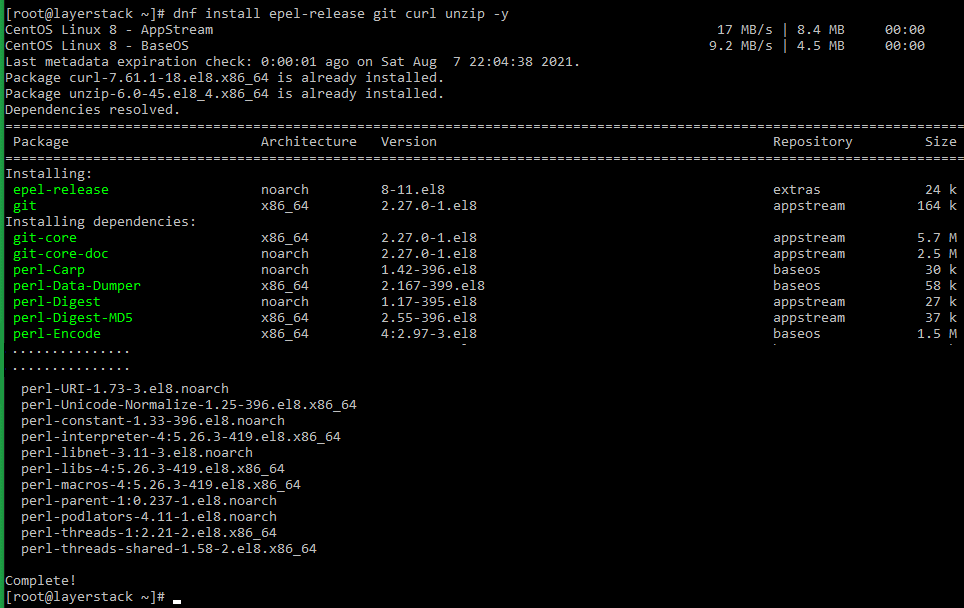
Add the Node.js repository using the below command.
# curl -sL https://rpm.nodesource.com/setup_12.x | bash -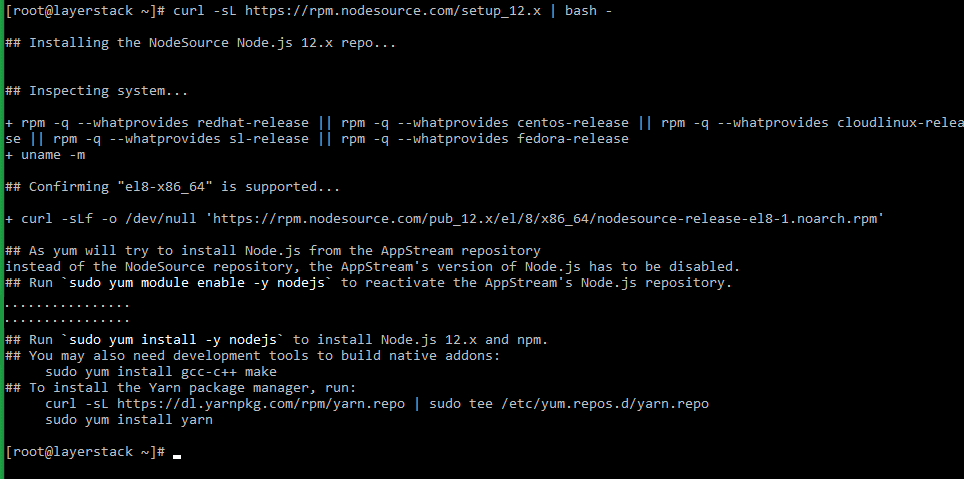
Install Node.js and Redis by running the below commands.
# dnf install nodejs redis -y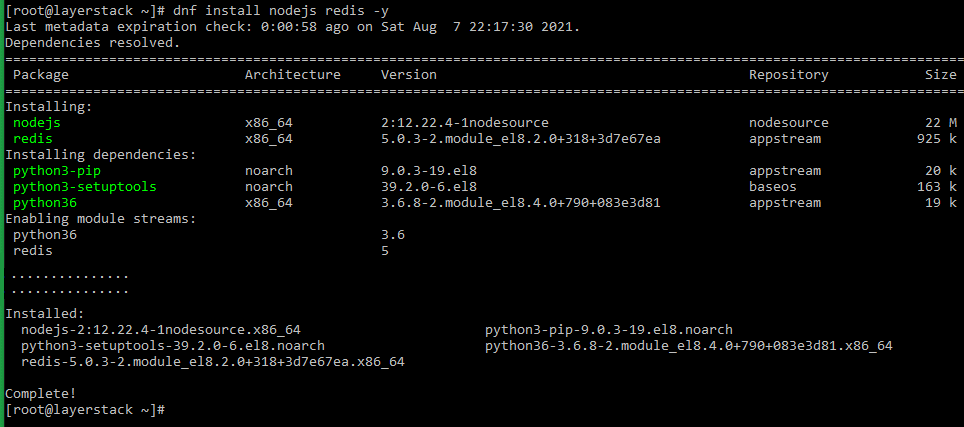
Start and enable the Redis service to start at system reboot
# systemctl start redis

# systemctl enable redis
Installing NGINX and MariaDB
Wiki.js requires a web server as well as a database server to function.
Run the below command to install the NGINX web server and MariaDB database server in the Cloud server.
# dnf install nginx @mariadb -y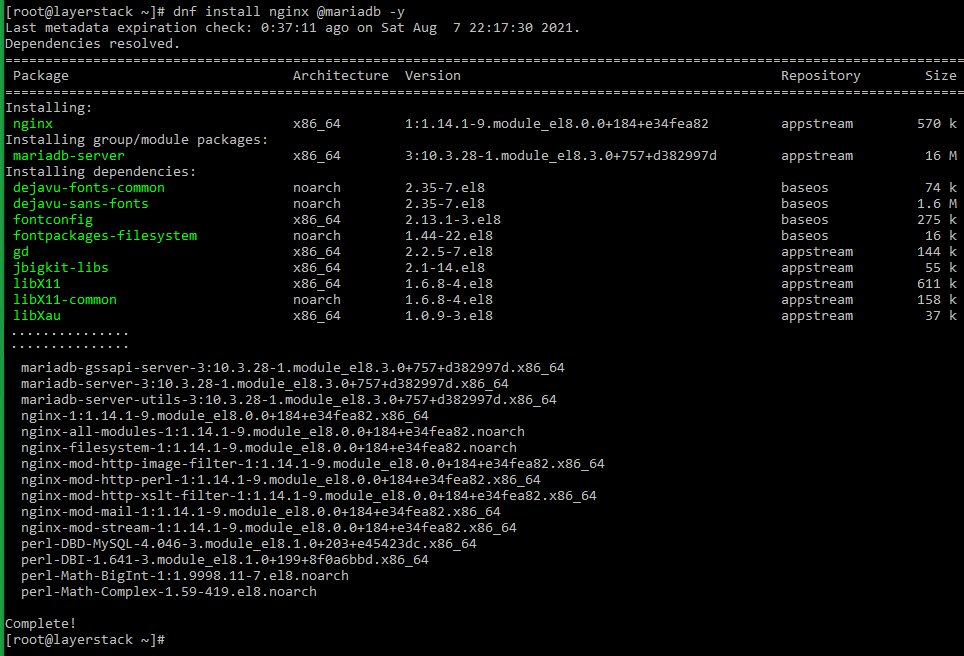
Start both the NGINX and MariaDB services and enable them to start up at system reboot.
# systemctl start nginx

# systemctl start mariadb

# systemctl enable nginx

# systemctl enable mariadb
Secure MariaDB installation by running the below command and completing the setup as below.
# mysql_secure_installationEnter current password for root (enter for none): Set root password? [Y/n] Y New password: Re-enter new password: Remove anonymous users? [Y/n] Y Disallow root login remotely? [Y/n] Y Remove test database and access to it? [Y/n] Y Reload privilege tables now? [Y/n] Y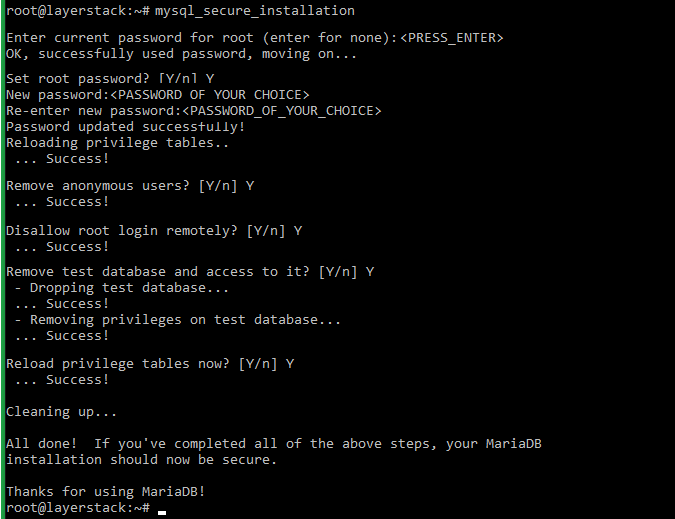
NOTE: Replace
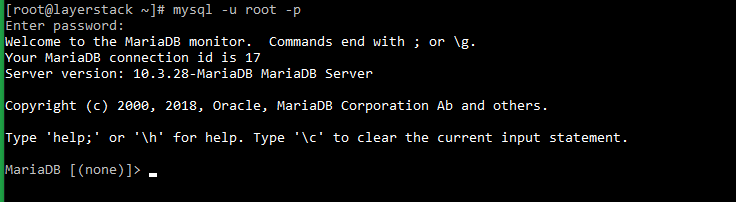
with the password that needs to be set as the MariaDB root password. Once the MariaDB database server is secured, it can be accessed by executing the below command.
# mysql -u root -pType in the root password set for the MariaDB server in the above step and then press Enter to access the database server command line.
Create a database and related database user that can be used for the installation of Wiki.js by executing the below commands in the MariaDB command prompt.
In the context of this guide, the database name being used is lswikidb and lswikiuser is the associated database username.
CREATE DATABASE lswikidb;
GRANT ALL PRIVILEGES ON lswikidb.* TO 'lswikiuser'@'localhost' IDENTIFIED BY 'password';
FLUSH PRIVILEGES;
EXIT;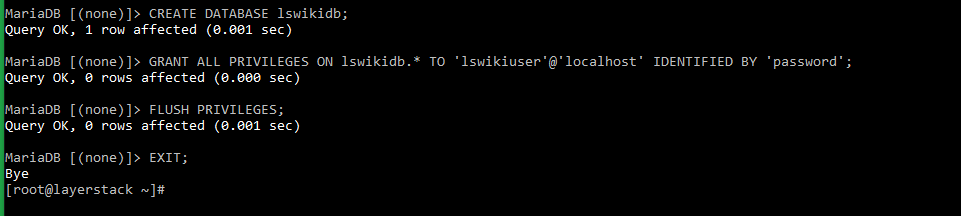
NOTE: Replace password in the above command with the actual password that needs to be set for the database user.
Once all required services are installed in the server, the installation of Wiki.js can be proceeded with.
Installing Wiki.js
Create a separate new user and group for the Wiki.js service. The user and group used in the context of this guide is wikijs.
# groupadd --system wikijs

# useradd -s /sbin/nologin --system -g wikijs wikijs
Download the latest version of Wiki.js from the official website by executing the below command.
# curl -s https://api.github.com/repos/Requarks/wiki/releases/latest | grep browser_download_url | grep -v windows | cut -d '"' -f 4 | wget -qi -
An archive named wiki-js.tar.gz will be downloaded after executing the above command.
Create a folder for Wiki.js and then extract the contents of the downloaded archive file to the folder. In the context of this guide, the folder named lswiki is created under the path
/var/www/html.# mkdir -p /var/www/html/lswiki # tar zxf wiki-js.tar.gz -C /var/www/html/lswiki
Switch to the folder
lswikiand then make a copy of the sample config fileconfig.sample.ymland rename it asconfig.yml.# cd /var/www/html/lswiki # cp config.sample.yml config.yml
Open the
config.ymlfile using any editor of choice and update the database details with the details of the MariaDB database and database user that has been created, in the file in the below format.db: type: mariadb # PostgreSQL / MySQL / MariaDB / MS SQL Server only: host: localhost port: 3306 user: lswikiuser pass: password db: lswikidb ssl: falseSave and close the configuration file once the above details are typed in.
Assign user permissions for the lswiki folder for the newly created user wikijs.
# chown -R wikijs.wikijs /var/www/html/lswiki
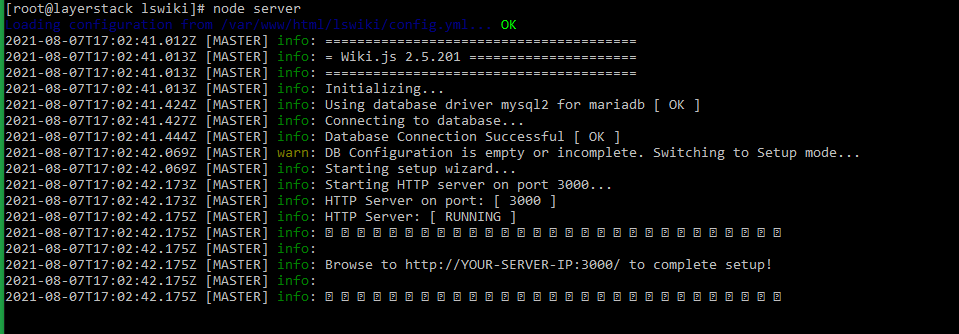
Verify the Wiki.js installation by executing the below command.
# node serverIf the installation is done smoothly, an output similar to below will be displayed when the above command is executed.
Creating Systemd service file for Wiki.js
The next step in the configuration of Wiki.js is to create a systemd service file for it in order to manage the service. Follow the below steps for this.
Create the systemd service file for Wiki.js under the
/etc/systemd/systemfolder.# vi /etc/systemd/system/wiki.serviceAdd the below entries in the newly created wiki.service systemd file.
[Unit]
Description=Wiki.js
After=network.target
[Service]
Type=simple
ExecStart=/usr/bin/node server
Restart=always
User=wikijs
Environment=NODE_ENV=production
WorkingDirectory=/var/www/html/lswiki
[Install]
WantedBy=multi-user.target
NOTE: Replace User and WorkingDirectory values with the actual configured settings.
Save and close the systemd service file once the above details are typed in.
Reload the systemd daemon, and then start and enable the wiki service to start at system reboot by executing the below commands.
# systemctl daemon-reload

# systemctl start wiki

# systemctl enable wiki
Configuring NGINX as Reverse Proxy
NGINX web service needs to be configured as a reverse proxy in order to access Wiki.js on port 80 of the Cloud server.
Create a new NGINX virtual host configuration file for the Wiki.js service using the below command.
# vi /etc/nginx/conf.d/wikijs.confAdd the below entries in the configuration file, save the file and then close the file.
server {
listen  80;
server_name wiki.layerstack.com;
location /
{
proxy_set_header Host $http_host;
proxy_set_header X-Real-IP $remote_addr;
proxy_pass http://127.0.0.1:3000;
proxy_http_version 1.1;
proxy_set_header Upgrade $http_upgrade;
proxy_set_header Connection "upgrade";
proxy_next_upstream error timeout http_502 http_503 http_504;
}
}
NOTE: Replace wiki.layerstack.com with the actual domain name under which Wiki.js needs to be installed. The domain name should also correctly resolve to the Cloud server IP address.
Restart NGINX services in-order to apply the changes.
# systemctl restart nginx
Accessing Wiki.js
The installed Wiki.js service can now be accessed through a browser by using the website name configured in the NGINX configuration file.
In this guide’s context, the URL is as provided below:
http://wiki.layerstack.com*The URL will be redirected to a page similar to below. Type in the administrator email address, admin password (twice), the site URL and then click on
Installbutton: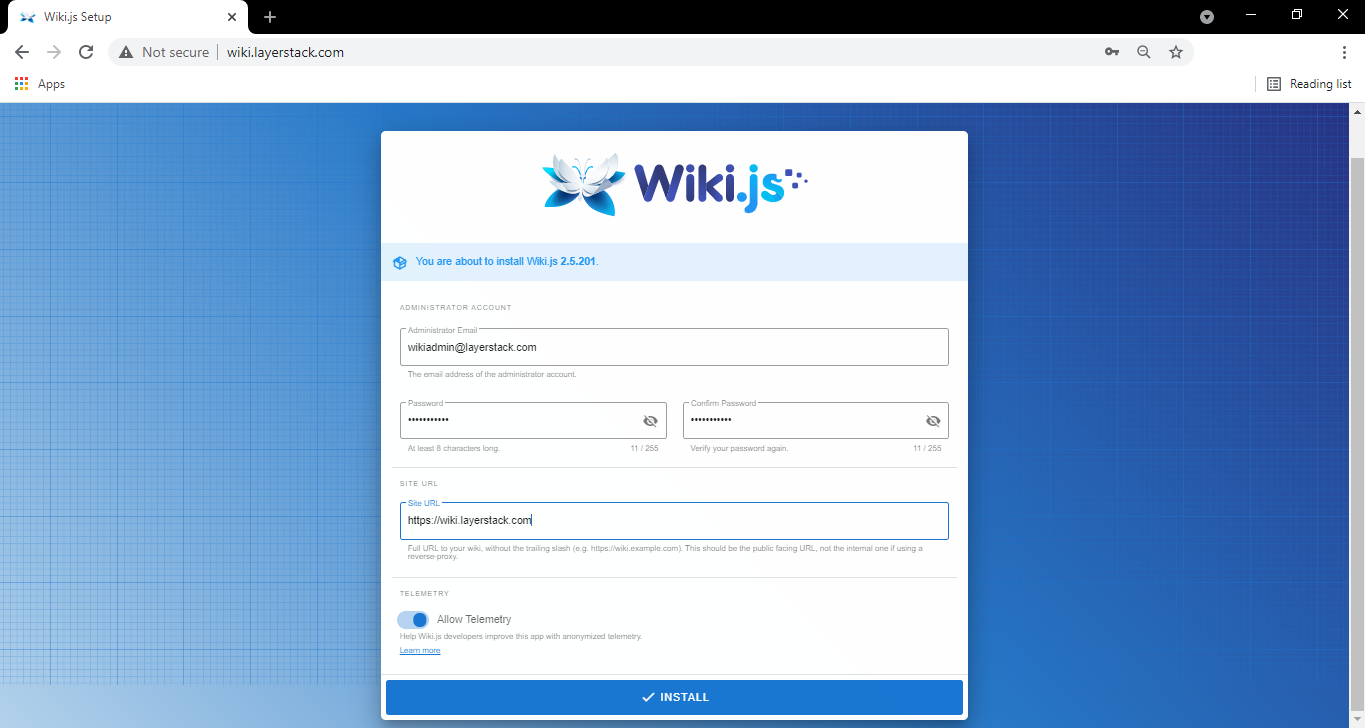
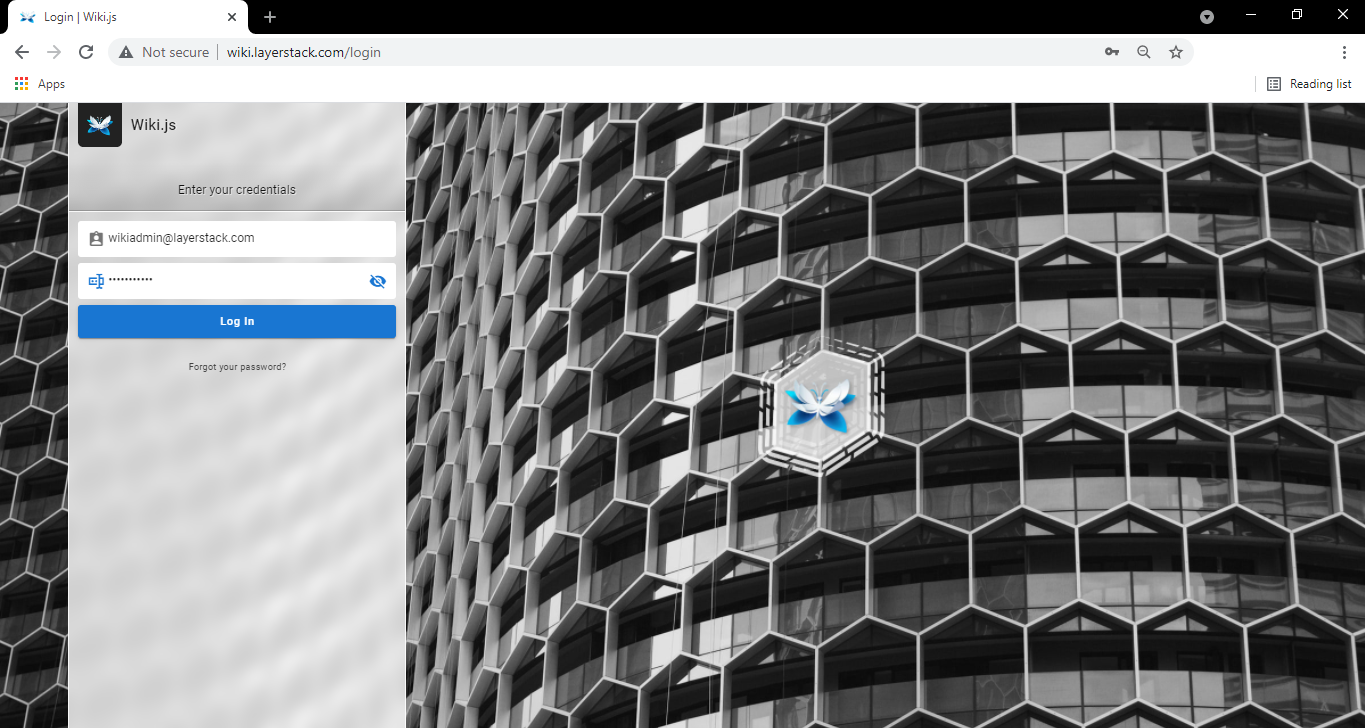
Once the installation is completed, the page will be redirected to the Wiki.js login page as below. Provide the administrator email address and password set in the above step to log in.
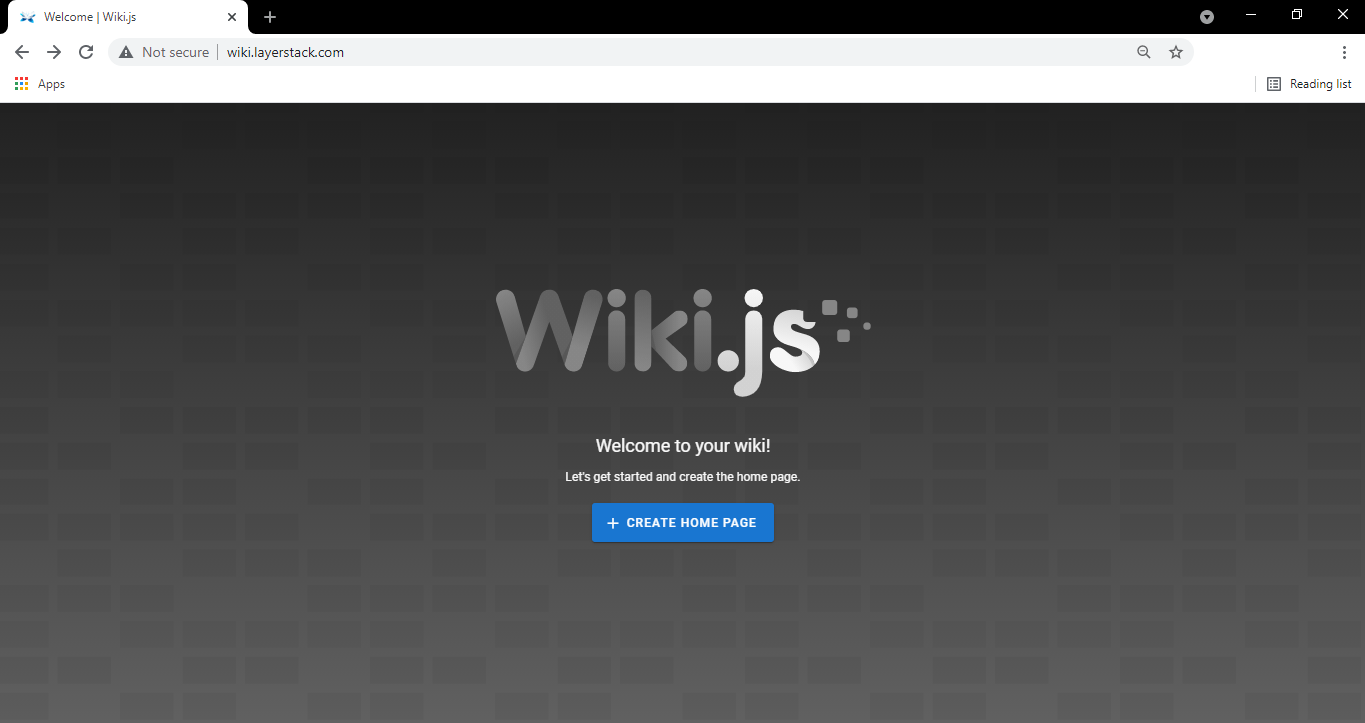
Once logged in, the Wiki.js dashboard will be displayed as below, from where the service can be managed further and made use of to create wiki pages.
Related Tutorials
