How to enable TLS 1.3 in Apache service of Linux Cloud Servers (without Cipher Suites included)
Transportation Layer Security (TLS) is a cryptographic protocol and it provides the security for the delivery of data over the internet. TLS 1.3 is faster than TLS 1.2 because the handshake for TLS 1.3 is reduced to just one round-trip.
This can easily be enabled in a Linux-based server. This guide outlines the basic steps involved in a Linux server (provided Apache service is already installed in the server).
Ubuntu
Requirements:
Server running on Ubuntu 18.04.
A valid domain name and properly configured A/AAAA/CNAME DNS records.
A valid TLS certificate. Here using from Let’s encrypt.
Apache version 2.4.36 or greater.
OpenSSL version 1.1.1 or greater.
Before the beginning:
Check the ubuntu version by using the below command.
# lsb_release -ds
By using the below command ensure that the server is up to date.
# apt update && sudo apt upgrade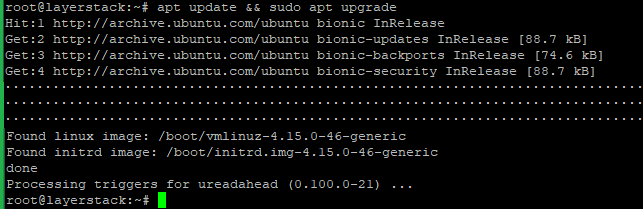
Install the needed packages by using the below command.
# apt install zip unzip curl wget git socat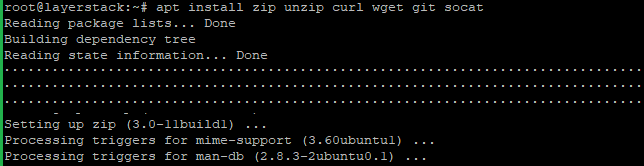
Step A - Install the acme.sh client and obtain a TLS certificate from Let's Encrypt.
acme.sh is used to install, renew and remove SSL certificates and it is written purely in Shell (Unix shell) language, compatible with bash, dash, and sh shells.
Install acme.sh with the below commands.
# git clone https://github.com/acmesh-official/acme.sh
# cd acme.sh
# ./acme.sh --install –accountemail [email protected]
# cd ~
# source ~/.bashrc

NOTE: Replace the mail account with your mail account name.
Check the version of acme.sh.
# acme.sh --version
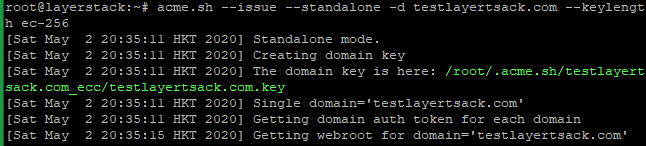
Obtain RSA and ECDSA certificates for the domain.
# RSA
acme.sh --issue --standalone -d testlayerstack.com.com --keylength 2048

# ECC/ECDSA
acme.sh --issue --standalone -d testlayerstack.com --keylength ec-256
Create directories to store your certs and keys in then, install and copy certificates to
/etc/letsencrypt.# mkdir -p /etc/letsencrypt/testlayerstack.com # mkdir -p /etc/letsencrypt/testlayerstack.com_ecc
# acme.sh --install-cert -d testlayerstack.com --cert-file /etc/letsencrypt/testlayerstack.com/cert.pem --key-file /etc/letsencrypt/testlayerstack.com/private.key --fullchain-file /etc/letsencrypt/testlayerstack.com/fullchain.pem # acme.sh --install-cert -d testlayerstack.com --ecc --cert-file etc/letsencrypt/testlayerstack.com_ecc/cert.pem --key-file /etc/letsencrypt/testlayerstack.com_ecc/private.key --fullchain-file /etc/letsencrypt/testlayerstack.com_ecc/fullchain.pem

After running the above commands, your certificates and keys will be in the below-mentioned locations:
RSA: /etc/letsencrypt/testlayerstack.com ECC/ECDSA: /etc/letsencrypt/testlayerstack.com_ecc
Step B - Configure Apache for TLS 1.3
Install the latest version of Apache
# apt install apache2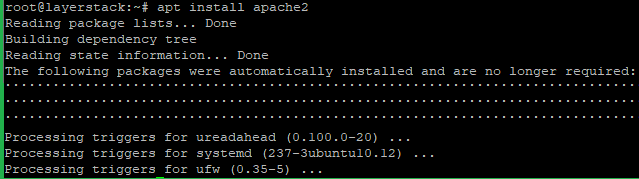
Check the Apache version then, start and enable using the below commands.
# apache2 -v # systemctl start apache2.service # systemctl enable apache2.service
Now enable the SSL module on the server with the below command and restart the Apache to activate.
# a2enmod ssl
# systemctl restart apache2
Run the below command and add the following basic configurations in that file.
# vim /etc/apache2/sites-available/testlayerstack.com.conf
Then Save and Exit the file.
NOTE: Replace testlayerstack.com in commands with your valid domain name.
Run the below command to link the file to the sites-enabled directory.
# a2ensite testlayerstack.com.conf
Now reload the Apache to activate the new configuration.
# systemctl restart apache2
Verify TLS 1.3 by using any browser dev tools or SSL Labs service such as given below.
https://www.ssllabs.com/ssltest/
CentOS
Requirements:
Server running on CentOS 8.
A valid domain name and properly configured A/AAAA/CNAME DNS records.
A valid TLS certificate. Here using from Let’s encrypt.
Apache version 2.4.36 or greater.
OpenSSL version 1.1.1 or greater.
Before the beginning:
Check the CentOS version by using the below command.
# cat /etc/centos-release
Use the below command to ensure that the server is up to date.
# dnf update
Install the needed packages by using the below command.
# dnf install -y socat git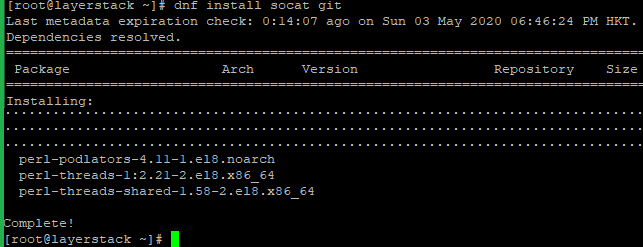
Step A - Install the acme.sh client and obtain a TLS certificate from Let's Encrypt.
acme.sh is used to install, renew and remove SSL certificates and it is written purely in Shell (Unix shell) language, compatible with bash, dash, and sh shells.
Install acme.sh with the below commands.
# git clone https://github.com/acmesh-official/acme.sh # cd acme.sh # ./acme.sh --install –accountemail [email protected] # cd ~ # source ~/.bashrc

Note: Replace the mail account with your mail account name.
Check the version of acme.sh.
# acme.sh --version
Obtain RSA and ECDSA certificates for the domain.
# RSA acme.sh --issue --standalone -d example.com --keylength 2048 # ECC/ECDSA acme.sh --issue --standalone -d example.com --keylength ec-256

Create directories to store your certs and keys in then, install and copy certificates to /etc/letsencrypt.
# mkdir -p /etc/letsencrypt/testlayerstack.com

# mkdir -p /etc/letsencrypt/testlayerstack.com_ecc
# acme.sh --install-cert -d testlayerstack.com --cert-file /etc/letsencrypt/testlayerstack.com/cert.pem --key-file /etc/letsencrypt/testlayerstack.com/private.key --fullchain-file /etc/letsencrypt/testlayerstack.com/fullchain.pem

# acme.sh --install-cert -d testlayerstack.com --ecc --cert-file etc/letsencrypt/testlayerstack.com_ecc/cert.pem --key-file /etc/letsencrypt/testlayerstack.com_ecc/private.key --fullchain-file /etc/letsencrypt/testlayerstack.com_ecc/fullchain.pem

After running the above commands, your certificates and keys will be in the below-mentioned locations:
RSA: /etc/letsencrypt/testlayerstack.com

ECC/ECDSA: /etc/letsencrypt/testlayerstack.com_ecc
Step B - Configure Apache for TLS 1.3
Download and install the latest version of Apache and its SSL module.
# dnf install httpd mod_ssl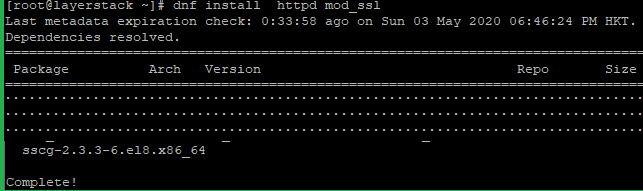
Check the Apache version then, start and enable using the below commands.
# httpd -v # systemctl start httpd.service # systemctl enable httpd.service
Run the below command and add the following basic configurations in that file.
# vim /etc/httpd/conf.d/testlayerstack.com.conf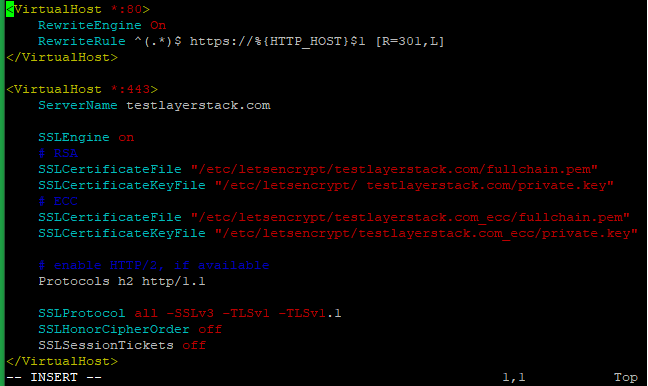
Save the file and exit.
NOTE: Replace testlayerstack.com in commands with your valid domain name.
Reload Apache to activate in the new configuration.
Verify TLS 1.3 by using any browser dev tools or SSL Labs service such as given below.
https://www.ssllabs.com/ssltest/
Debian
Requirements:
Server running on Debian.
A valid domain name and properly configured A/AAAA/CNAME DNS records.
A valid TLS certificate. Here using from Let’s encrypt.
Apache version 2.4.36 or greater.
OpenSSL version 1.1.1 or greater.
Before the beginning:,
Check the Debian version by using the below command.
# lsb_release -ds
By using the below command ensure that the server is up to date.
# apt update && sudo apt upgrade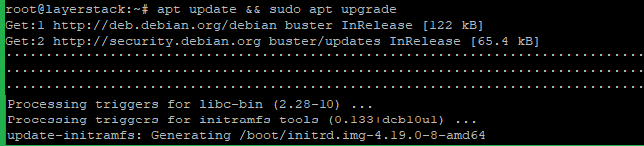
Install the needed packages by using the below command.
# apt install zip unzip curl wget git socat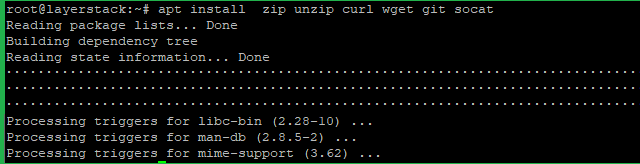
Step A - Install the acme.sh client and obtain a TLS certificate from Let's Encrypt.
acme.sh is used to install, renew and remove SSL certificates and it is written purely in Shell (Unix shell) language, compatible with bash, dash, and sh shells.
Install acme.sh with the below commands.
# git clone https://github.com/acmesh-official/acme.sh # cd acme.sh # ./acme.sh --install –accountemail [[email protected]](mailto:[email protected]) # cd ~ # source ~/.bashrc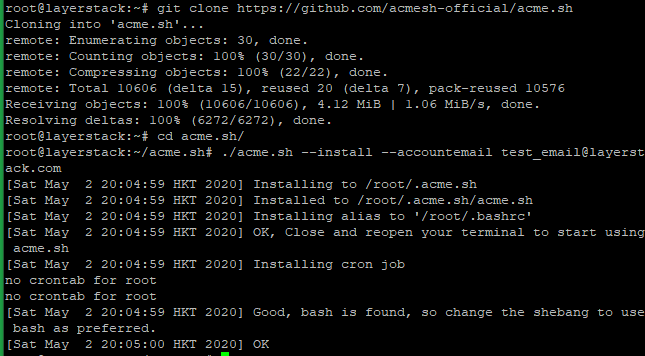

Note: Replace the mail account with your mail account name.
Check the version of acme.sh.
# acme.sh --version
Obtain RSA and ECDSA certificates for the domain.
# RSA acme.sh --issue --standalone -d example.com --keylength 2048 # ECC/ECDSA acme.sh --issue --standalone -d example.com --keylength ec-256

Create directories to store your certs and keys in then, install and copy certificates to
/etc/letsencrypt.# mkdir -p /etc/letsencrypt/testlayerstack.com # mkdir -p /etc/letsencrypt/testlayerstack.com_ecc
# acme.sh --install-cert -d testlayerstack.com --cert-file /etc/letsencrypt/testlayerstack.com/cert.pem --key-file /etc/letsencrypt/testlayerstack.com/private.key --fullchain-file /etc/letsencrypt/testlayerstack.com/fullchain.pem # acme.sh --install-cert -d testlayerstack.com --ecc --cert-file etc/letsencrypt/testlayerstack.com_ecc/cert.pem --key-file /etc/letsencrypt/testlayerstack.com_ecc/private.key --fullchain-file /etc/letsencrypt/testlayerstack.com_ecc/fullchain.pem

After running the above commands, your certificates and keys will be in the below-mentioned locations:
RSA: /etc/letsencrypt/testlayerstack.com ECC/ECDSA: /etc/letsencrypt/testlayerstack.com_ecc
Step B - Configure Apache for TLS 1.3
Install the latest version of Apache.
# apt install apache2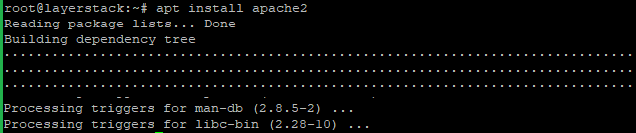
Check the Apache version then, start and enable using the below commands.
# apache2 -v

# systemctl start apache2.service

# systemctl enable apache2.service
Now enable the SSL module on the server with the below command and restart the Apache to activate.
# a2enmod ssl
# systemctl restart apache2
Run the below command and add the following basic configurations in that file.
# vim /etc/apache2/sites-available/testlayerstack.com.conf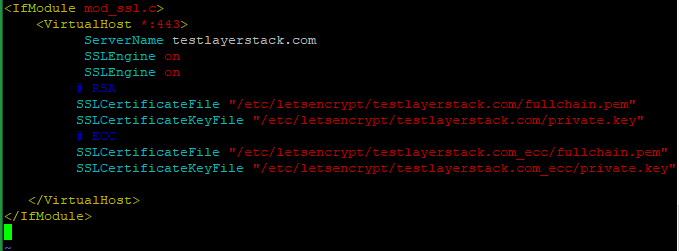
Then Save and Exit the file.
> NOTE: Replace **testlayerstack.com** in commands with your valid domain name.Run the below command to link the file to the sites-enabled directory.
# a2ensite testlayerstack.com.conf
Now reload the Apache to activate the new configuration.
# systemctl restart apache2
Verify TLS 1.3 by using any browser dev tools or SSL Labs service such as given below.
https://www.ssllabs.com/ssltest/
Related Tutorials
