How to import third-party MySQL database into LayerStack Managed Database
This guide outlines the process of migrating your third-party cloud database to LayerStack, ensuring minimal disruption to your source database applications. LayerStack's Managed Databases for MySQL provide cost savings, simplified management and backups, scheduled updates, rapid scalability, seamless monitoring, and automated failover to replica nodes in the event of database failures.
You have the option to migrate your existing MySQL database to a LayerStack Managed Database for MySQL using either the mysqldump command line tool or MySQL Workbench, which offers a graphical migration process.
Using mysqldump command
mysqldump is a command-line utility in MySQL used to export databases or specific database objects (like tables) as SQL statements. These SQL statements can then be used to recreate the database or objects elsewhere. mysqldump is particularly useful for backup purposes, database migration, or transferring a database from one server to another.
# mysqldump -h [remotehost] -P [port] -u [username] -p [database-name] > [backup file name]
Assuming the databases you have imported from the third-party service to your instances, you may please follow the below steps to import the databases to LayerStack Managed Database instance.
By default there will be no databases created in the Managed Database instance, therefore, it requires to create database. Follow the command format for logging into the Managed Database.
# mysql -h <dbhost> -P [port-number]-u lsadmin -p
This will prompt your
DB password, enter it and you will be able to log in to MySQL terminal of instance.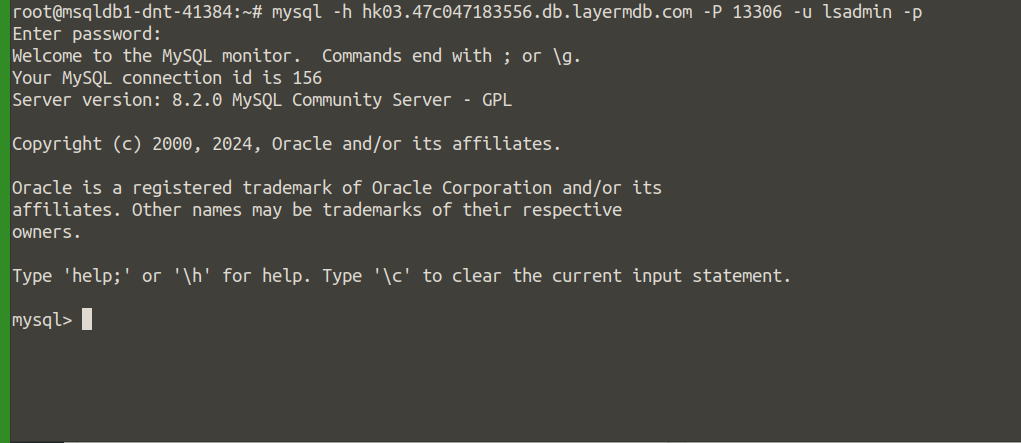
Create a new database, in the below example we have created database
lstestDB.mysql> CREATE DATBASE <db-name>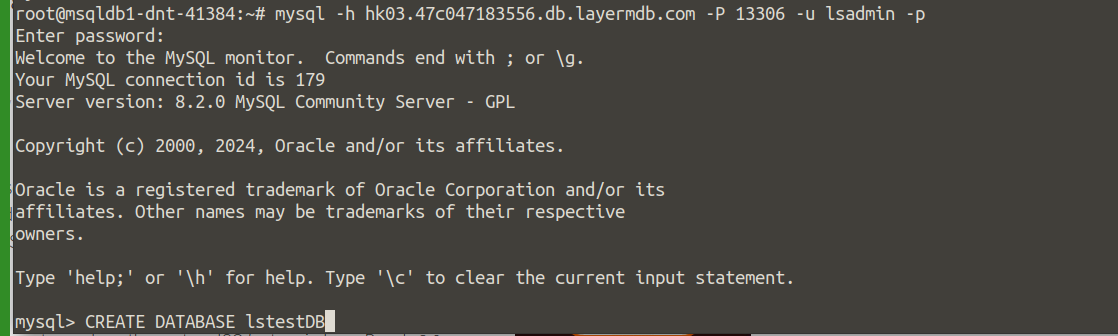
After creating the database, exit the Managed Database by using
exitcommand.Import the existing database to the newly created database.
# mysql -u lsadmin -p -h <dbhost> -P <port-number> your_database_name < /path/to/database_file_name.sqlBy using the format, it will prompt the
database password, on giving it will import the database successfully. When no error in the process, you will get the below screenshot response.
To verify if you have done this correctly, log in to the Managed database and check the database tables if they have been properly imported.
mysql> use database <db-name>Once the database has been selected , you can check the tables if they are present.
mysql> show tables;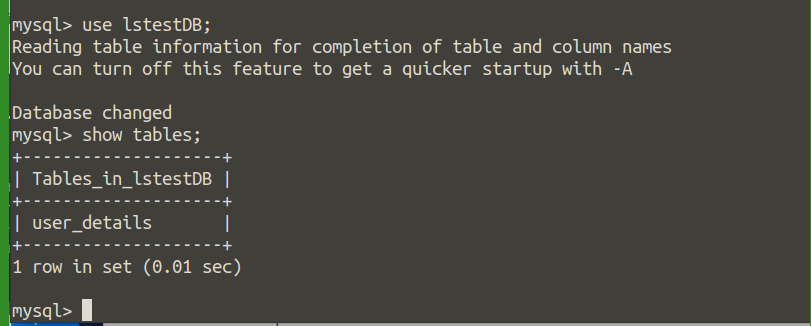
Migrating with MySQL Workbench
Download and open the
MySQL Workbenchapplication.Select the
Migrationoption located in the left navigation bar within the main Application window.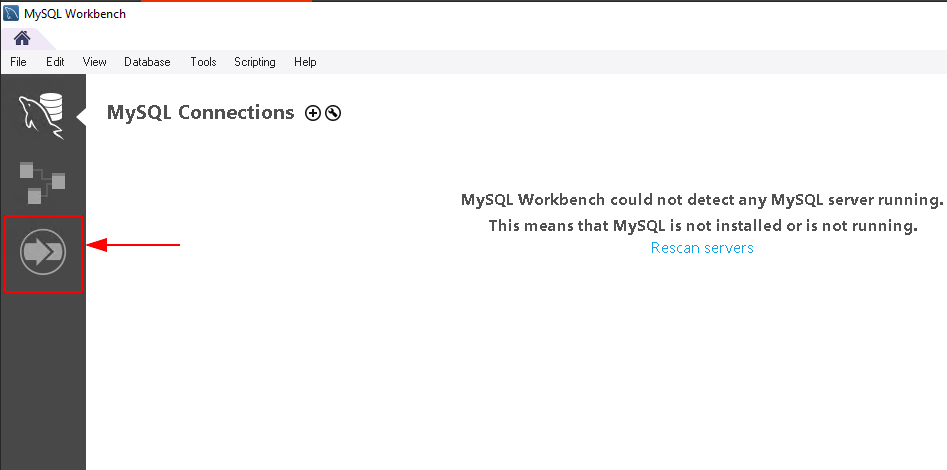
At the
Overviewsection, clickStart Migration.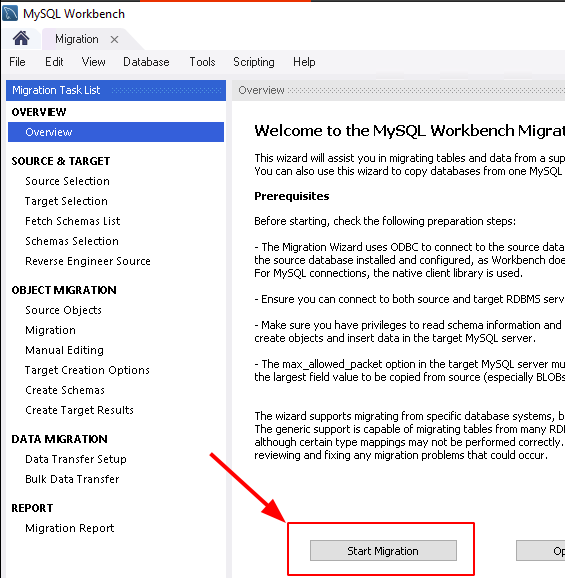
Within the Parameters section, enter your
source/third-party database's hostname/IP addressin the Hostname, Port, Username and Password section. The Password can be entered in thestore in vaultoption and can use theTest Connectionoption to test the connection.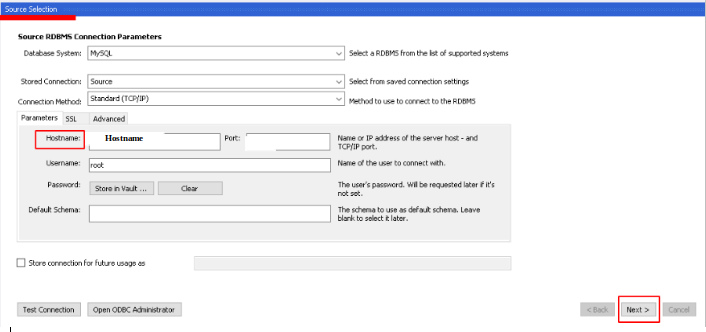
Click
Nextto save your source database settings.On the
Target Selectionstep, keepStandard (TCP/IP)as the connection method.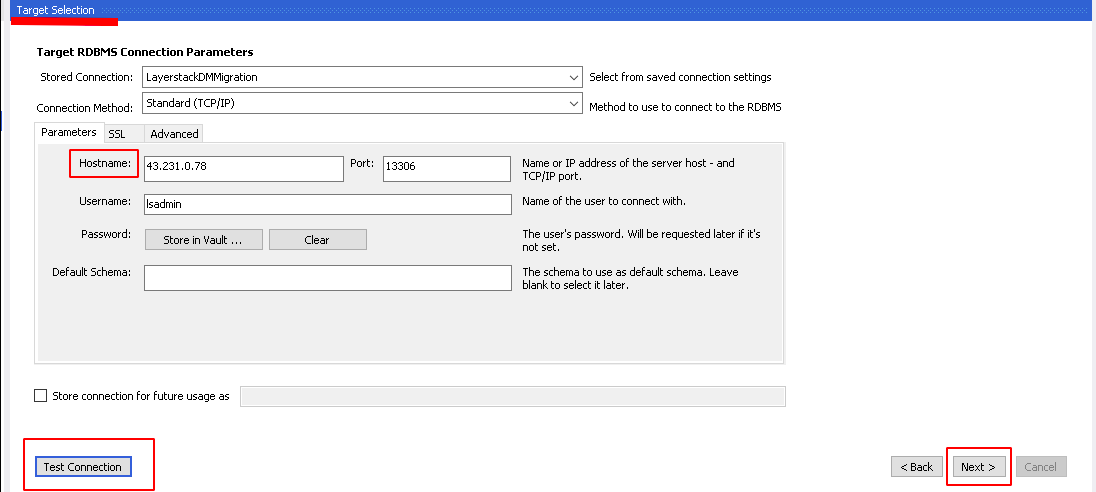
Enter your
LayerStack managed database's hostname/IP addressin the Hostname, Port, Username and Password section. You can use theTest Connectionoption to test the connection.Select all databases (schemata) you intend to migrate. To choose all, click the
select alloption in the bottom right corner.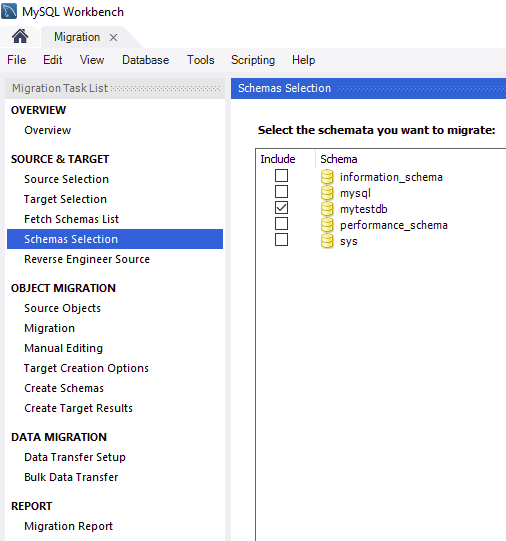
Proceed by clicking
Nextto initiate the process of reverse engineering the selected database schema to align it with the target LayerStack database structure.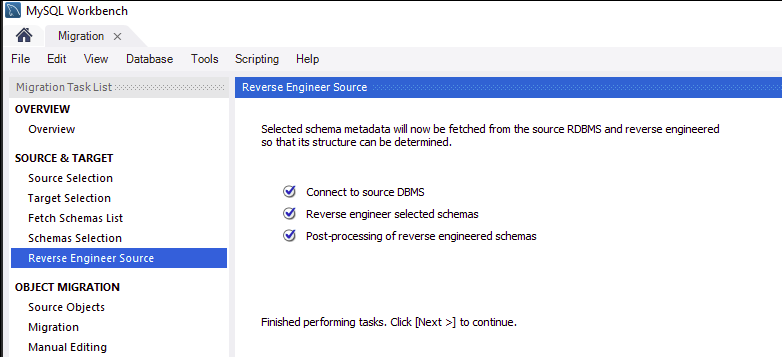
In the
Object Migrationsection, keep allTable, View, and Routineobjects selected.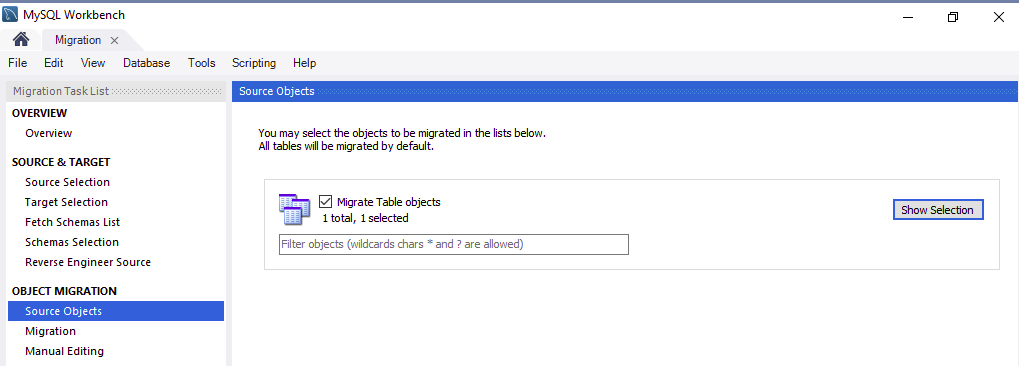
Click Next to prepare objects from the source database.
When the object conversion is successful, click
Nextto proceed to theManual Editingstep.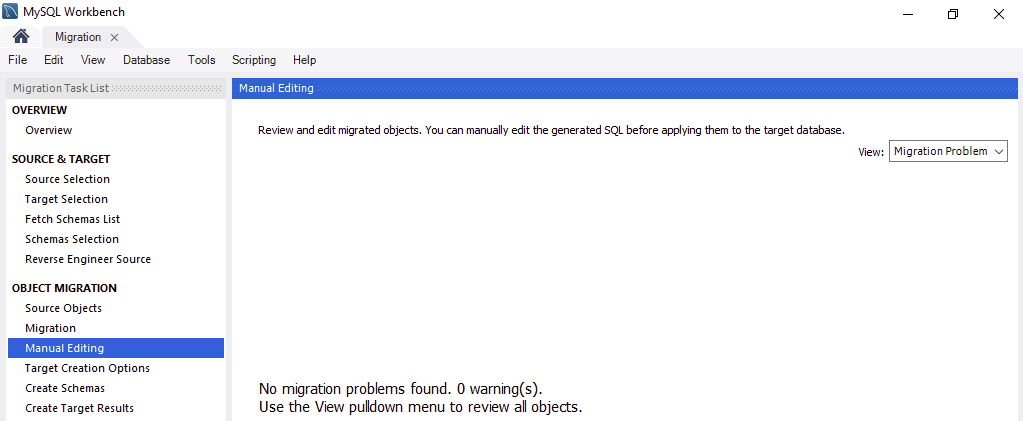
If no migration errors display, click
Nextto proceed to theTarget Creation Optionsstep.Ensure that the
Create schema in target RDMSoption is selected. Within the Options section, check theKeep schemas if they already existoption. Then, proceed by clickingNextto commence the migration process from your source database to the target LayerStack database.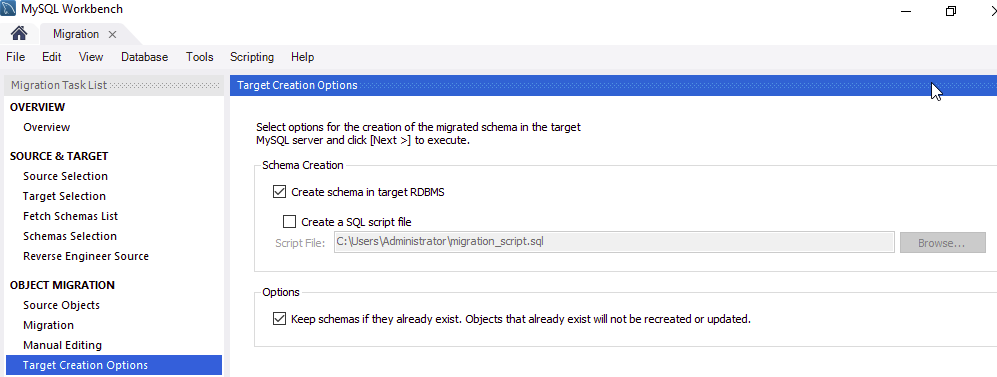
NOTE: If you encounter a prompt regarding existing tables, click
Yesto continue. However, if you receive a warning indicating that schemas like SYS, INFORMATION_SCHEMA, PERFORMANCE_SCHEMA, and MYSQL will be dropped in the target MySQL Server, select "Back" and ensure to check the option to keep existing schemas if they already exist. Alternatively, you can navigate back to the Schema selection step and deselect the sys, information schema, performance schema, and mysql databases to prevent any potential database write warning errors.
When successful, click
Nextto review the database migration results.Verify that the schema creation report is successful, click
Nextto set up data transfer options.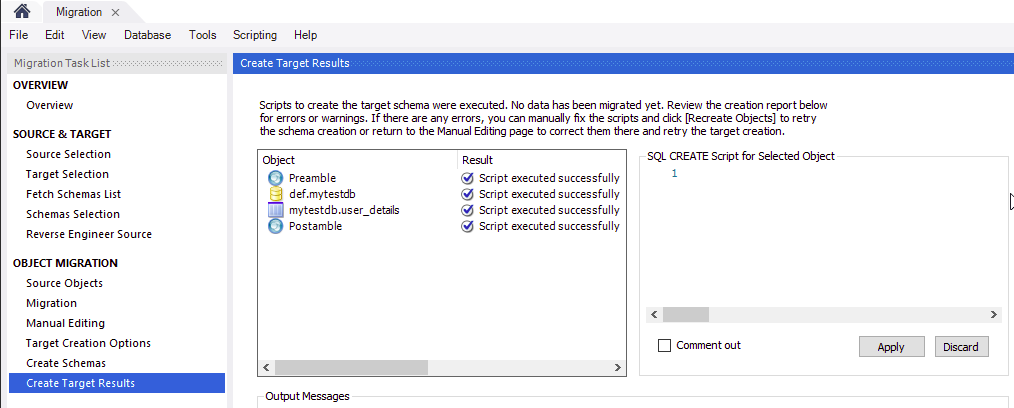
In the
Data Copysection, ensure thatOnline copy of table data to target RDBMSis selected, then proceed by clickingNextto view the migration report.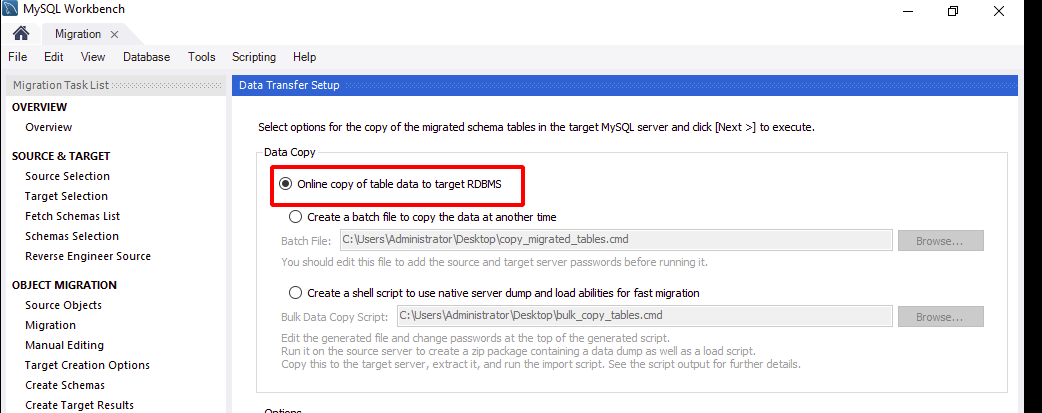
Click
Finishto complete the migration process.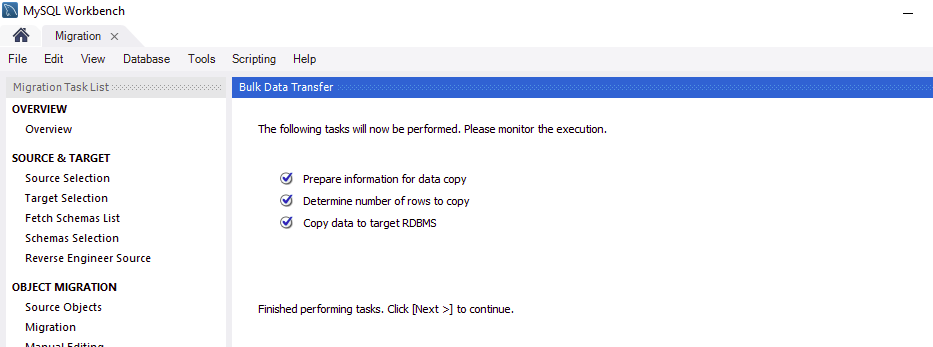
Check the
Migration Reportto know the details about the migration.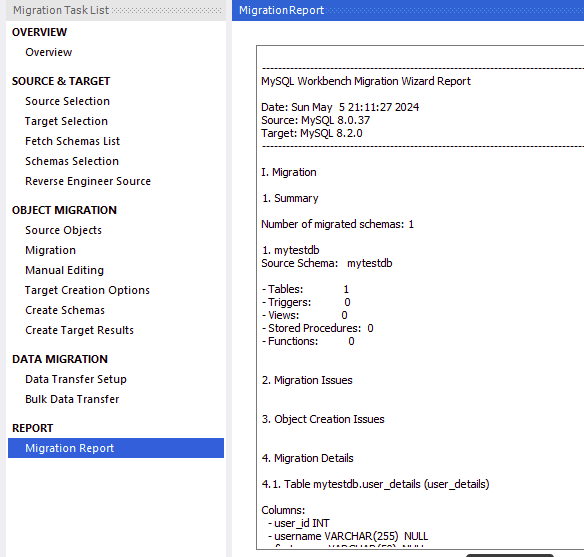
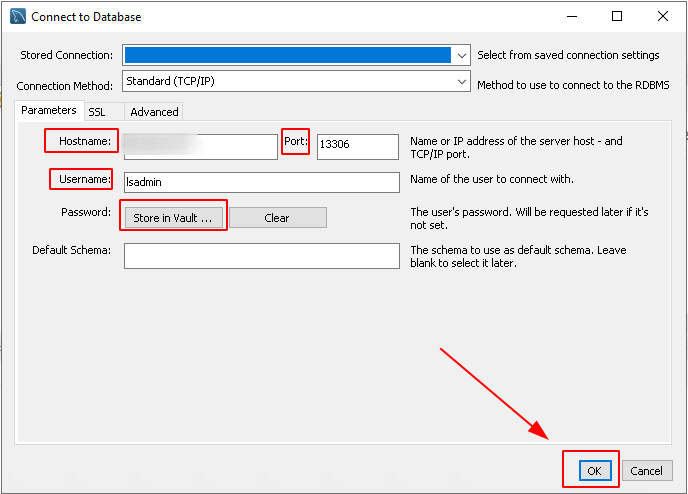
In order to check if the third-party database is migrated to your LayerStack managed database, connect to the LayerStack Managed database on MySQL Workbench from
Connect to Databaseoption and log in by enteringhostname/IP addressin the Hostname, Port, Username and Password.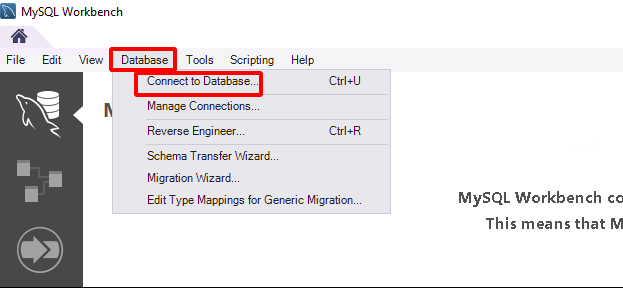

Conclusion
This article demonstrates migrating an third-party MySQL database to a LayerStack Managed Database. Depending on the size of your database, you have the option to utilize either command-line or graphical tools to perform the migration seamlessly, ensuring no downtime for the applications relying on your database.
Related tutorials
