How to install & configure AWStats (Apache Log Analyzer) on Linux Cloud Servers
AWStats (Advanced Web Statistics) is a freely available analytics tool that is used to generate web/FTP/mail statistics by analyzing the available logs in a server. AWStats produces outputs in the form of an easily readable graphical format.
This can easily be installed on a Linux-based server. This guide outlines the basic steps involved in the installation of AWStats in a Linux server (provided Apache service is already installed in the server).
CentOS/Fedora:
The below steps can be followed to install and configure AWStats in a CentOS/Fedora server, which already has an Apache webserver running in it.
Install and set up the EPEL Repository. The below command can be executed in order to install the EPEL repository on the server.
# yum -y install epel-release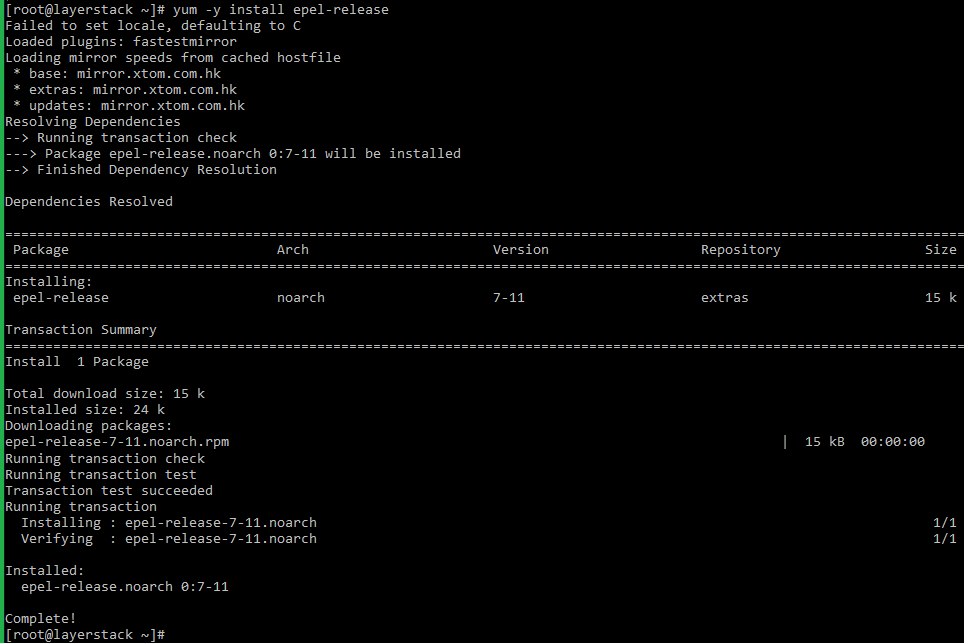
To install AWStats which the server already has Apache webserver installed in it, execute the below command to install AWStats and all required dependencies using YUM.
# yum -y install awstats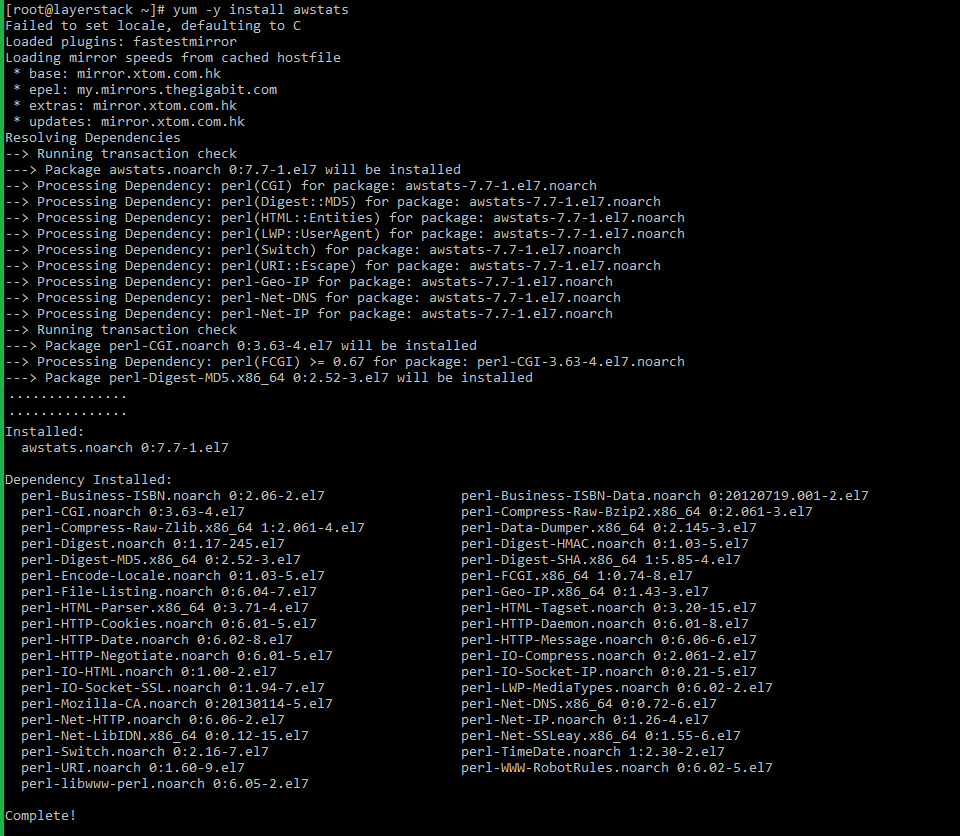
Start to configure Apache for AWStats, the default AWStats configuration file is located at the path
/etc/httpd/conf.d/awstats.conf. This default configuration is useful except in cases of allowing from access. If AWStats needs to be accessed externally from a specific network, the IP address of the network needs to be allowed in the AWStats configuration file.For this, open the AWStats configuration file using any editor:
# vi /etc/httpd/conf.d/awstats.confAdd in the network IP (example: 123.123.123.123) using
Allow fromdirective as per below.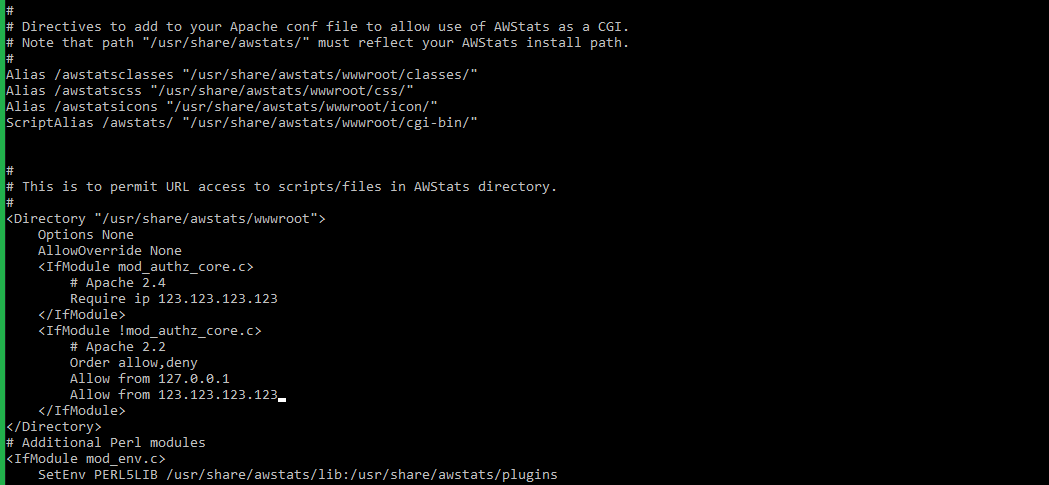
Restart Apache service for the changes to be made effective:
# systemctl restart httpd
Create AWStats configuration files for websites now. Each of the websites hosted in the server needs to have its own AWStats configuration file. For this copy the AWStats example configuration file with a new name (preferably with the website name) and make changes as below.
# cp /etc/awstats/awstats.localhost.localdomain.conf /etc/awstats/awstats.layerstacksupport.com.confNote: The website name has been considered as layerstacksupport.com as an example in the above command.

Open the newly renamed website configuration file using any editor:
# vi /etc/awstats/awstats.layerstacksupport.com.confUpdate below settings in the configuration file:
LogFile="/var/log/httpd/layerstacksupport.com-access_log"

SiteDomain="layerstacksupport.com"

HostAliases="layerstacksupport.com www.layerstacksupport.com"
Execute below command for updating the log files:
# perl /usr/share/awstats/wwwroot/cgi-bin/awstats.pl -config=layerstacksupport.com -update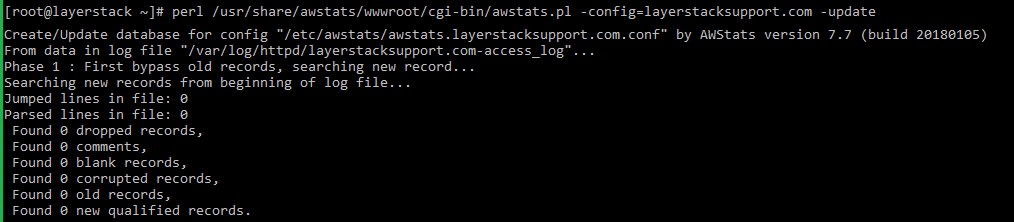
Create a cronjob to update the AWStats database on a regular basis using newly created log entries from the server.
Open the crontab using any editor:
# vi /etc/crontabAdd the below line to the end of the crontab file:
0 2 * * * /usr/bin/perl /usr/share/awstats/wwwroot/cgi-bin/awstats.pl -config=****layerstacksupport.com** **-updateAWStats can now be accessed through a browser using the server IP in the format of the below link.
https://<server_ip>/awstats/awstats.pl?config=layerstacksupport.com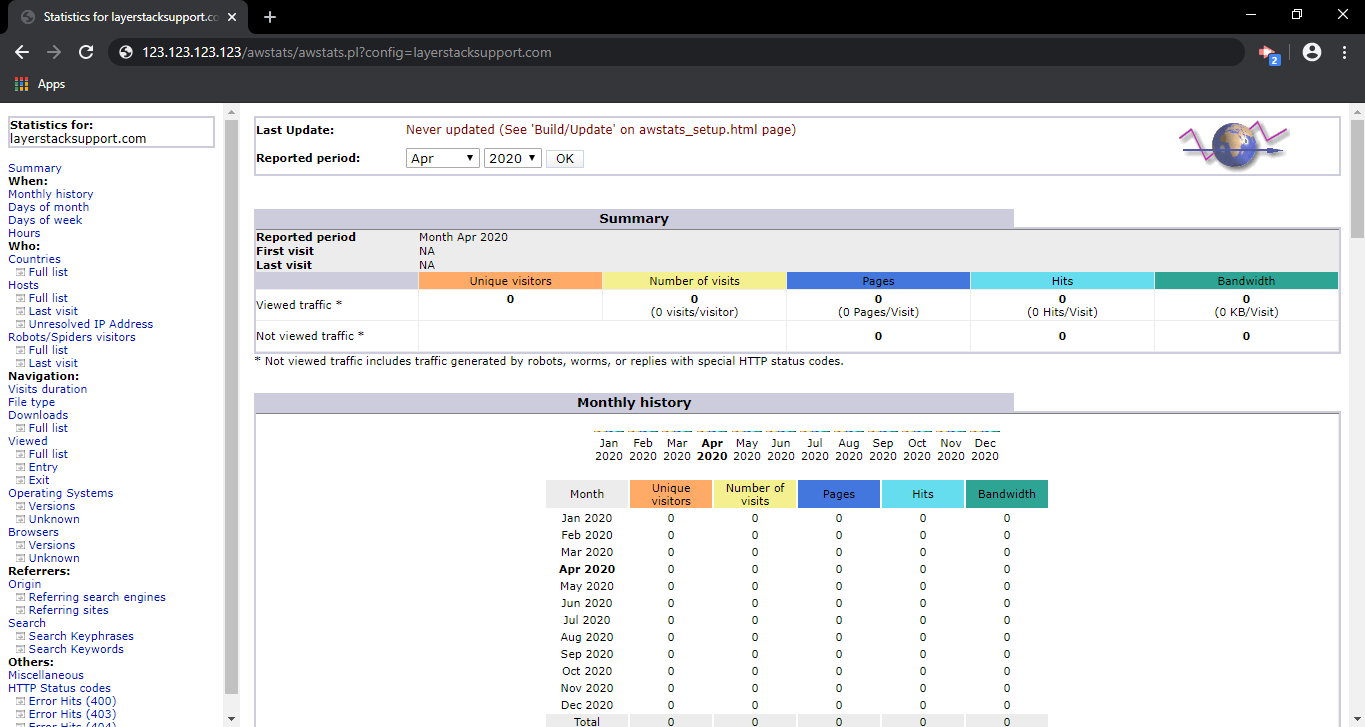
Ubuntu/Debian:
The below steps can be followed to install and configure AWStats in a Ubuntu/Debian server, which already has an Apache webserver running in it.
Execute the below command to install AWStats and all its related dependencies.
# sudo apt-get install awstats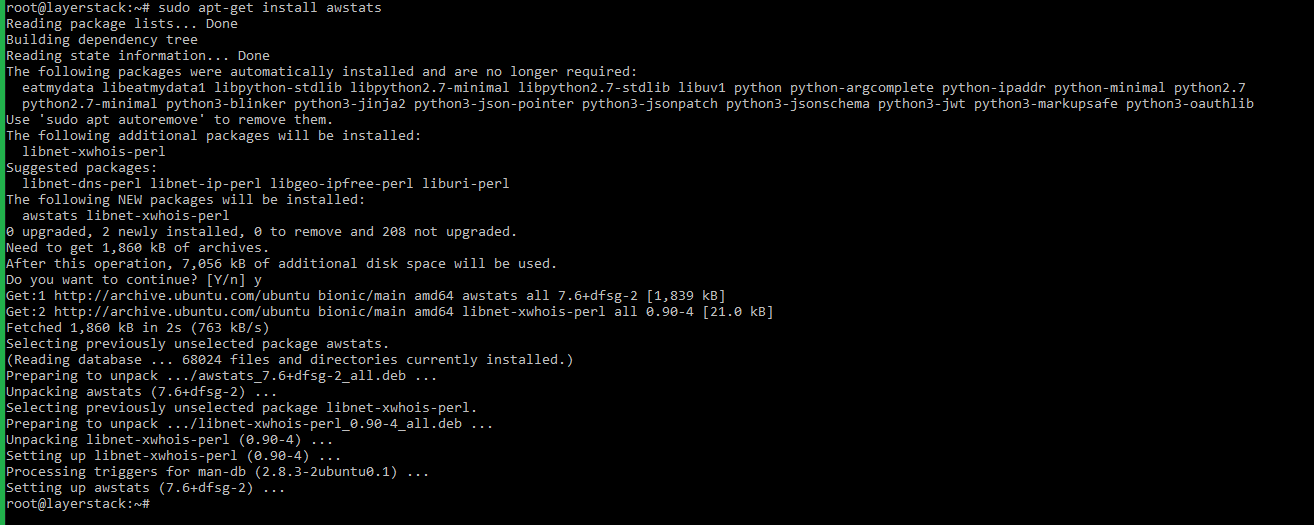
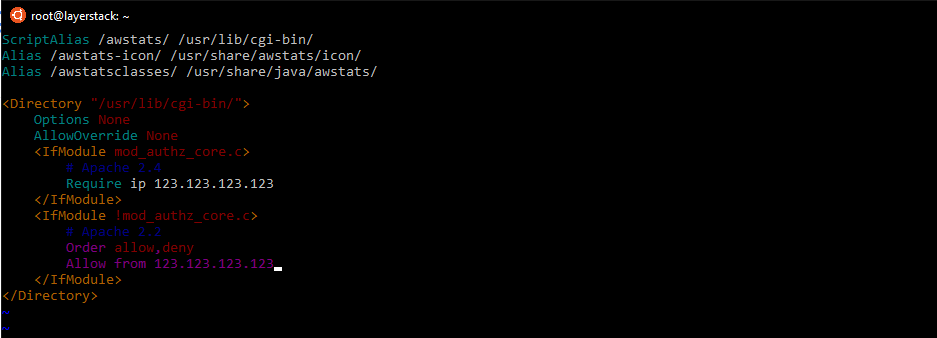
An Apache configuration file needs to be created for the AWStats setup. For this, create a new AWStats configuration file using any editor.
# sudo vi /etc/apache2/conf-available/awstats.confAdd in the below configuration settings, where 123.123.123.123 denotes the network IP address from which the AWStats is to be accessed.
Enable the CGI/CGID module (if it is not enabled already) and also enable the AWStats apache configuration by running the below commands:
# sudo a2enmod cgi

# sudo a2enconf awstats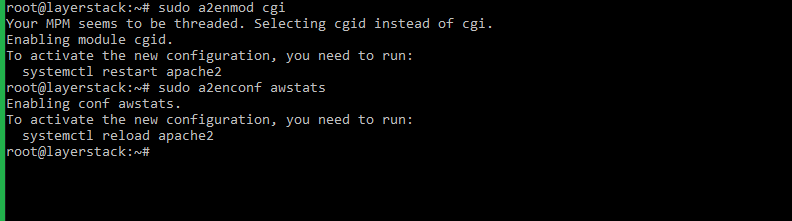
Restart Apache service for the changes to be made effective:
# systemctl restart apache2
Create AWStats configuration files for websites now. Each of the websites hosted in the server needs to have its own AWStats configuration file. For this copy the AWStats example configuration file with a new name (preferably with the website name) and make changes as below.
# sudo cp /etc/awstats/awstats.conf /etc/awstats/awstats.layerstacksupport.com.confNote: The website name has been considered as layerstacksupport.com as an example in the above command.

Open the newly renamed website configuration file using any editor:
# vi /etc/awstats/awstats.layerstacksupport.com.confUpdate below settings in the configuration file:
LogFile="/var/log/apache2/layerstacksupport.com-access_log"

SiteDomain="layerstacksupport.com"

HostAliases="layerstacksupport.com www.layerstacksupport.com"
Execute the below command for updating the log files:
# sudo /usr/lib/cgi-bin/awstats.pl -config= layerstacksupport.com -updateAWStats can now be accessed through a browser using the server IP in the format of the below link.
https://<server_ip>/awstats/awstats.pl?config=layerstacksupport.com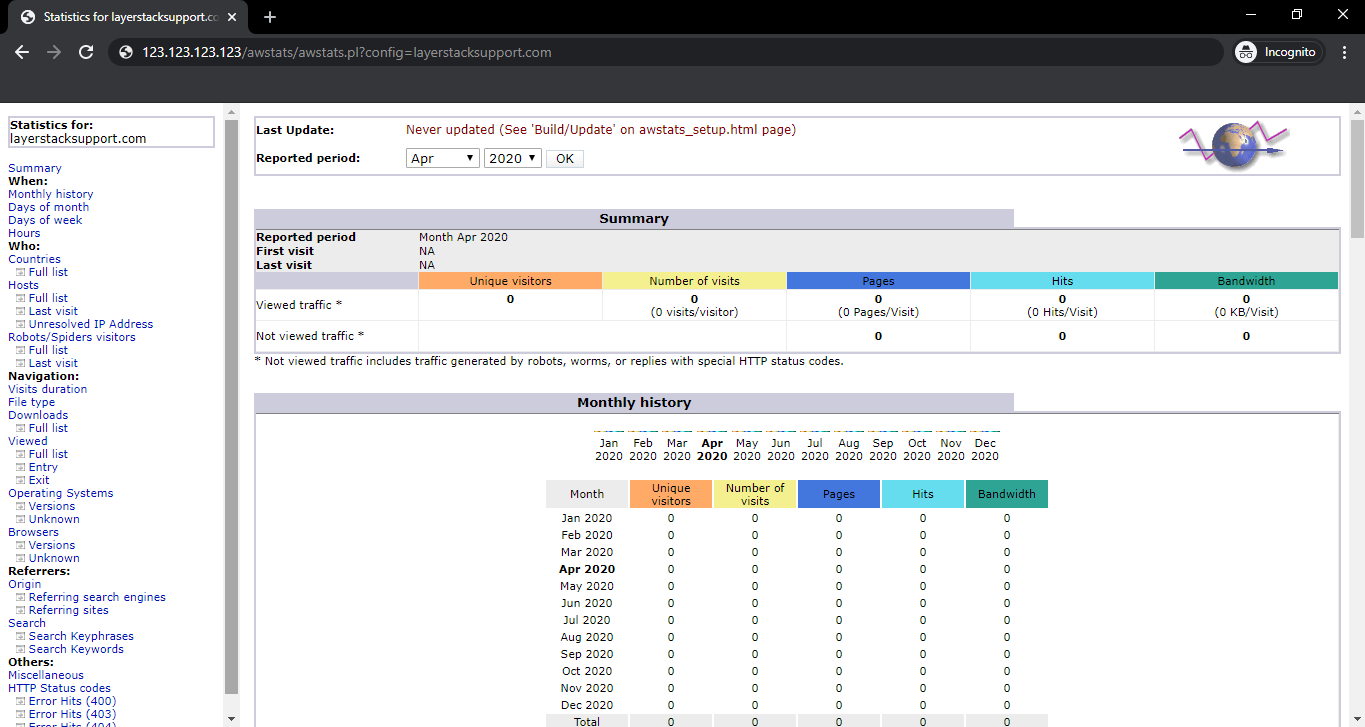
Related Tutorials
