How to install Joomla on Linux Cloud Servers
Joomla is a free and open-source content management system (CMS). It is used for publishing web content and it’s great for the websites like e-commerce or social networking.
This guide outlines the general steps to install create a Joomla database and install the Joomla application on a Linux server.
Create Joomla database
The first step before installing Joomla on the server would be to create a database that would be used to store the Joomla data.
Log in to the database server by executing the below command.
# mysql -u root -p
Create the Joomla database and an associated database user.
> CREATE DATABASE db_joomla;

> CREATE USER 'user_joomla'@'localhost' IDENTIFIED BY 'joomlapwd';
NOTE: db_joomla is the database name, user_joomla is the database user associated with db_joomla and joomlapwd is the password for the user user_joomla.
Grant permissions for the database user to access the Joomla database.
> GRANT ALL ON db_joomla.* TO 'user_joomla'@'localhost' IDENTIFIED BY 'joomlapwd';
Exit the MySQL/MariaDB database server.
> FLUSH PRIVILEGES;

> quit;
NOTE: Replace the database name and username with your original database name and username and set a strong password.
Start to install Joomla
For installing Joomla, the latest Joomla installation archive file first needs to be downloaded. This can be done from the official Joomla downloads page https://downloads.joomla.org/.
Navigate to the path under which the Joomla application is to be installed. This can be under the default document root of the web service or under any website.
In the below example, Joomla is being installed under the default document directory of Apache
/var/www/html/.# mkdir /var/www/html/joomla # cd /var/www/html/joomla
Download the latest Joomla installation archive file.
# wget https://downloads.joomla.org/cms/joomla3/3-9-19/Joomla_3-9-19-Stable-Full_Package.zip?format=zip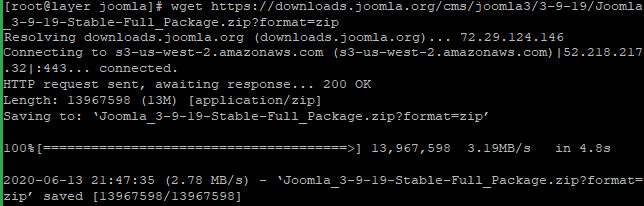
Extract the zip file into the directory Joomla and the zip file containing the installation files.
# unzip Joomla_3-9-19-Stable-Full_Package.zip?format=zip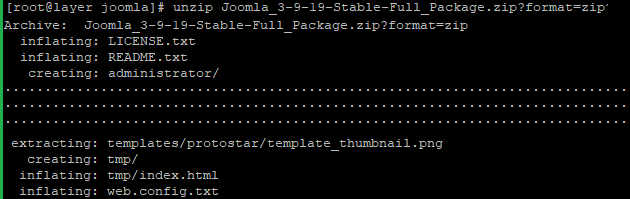
Configure Joomla and correct the File Permissions.
Change the htaccess.txt file name that comes with the default Joomla installation files to
.htaccessusing the below command from the directory/var/www/html/joomla.# mv htaccess.txt .htaccess
Set the right file permissions for apache to be able to access Joomla files.
# chown -R apache:apache /var/www/html/joomla/

# chmod -R 755 /var/www/html/joomla
Now restart and check the status of the Apache service with the below commands for all PHP settings to take place.
# systemctl restart httpd

# systemctl status httpd
The Joomla installation page can now be browsed using a browser.
http://ipaddress/joomla (if joomla installed under default directory)
(or)
http://websitename/joomla (if joomla installed under a website)
Select the preferred installation language and input the
sitename,site description,Email address,usernameandpasswordfor the administrator in the respective boxes shown below image. Once it is filled, then click onNextand it will redirect to the Database section.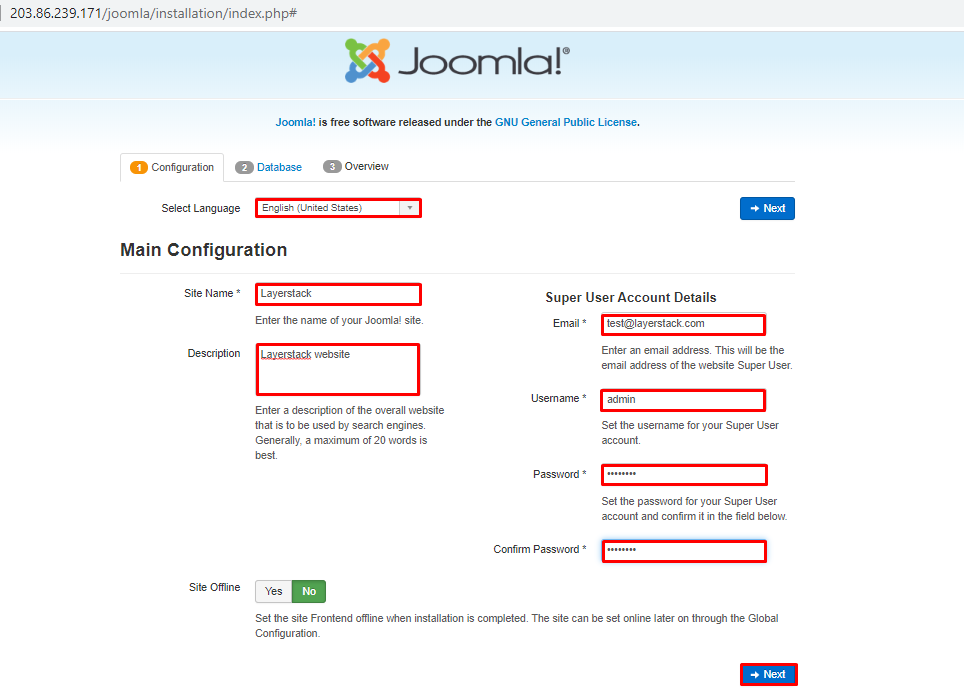
Here enter the Database details created earlier and click on the
Next.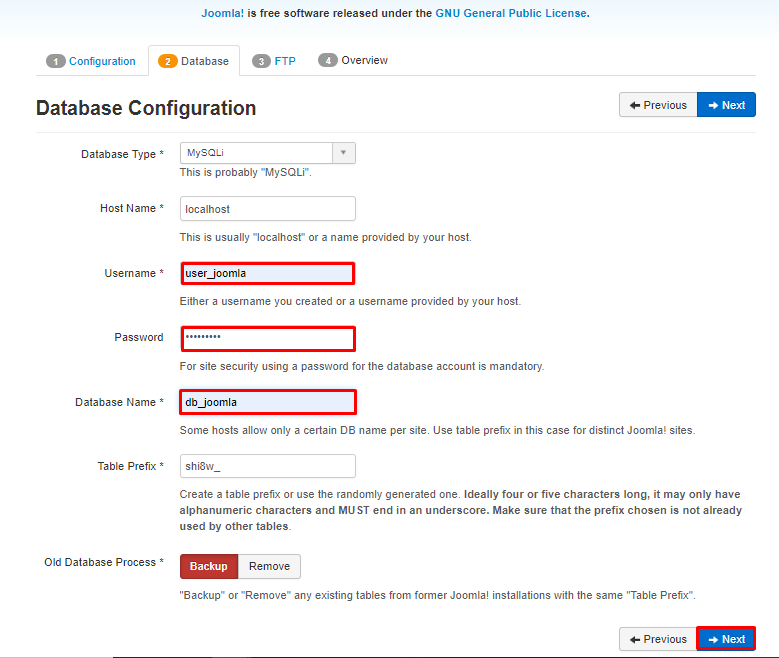
Click on
installthat is shown in the below image.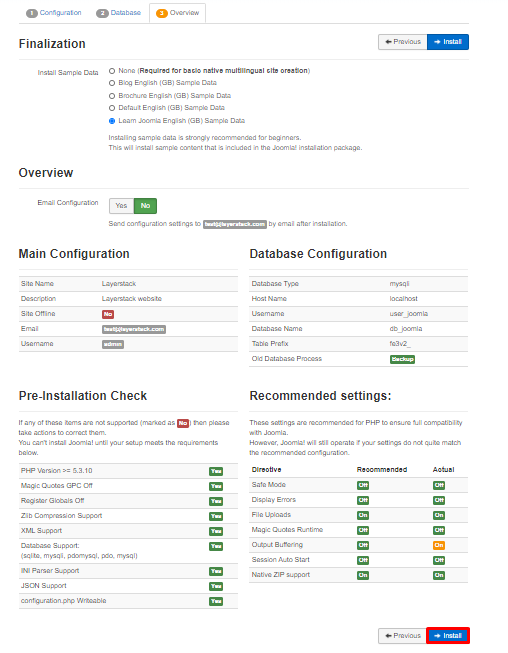
Once the installation has been completed successfully, you will get the congratulation message.
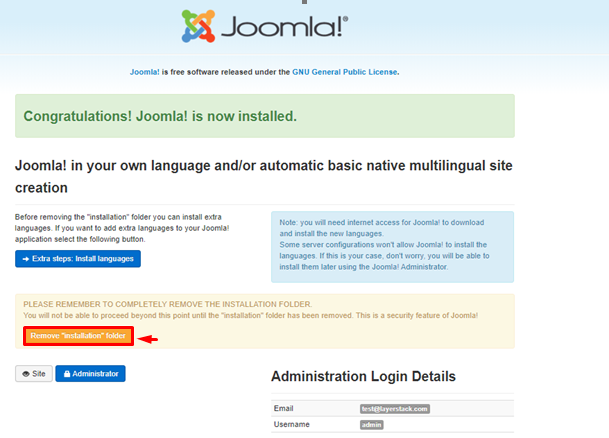
Now remove the Joomla installation folder from the server with the below commands or remove it from the site that mentioned the above image.
# cd /var/www/html/joomla/

# ll | grep installation

# rm -rf installation
Now test the installation by navigating to the below.
http://ipaddress/joomla (if joomla installed under default directory)
(or)
http://websitename/joomla (if joomla installed under a website)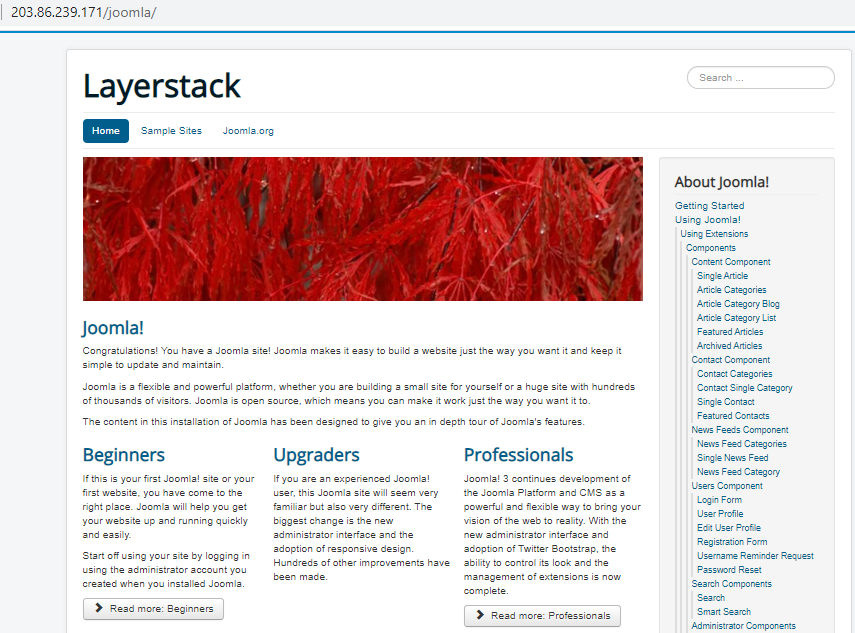
To log in Joomla site, enter the
usernameandpasswordas shown in the below image and click onLog in.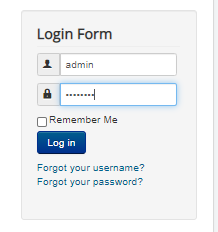
To log in as the site administrator, navigate to the below link and give the logins that we entered in the configuration process.
http://ipaddress/joomla/administrator (if joomla installed under default directory)
(or)
http://websitename/joomla/administrator (if joomla installed under a website)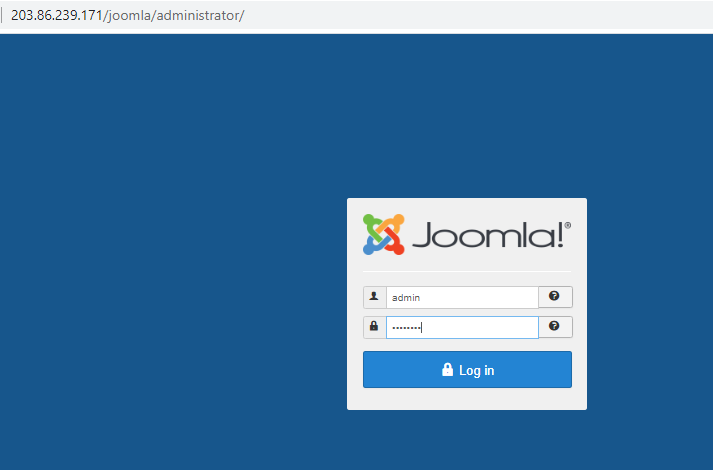
After clicking on the
Log inbutton, you will get the control panel page as below.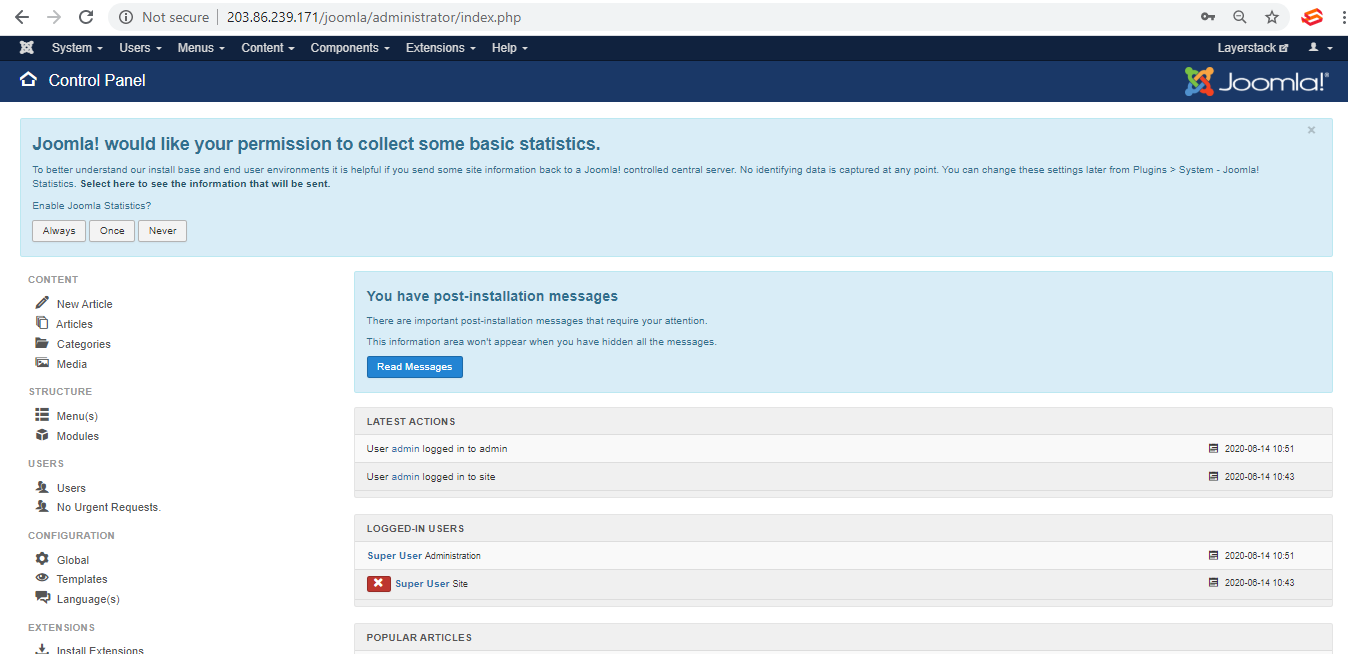
Related Tutorials
