A graphical user interface (GUI) is a type of user interface that provides the graphical interface to interact with your system. This guide will describe the steps to install the XFCE GUI and connect it with Virtual Network Computing (VNC).
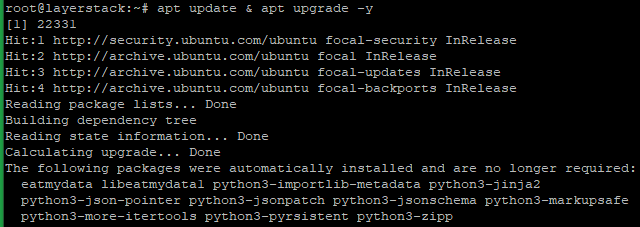
Run the below command to update all packages on your Ubuntu server before proceeding with the installation GUI.
# apt update & apt upgrade -y
Create a new user with sudo access since it's not secure to connect to the GUI as root.
# adduser layer_user
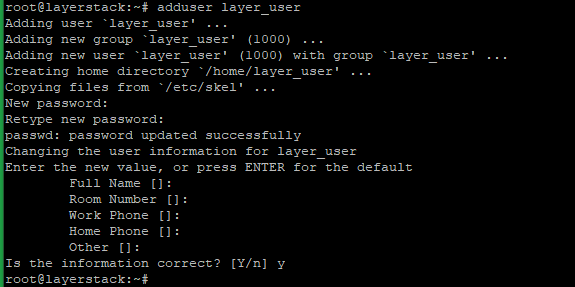
NOTE: Replace the username with the original and enter a strong user password when prompted. Then, fill in the other information as needed.
Use the below command to add the new user to the sudo group.
# addgroup layer_user sudo

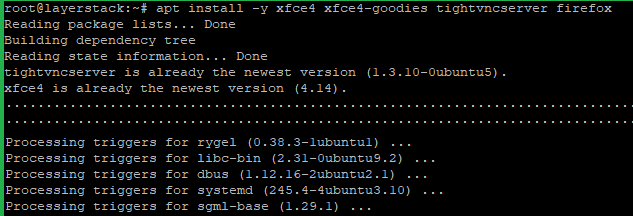
Run the below command to install XFCE, TightVNC server and Firefox web browser.
# apt install -y xfce4 xfce4-goodies tightvncserver firefox
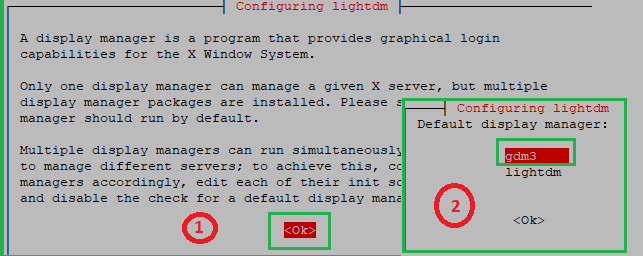
Choose gdm3 that is mentioned in the below image when prompted by the installer:
Change to the new user account with the below command. Do not run the below steps as root user.
# su layer_user

Use the below command to run the VNC to set up the configuration.
# vncserver
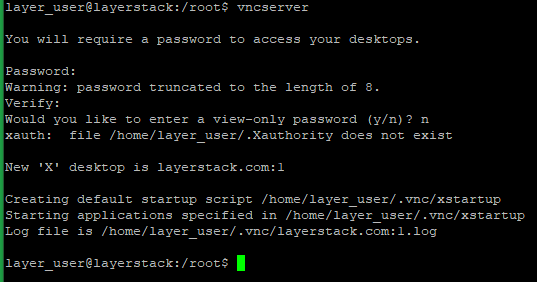
Enter a password for VNC connections. VNC uses a maximum of 8 characters and automatically shortens long passwords. Choose N when asked to enter a view-only password.
Use the below command to stop the VNC.
# vncserver -kill :1

Create a backup of the default startup script.
# cp ~/.vnc/xstartup ~/.vnc/xstartup.bak

Edit the startup script with the command vi ~/.vnc/xstartup and add the below line to the end.
startxfce4 &
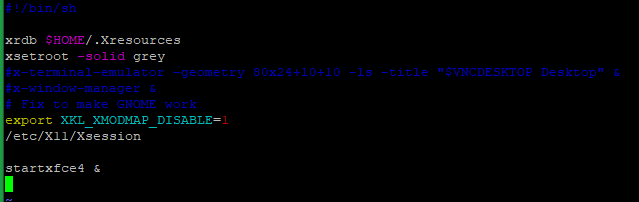
Save and exit the file.
To Configure TightVNC as a System Service, Create a new systemd service file with the below command.
# sudo vi /etc/systemd/system/[email protected]
Paste the below script and save.
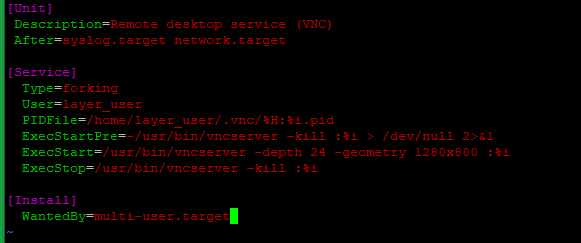
[Unit]
Description=Remote desktop service (VNC)
After=syslog.target network.target

[Service]
Type=forking
User=layer_user
PIDFile=/home/layer_user/.vnc/%H:%i.pid
ExecStartPre=-/usr/bin/vncserver -kill :%i > /dev/null 2>&1
ExecStart=/usr/bin/vncserver -depth 24 -geometry 1280x800 :%i
ExecStop=/usr/bin/vncserver -kill :%i

[Install]
WantedBy=multi-user.target
NOTE: Replace layer_user with your original username
Run the below command to reload the systemd services and start VNC. It will be asked for your password.
# systemctl daemon-reload

Run the below command to enable the service to start at boot. It will prompt for your password three times as the system makes the updates.
# systemctl enable --now [email protected]

Reboot the server at this stage.
# sudo reboot
Now you can access the Graphical User Interface of your server through the Console and the Console can access from your LayerPanel2 (https://cp.layerpanel.com/) server management page.

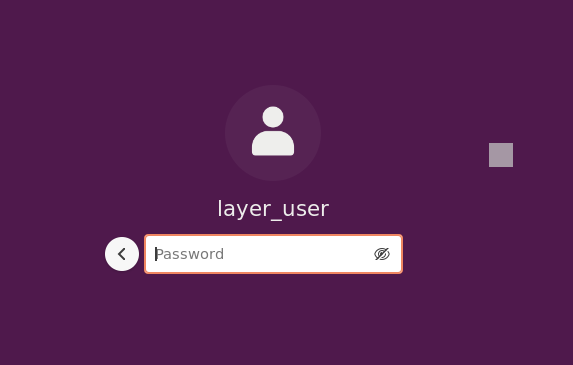
You can also use any VNC client such as VNC viewer to access the GUI of your system.
