Rocky Linux is a community enterprise operating system, which is a drop-in replacement of CentOS which is a stable version of Linux ideal for servers.
The tutorial shows the installation of the GNOME package on the system-enabled GUI.
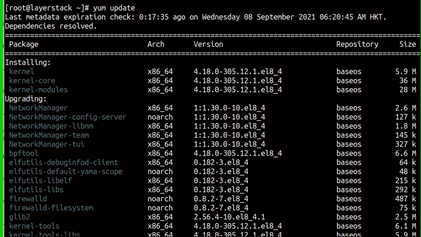
Run the following command to update the repository to ensure that all packages installed on your system are up to date.
# yum update
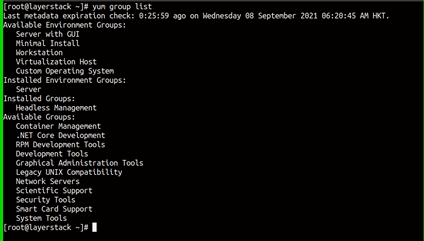
Execute the below command to list the group of packages on the repository.
# yum group list
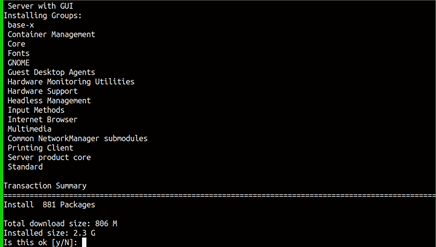
Install Gnome GUI and in between it will prompt for download permission, enter y key and hit enter to proceed with the installation. This will take a while.
# yum groupinstall "Server with GUI"
Enable the GUI as default and boot into graphical mode, execute the below command.
# systemctl set-default graphical

Reboot the system to boot into the graphical mode.
# reboot
Now, you may access the server through Console option via LayerPanel and enter the server root credentials to log in.
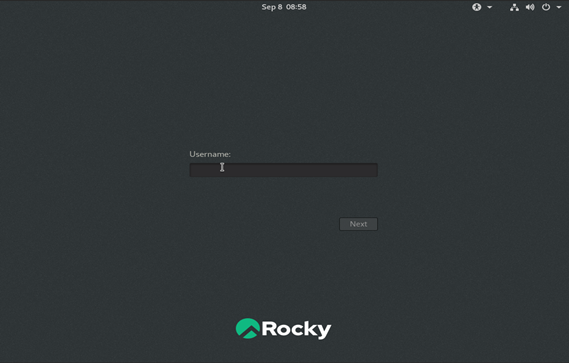
Get started with RockyLinux GUI.