How to install Graphical User Interface (GUI) for Debian 12 Cloud Servers
In the realm of Linux-based operating systems, Debian stands out for its stability and versatility, making it a popular choice for both servers and desktop environments. However, accessing the graphical user interface (GUI) of a Debian system remotely can sometimes be a challenge. In this guide, we will explore the process of installing a GUI and XRDP (X Remote Desktop Protocol) on Debian 12, facilitating remote access via Remote Desktop Protocol (RDP).
Installing a GUI and XRDP on Debian 12 opens up a world of possibilities for remote system management and accessibility. Whether you're an administrator overseeing multiple Debian machines or a user seeking a seamless remote desktop experience, configuring XRDP offers a straightforward solution. By following the steps outlined in this guide, you'll empower yourself with the tools necessary to harness the full potential of Debian 12's GUI remotely.
Updating Debian 12
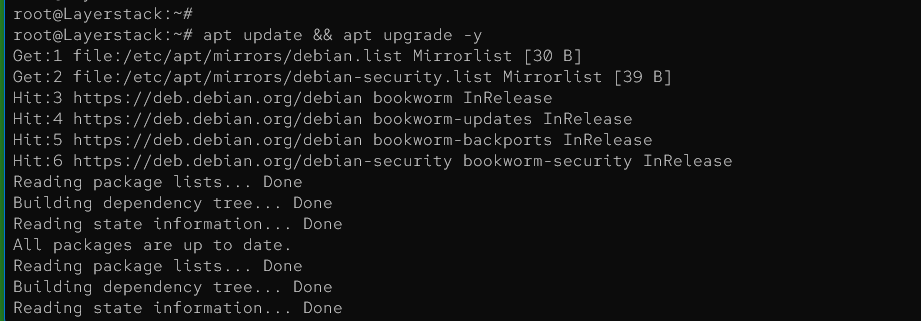
Before starting, it's always a good idea to make sure the system is up to date. The below command updates package lists for available upgrades and installs them automatically without prompting for confirmation.
Update using the command below:
# apt update && apt upgrade -y
Installing GNOME Minimal Desktop
GNOME minimal is available in the Debian 12 repositories. The below command installs the GNOME Core desktop environment along with its essential components and dependencies.
# apt install gnome-core -y

While installing gnome, there will be an selection prompt which ask for what is the preferred keyboard input select the required one from list and continue:

Enabling GDM3 service
Enables and starts the GDM3 service, ensuring it runs automatically on system boot for managing graphical user sessions.
# systemctl enable --now gdm3

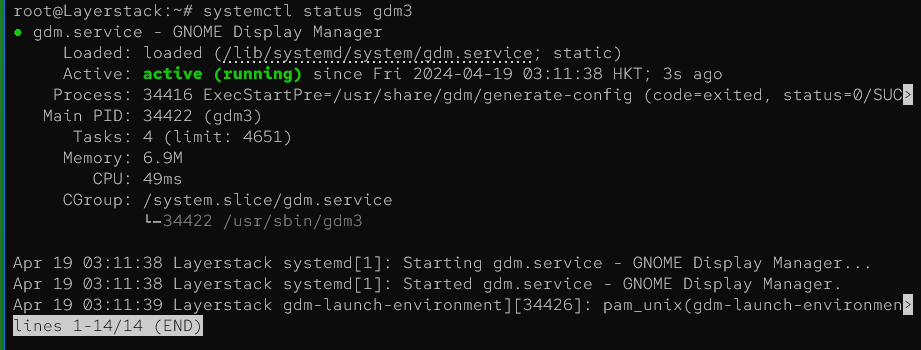
Checking GDM3 Status
Retrieves the current status of the GDM3 service, displaying whether it is active, inactive, or encountering any issues.
# systemctl status gdm3
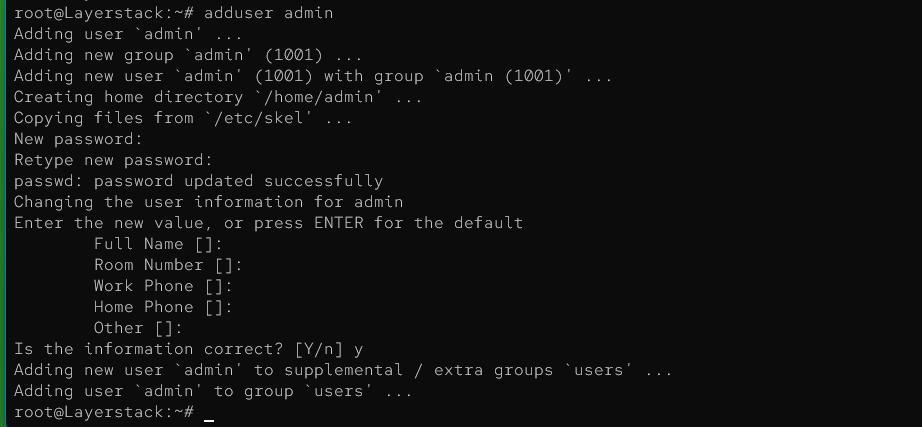
Adding new user
Creates a new user account with the specified username, enabling them to log in and utilize the system resources.
# adduser <username>
Adding user to Sudo group
Adds the specified user to the sudo group, granting them the ability to execute commands with superuser privileges, enhancing their control over the system.
# usermod -aG sudo <username>

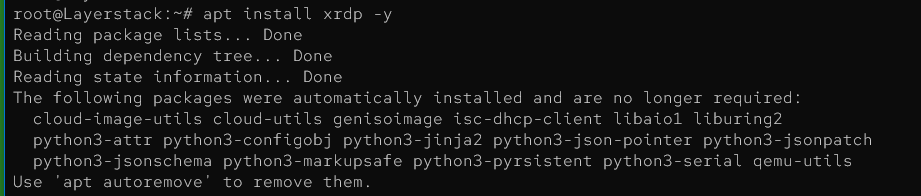
Installing XRDP
Installs the XRDP package, facilitating remote desktop access to the system, enhancing its accessibility and management capabilities.
# apt install xrdp -y
Enabling XRDP on boot
Enables and starts the XRDP service, ensuring it runs automatically on system boot for facilitating remote desktop connections, enhancing system accessibility and management.
# systemctl enable --now xrdp

Accessing the cloud server using RDP
Access the Debian desktop system from Windows using the
Remote Desktop Connection.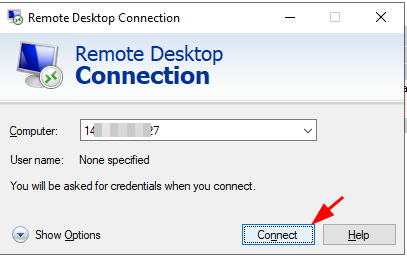
Click on the
Yesbutton to proceed with the connection.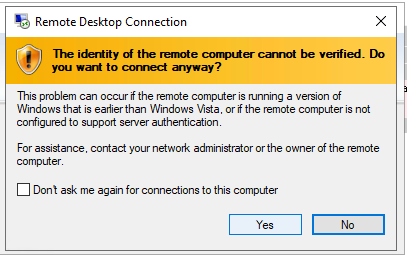
Input the login credentials and click on the
OKbutton.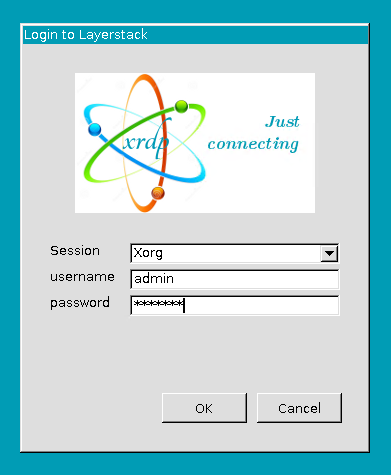
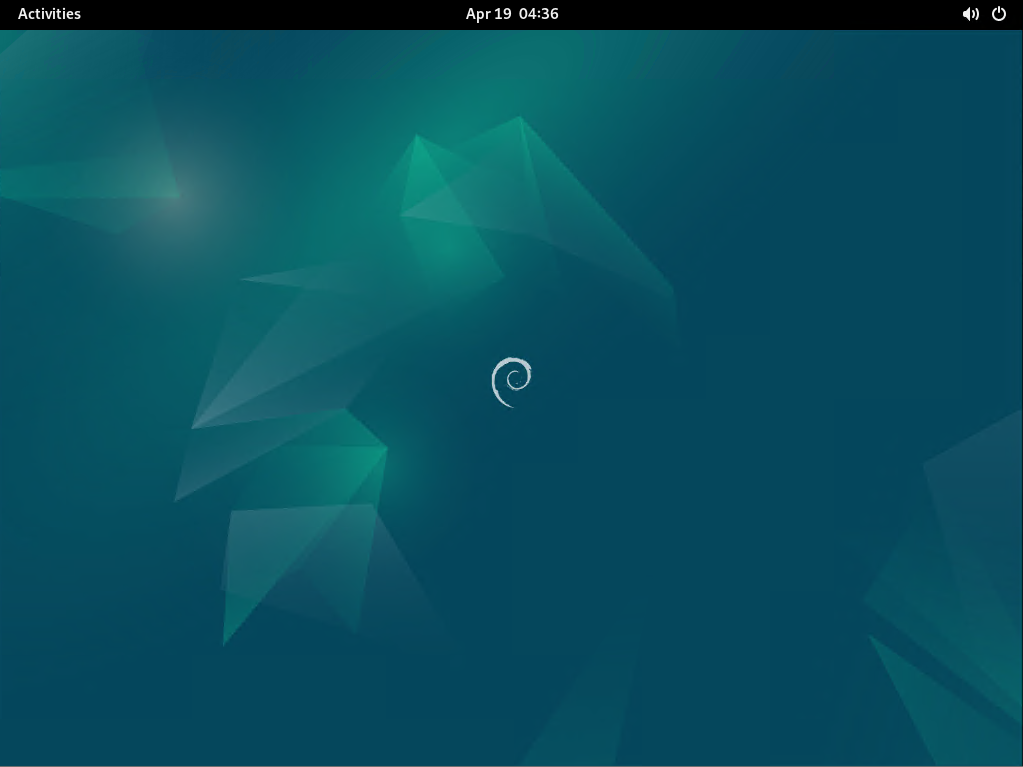
Once the correct logins are entered, the desktop screen of the remote Debian desktop system is shown in the below image.
Conclusion
The guide provided invaluable assistance in installing the GUI, XRDP, and facilitating RDP access on Debian 12. With these steps, users can seamlessly navigate their Debian 12 systems remotely, enhancing productivity and accessibility.
Related Tutorials
How to install Graphical User Interface (GUI) for Debian 11 Cloud Servers
How to install Graphical User Interface (GUI) for Ubuntu 22 Cloud Servers
How to install Graphical User Interface (GUI) for AlmaLinux 8 Cloud Servers
How to install Graphical User Interface (GUI) for Fedora Cloud Servers
How to install Graphical User Interface (GUI) for RockyLinux Cloud Servers
