How to install Apache web server on Windows Cloud Servers
When considering website hosting in a Windows server, it is a must that the server has a web server installed it which listens for requests and returns data.
Some of the most common web servers available for Windows servers are Tomcat, Microsoft IIS (Internet Information Services) and Apache, which is one of the most widely used, fully-featured web servers available.
This guide outlines the basic steps required to install an Apache web server in a 64-bit Windows operating system.
Installing Visual C++ package
Before installing Apache, the latest Visual C++ package needs to be installed on the server. The latest package can be downloaded from the below link:
https://aka.ms/vs/16/release/VC_redist.x64.exe
Once the package has been installed, the server needs to be rebooted to ensure that any remaining changes which require a restart are completed.
Downloading Apache
The first step involved in the installation of the Apache web server in Windows is to download the pre-compiled Apache binaries for Windows. This is readily available in binary distribution websites such as Apache Lounge ( https://www.apachelounge.com ) and ApacheHaus ( https://www.apachehaus.com ).
In the context of this guide, the Apache binaries will be downloaded from Apache Lounge. The latest available Apache package will be available for download from the below link:
https://www.apachelounge.com/download/
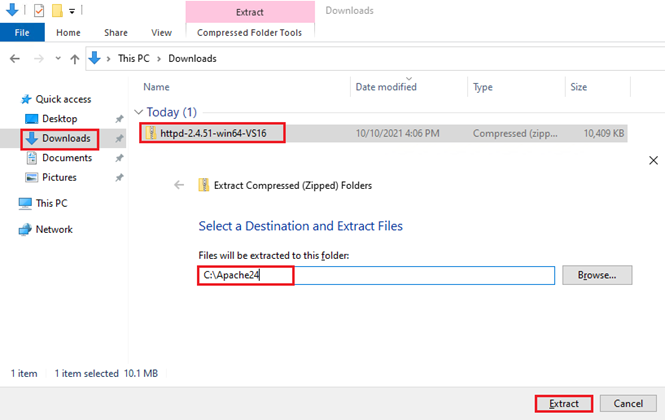
Extracting the files
The Apache binary package will be downloaded as a ZIP archive. Extract the contents of the archive to the root of C: drive, to the folder named Apache24 (C:\Apache24).
Testing Apache installation
Open up the Windows command prompt as an Administrator user. For this, click on
Starticon and type incmd. Right-click on theCommand Promptoption, and selectRun as administrator.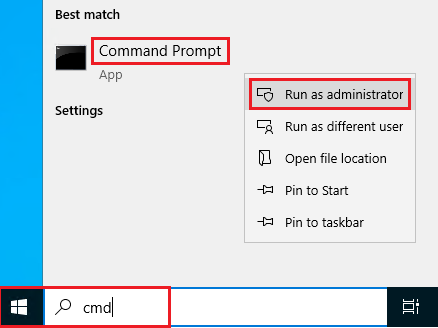
Change to the directory where the Apache binary files have been extracted
C:\Apache24\bin.> cd C:\Apache24\bin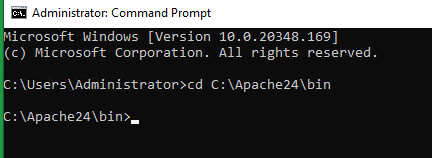
Run the Apache program by typing in
httpd.exe. If the cursor sits in the next line without any errors, it can be confirmed that the Apache server is working fine.> httpd.exe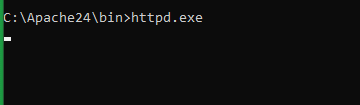
This can also be verified by accessing
http://localhostin a browser inside the server. A page with the messageIt works!will be displayed which confirms that the Apache server is working.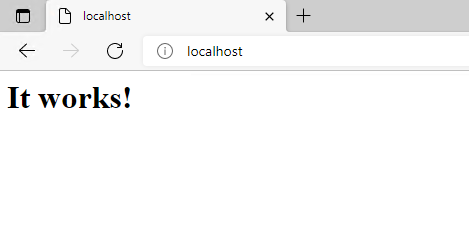
The Apache server can be shut down by pressing Ctrl+C in the command prompt.
Installing Apache as a system service
Once the Apache server has been confirmed to be working and shut down, Apache can now be installed as a system service. For this, follow the below steps.
Open up the Windows command prompt as an Administrator user, change to the directory where the Apache binary files have been extracted
C:\Apache24\binand type in the below command.> cd C:\Apache24\bin > httpd.exe -k install -n "Apache HTTP Server"**The output of the above command will be as below:

Type in the below command from the command prompt for opening
Servicessetting.> services.mscThe Services window will open up, where the
Apache HTTP Serverwill be shown, with theStartup TypeasAutomatic. If it is not set as Automatic, do this by double-clicking on the service name.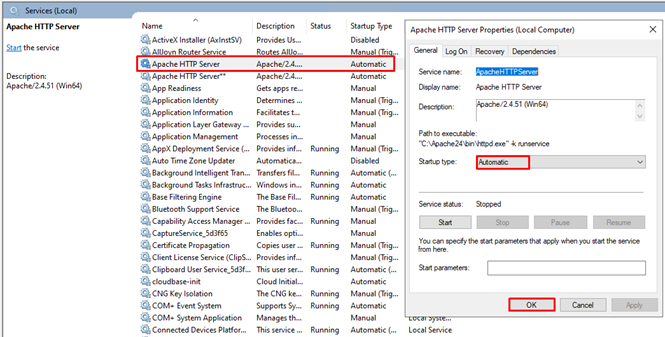
Restart the server once again, and once logged back in, the Apache service can be verified by accessing
http://localhostin a browser inside the server. A page with the messageIt works!will be displayed which confirms that the Apache service has automatically started and is working.
Configuring Windows firewall to allow connections to Apache web server
In order to allow external connections to the newly installed Apache web service, a relevant Windows Firewall Rule needs to be configured. The below steps can be made use for this purpose.
Click on
Starticon, type in firewall and then click on theWindows Defender Firewall with Advanced Securityoption that shows up.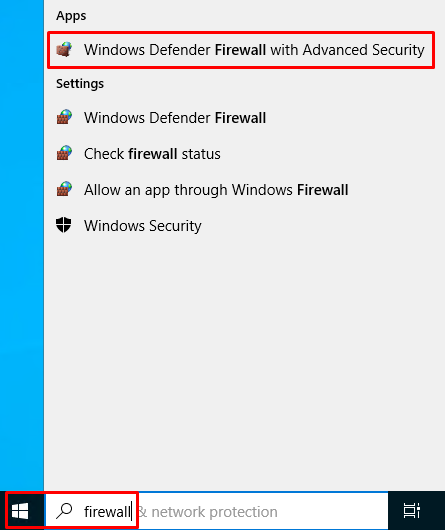
Under
Inbound Rules, click onNew Rule…on the right-side panel.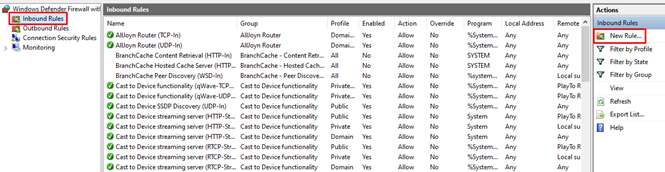
Select
PortunderRule Typeand click onNext.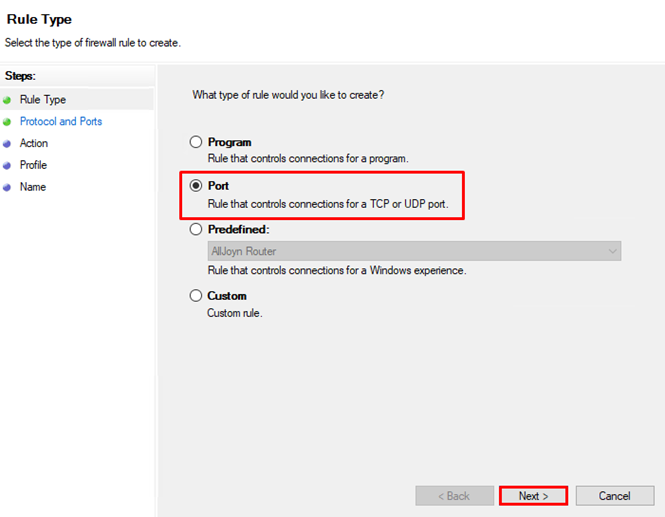
Under
Protocol and Ports, selectTCPfor Does this rule apply to TCP or UDP?, selectSpecific local portsfor Does this rule apply to all local ports or specific local ports? and type in the following to the input field:80,443,8080.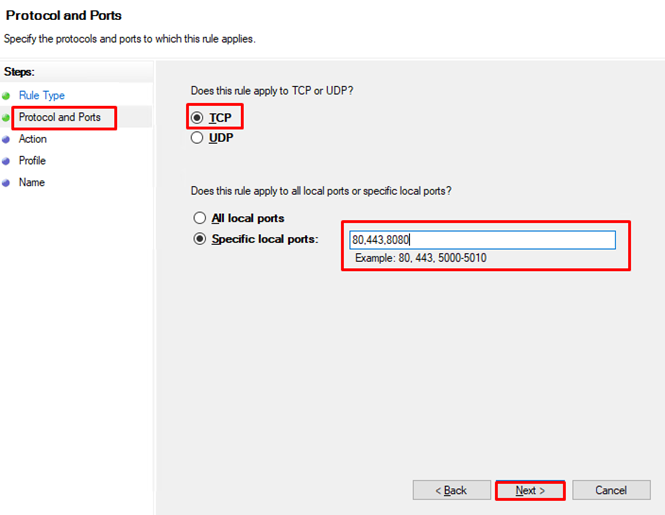
Click
Next, and then selectAllow the connectionunderAction.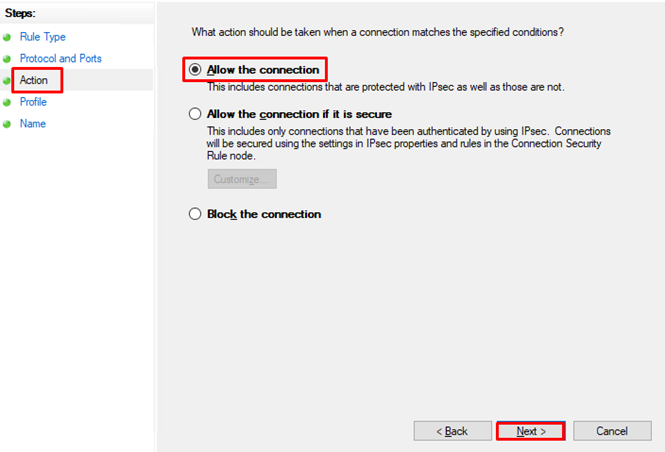
Click
Next, underProfile, make sure that all check-boxes ( Domain, Private, Public ) are checked and then click onNextagain.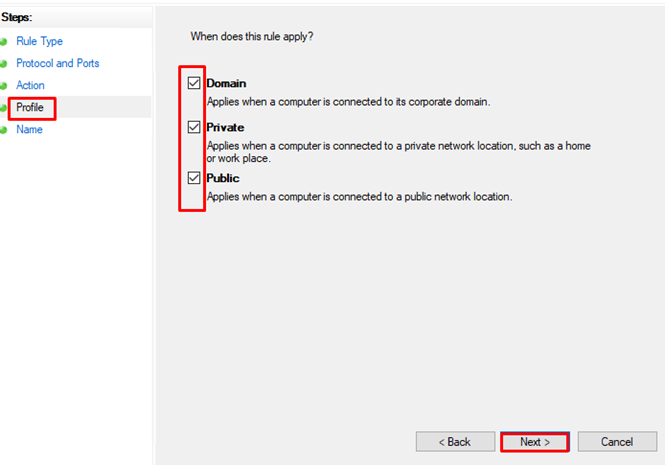
Type in a familiar name in the
Namefield, which will make it understandable that the rule is for allowing incoming Apache connections and then click onFinish.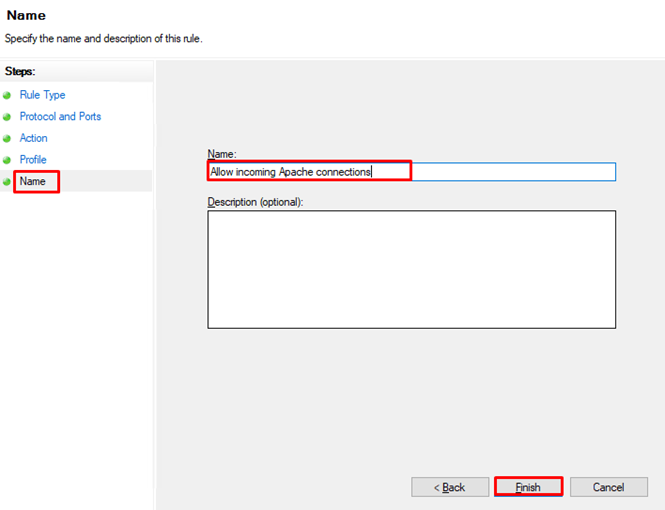
Once the inbound firewall rule has been created, try accessing the
IP addressof the server externally from any browser. The test page should show up confirming that the server now accepts incoming connections for Apache service.
NOTE: Since the Apache test page can expose details about the server externally, it is recommended to disable the newly created firewall rule temporarily and enable it back once the original website is ready to be hosted on the Windows server.
Related Tutorials
