Acronis Offsite backup service provides a fast, efficient and easier solution for creating backups of Cloud servers and restoration in times of need through a centralized dashboard. Using Acronis Offsite backup solution, backup and restoration can be both disk-level as well as file-level.
Enabling Acronis Offsite backup service for a cloud server involves the installation of the Acronis Backup Agent in the Cloud server. The below guide outlines the general steps to installing Acronis Backup Agent in Linux Cloud servers.
Log in to the Acronis Cyber Protect Console (https://sg-cloud.acronis.com).
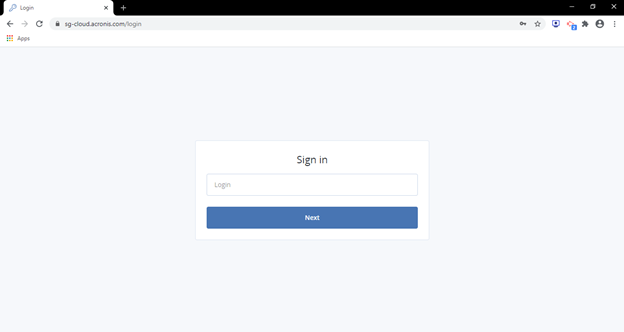
NOTE: Login information will be sent to your registered email after purchasing the Acronis service.
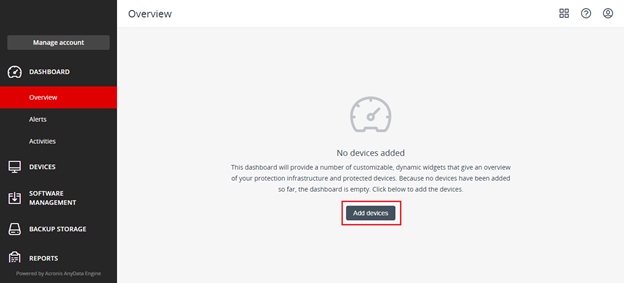
Click on Add Devices.
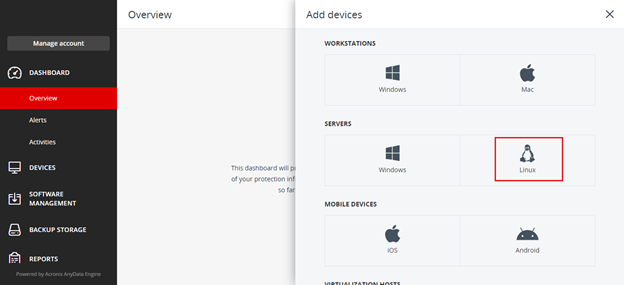
From under Servers, click on Linux.
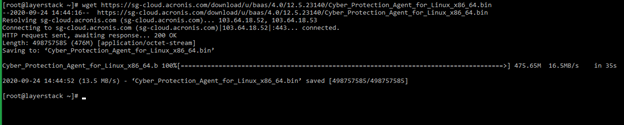
The Acronis agent binary file will start downloading. You can copy the download link and then download the file inside the server.
# wget https://sg-cloud.acronis.com/download/u/baas/4.0/12.5.23140/Cyber_Protection_Agent_for_Linux_x86_64.bin
Make the downloaded binary file executable.
# chmod +x Cyber_Protection_Agent_for_Linux_x86_64.bin

Run the installer file by executing the below command.
# ./Cyber_Protection_Agent_for_Linux_x86_64.bin

The Acronis agent setup will now be initiated.
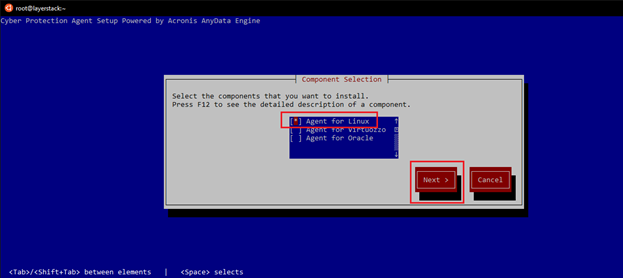
From under Component Selection, select Agent for Linux and then click on Next.
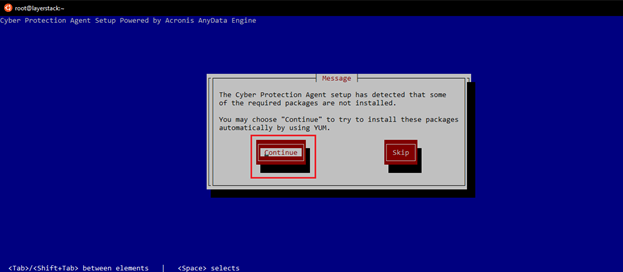
A prompt notifying that some of the required packages are not being installed will be shown. Click on Continue to automatically install the packages.
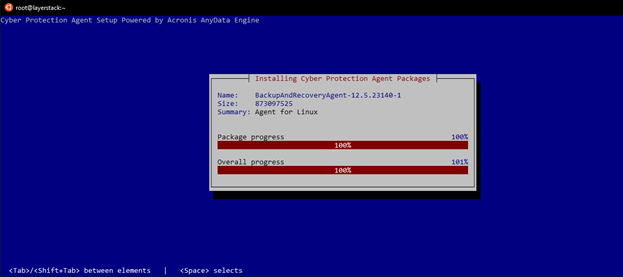
The installation of the required packages will proceed.
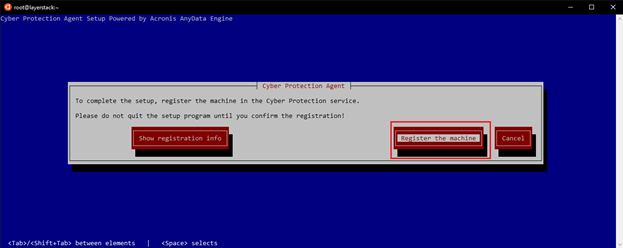
Once the installation is completed, a prompt to register the machine will be displayed. Click on Register the machine button.
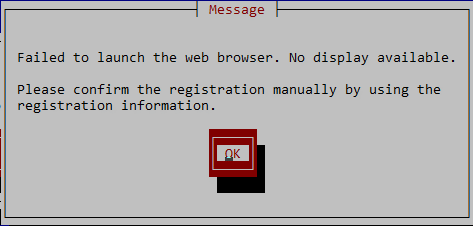
If you get any error as below, click OK in the Message window, and then click on Show Registration info.
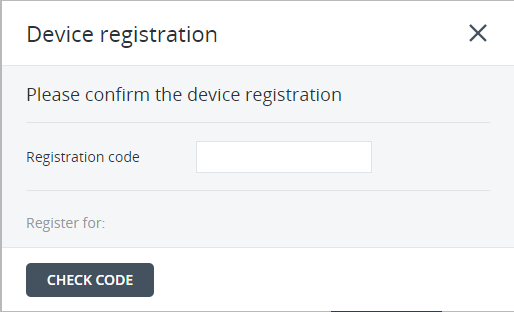
Once the Show Registration info button is clicked, a new message window will open with the Registration link and Registration code.

Open the Registration link in a browser, log in to the Acronis account and enter the Registration code. Click on Check Code.
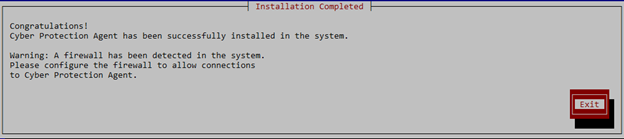
Once the registration has been completed successfully, the agent installation console will also show a message that the agent installation has been completed successfully.
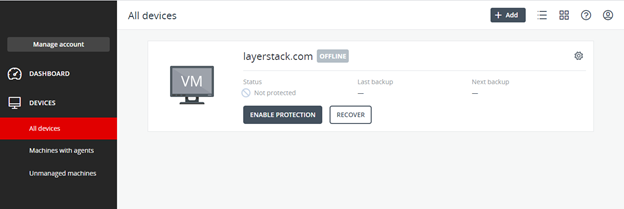
The server in which the agent has been installed will now show up inside the Acronis portal under All devices.