Asterisk is an open-source platform for developing communication applications and It is used to power IP PBX systems, VoIP gateways, conference servers, and other solutions. It offers a set of features including, conference call, voice mail, IVR, and automatic call distribution, voicemail, music on hold, conference calling, call queuing, call recording, interactive voice response, SMS messaging, and more. It is used by individuals, small businesses, large enterprises, and governments worldwide.
Asterisk has its primary advantages listed below:
- Call Features
- Computer-Telephony Integration
- Speech and scalability
- VoIP protocols
- ISDN protocols
LayerStack has come up with a new feature where you can deploy Asterisk with a single click on your Cloud Servers for all regions.
HTTP link to log in to Asterisk Dashboard:
http://<serverip>/admin/
Getting started with our One Click Asterisk installed Cloud servers
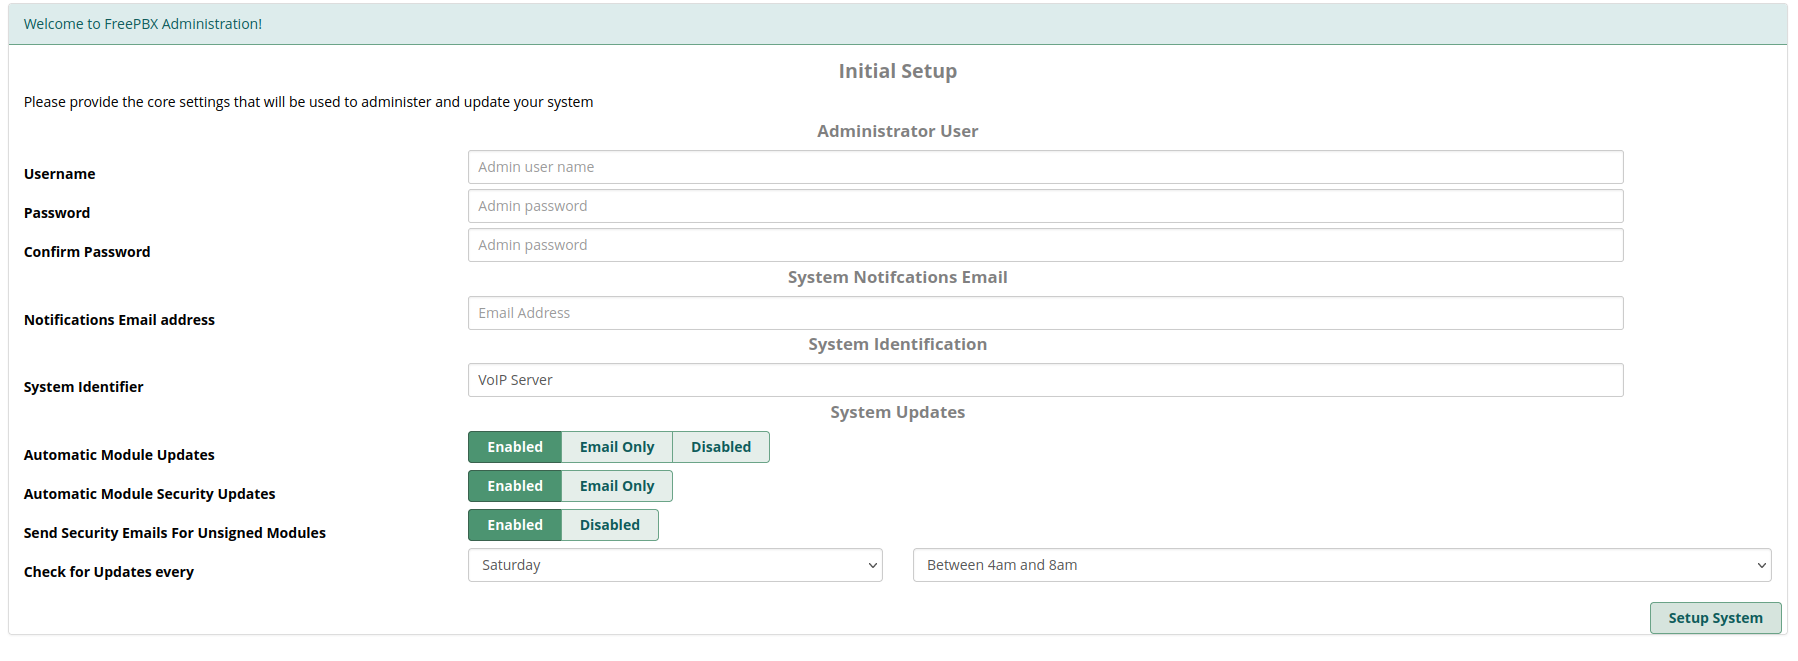
The below are the required fields to be entered by the user in order to complete the Asterisk installation.
| Field |
Description |
| Notifications Email address |
The System notification email address |
| Admin Username |
This is the username of Asterisk admin user |
| Admin Password |
A strong password suggested to login |
| Check for updates |
Specify date and time for update check |
| Module and module security updates |
Enable/Disable |
Accessing the Asterisk site after deployment
This section describes how to access the Asterisk application once the installation is done. By default, the Asterisk will be accessible by accessing your Cloud server’s IP address in a browser of your choice. Please follow the below steps:
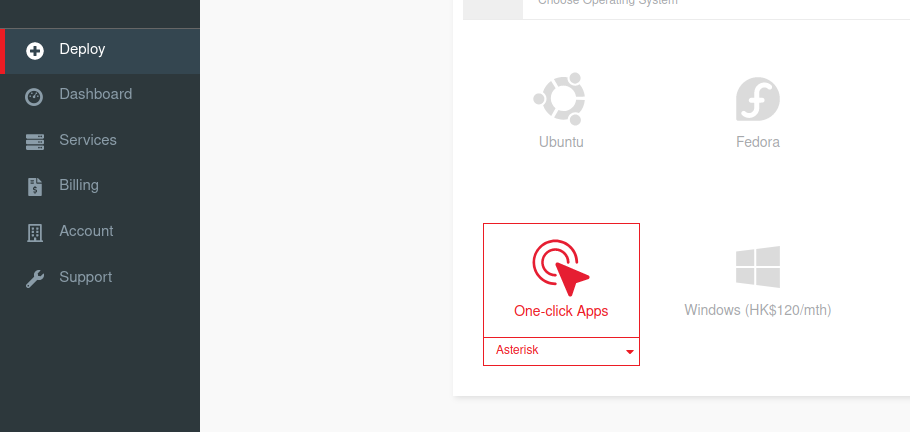
Log in to LayerPanel2 and click on Deploy from the sidebar on the left side.
Choose Asterisk for the server OS and proceed to order the Cloud Servers.
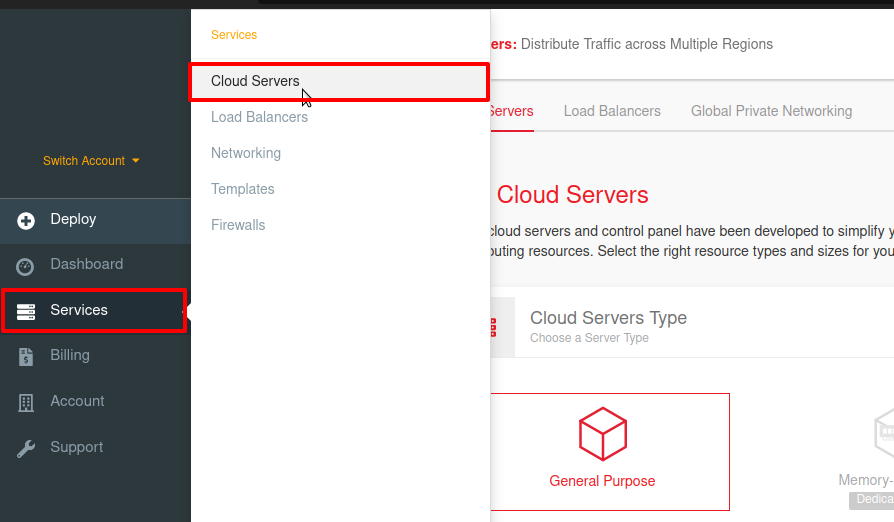
After the server is activated, click on Services from the sidebar on the left side and further select Cloud Servers for listing out your Cloud Servers.
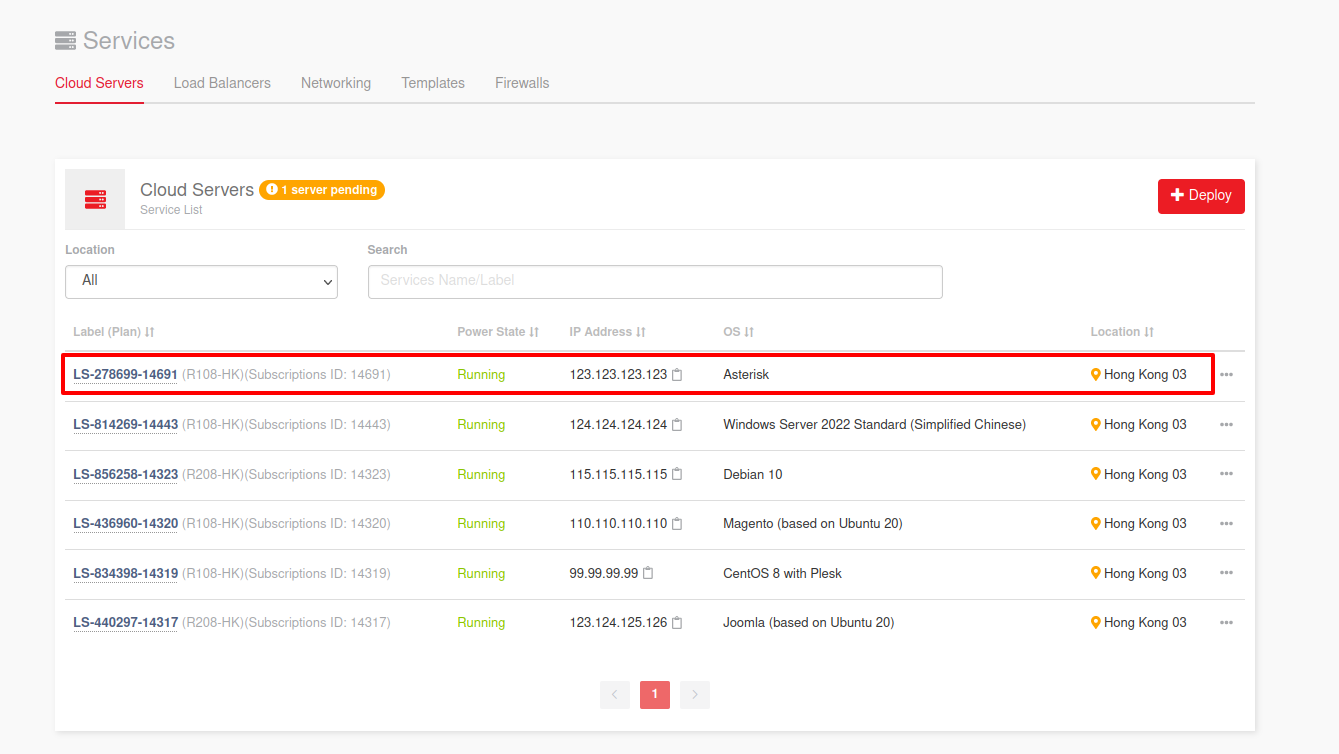
From the list of Cloud Servers, find your newly deployed Cloud Server with Asterisk one-click option.
In the below example the server IP is 123.123.123.123. You can copy the IP address using the Copy to clipboard icon adjacent to the IP address and then can paste it in any browser of your choice.
The page loads with the Asterisk homepage. You can complete setting up the system by filling in the relevant information.
You can now log in to the Asterisk admin dashboard by accessing the below link and personalizing the appearances for your website. The user can input admin as the administrative username and server's password for logging into the admin dashboard of Asterisk.
http://<serverip>/admin
NOTE: Replace serverip in the above link with the actual IP address of your Cloud Servers.
How to link your domain name for your Asterisk Website?
You may have registered your domain with any global domain registrars, so you would be able to manage the DNS settings of your domain under the respective domain registrar’s account. To link your domain name to the Asterisk application to make it active under the domain in LayerStack Cloud Servers, you would require to set up A record entry for the website against the Cloud server’s IP address. This will resolve the domain name to the particular server IP.
NOTE: Pointing A record to the server IP is to be done at your Domain Registrar’s end. The DNS settings may vary according to the Registrar providers.
For more clarity you may refer to our DNS record setup tutorial:
How to update NameServer and DNS record for LayerStack Cloud Servers
