Redis is basically in-memory key-value store known for flexible performance and a wide range of support. It is an open-source database, precisely, data structure store that can be used as a cache for database, intended for quick response for queries and messages. Application of Redis varies from use in session caching, full page cache, message queue applications and leader boards.
The following steps will install and configure Redis in Ubuntu 20.04LTS.
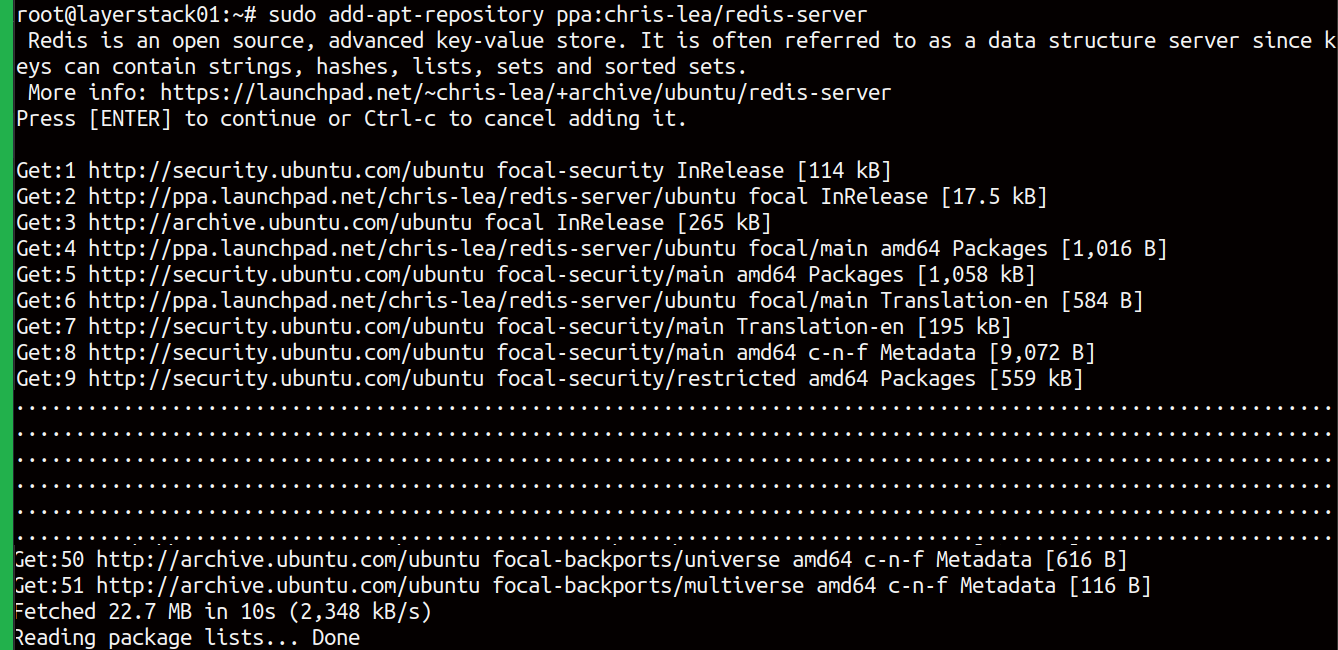
As the first step we save a repository, adding the PPA to the system's Software Sources.
# add-apt-repository ppa:chris-lea/redis-server
Update the package lists.
# apt-get update

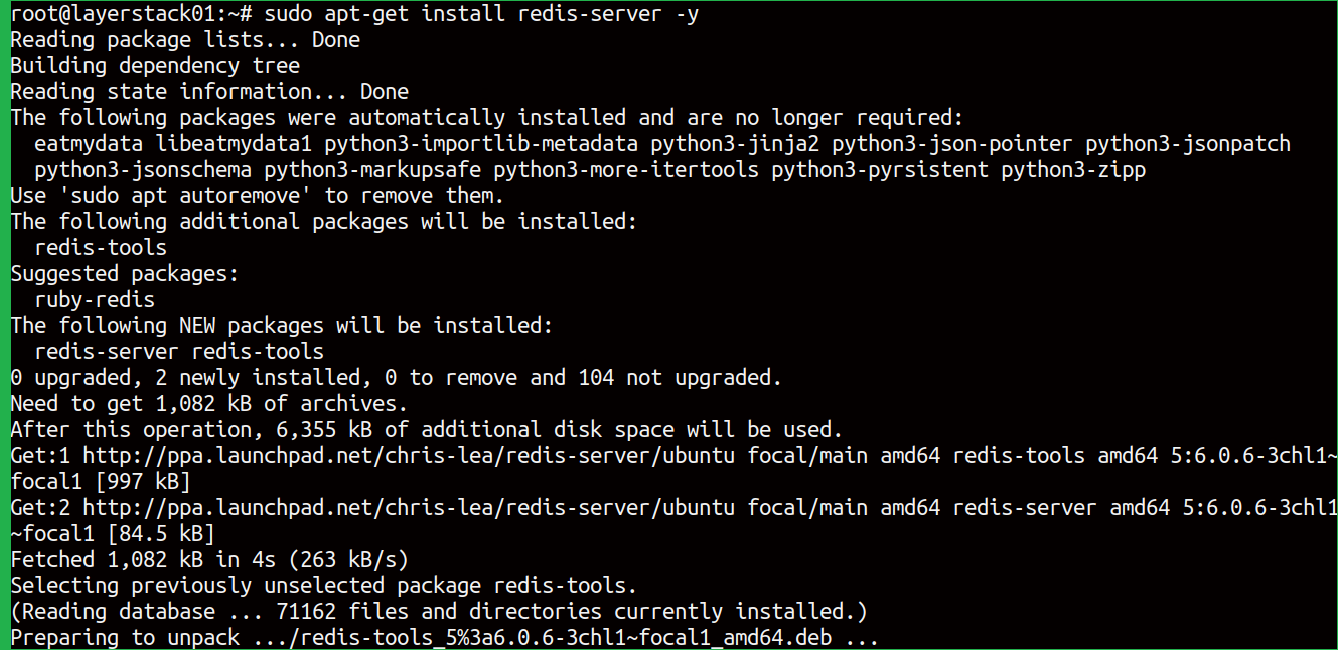
Start to install Redis using the command.
# apt-get install redis-server -y
Once Redis is installed, enable the process so that it starts automatically at boot time.
# systemctl enable redis-server.service

Installation is done, now start the configuration of Redis by following steps.
# vi /etc/redis/redis.conf
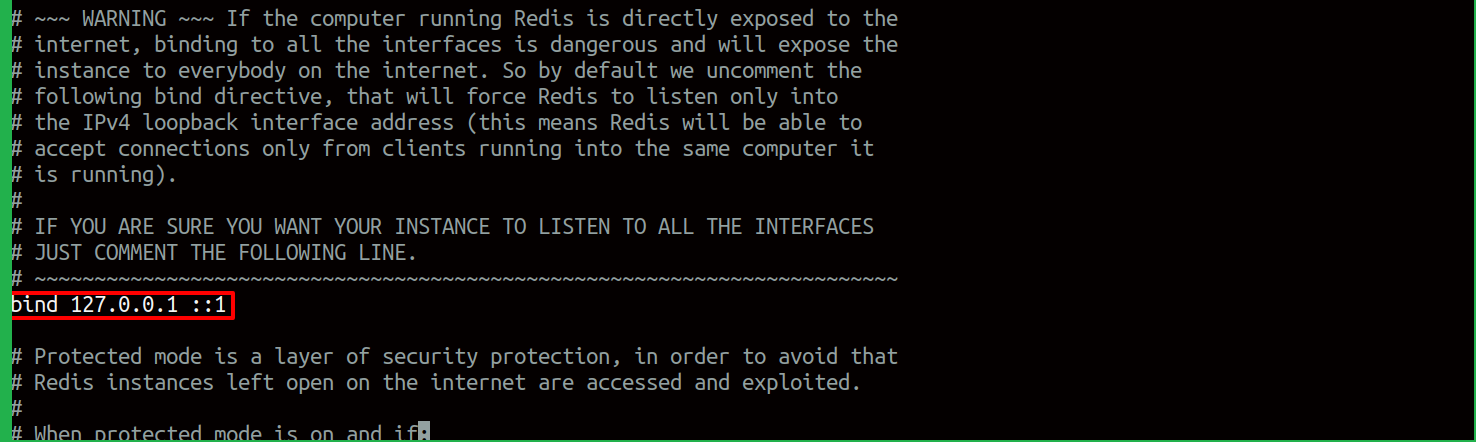
Normal installation of Redis in an application server: This is the default configuration that connects to loopback IP to allow the connections:
bind 127.0.0.1 ::1
In case if the server uses any private networking between the Redis server and the application server, the above line should be of the format.
bind 127.0.0.1 ::1 <private-ip>
Further customizing the Redis Configuration file, there is an option to reserve memory capacity for Redis. When you scroll down, you would be able to see the variable maxmemory.
The capacity can be defined here:
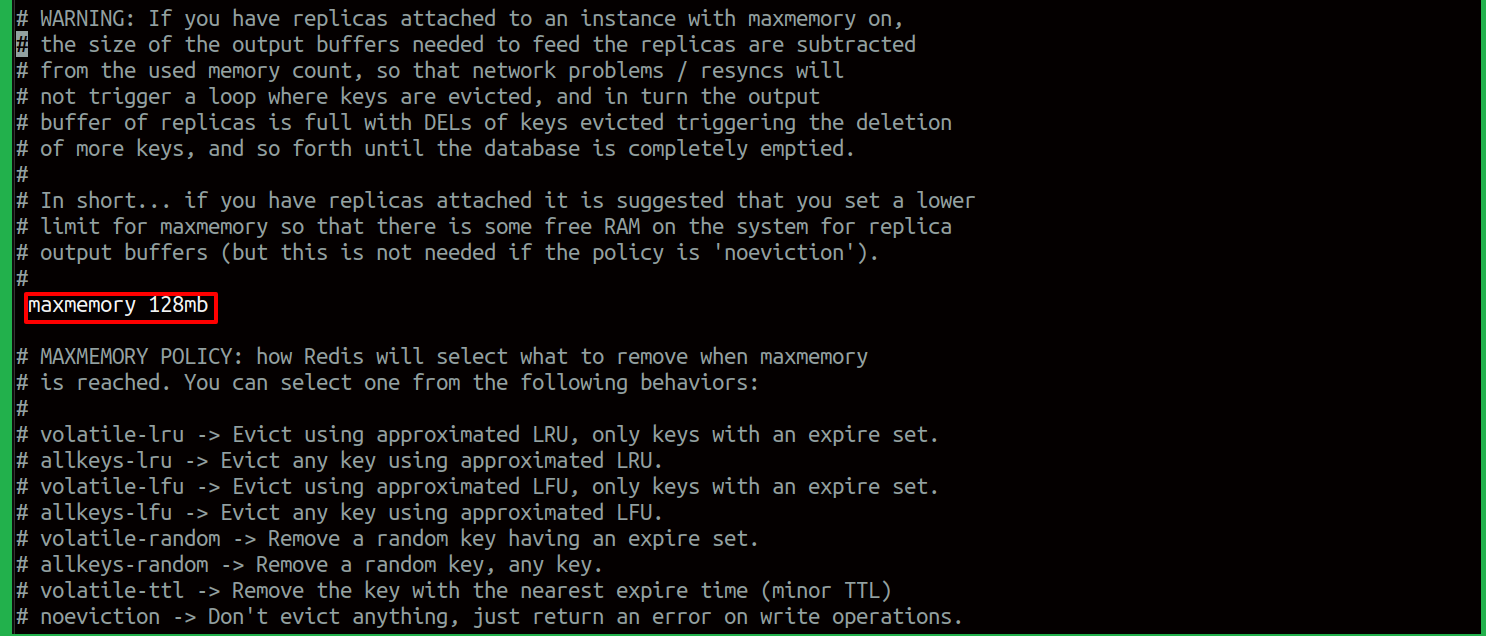
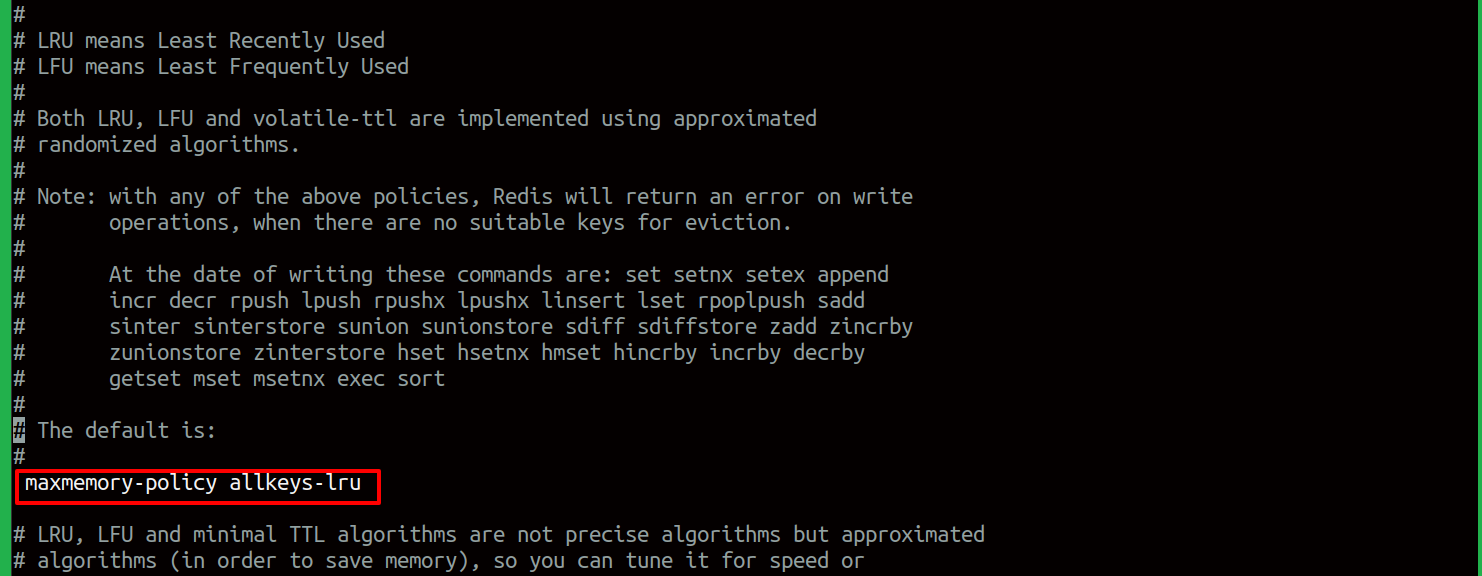
The memory reuse method is to be defined for Redis. Here we use the Least Recently Used Algorithm for the purposes. When maxmemory reaches the limit, Redis has to remove the least recently used item from the memory and place the new item in the cache memory. Therefore, we look for the variable maxmemory-policy and we assign it as follows:
Now fine-tune the Redis installation, follow the steps below:
Open the Redis log file using the command:
# tail /var/log/redis/redis-server.log
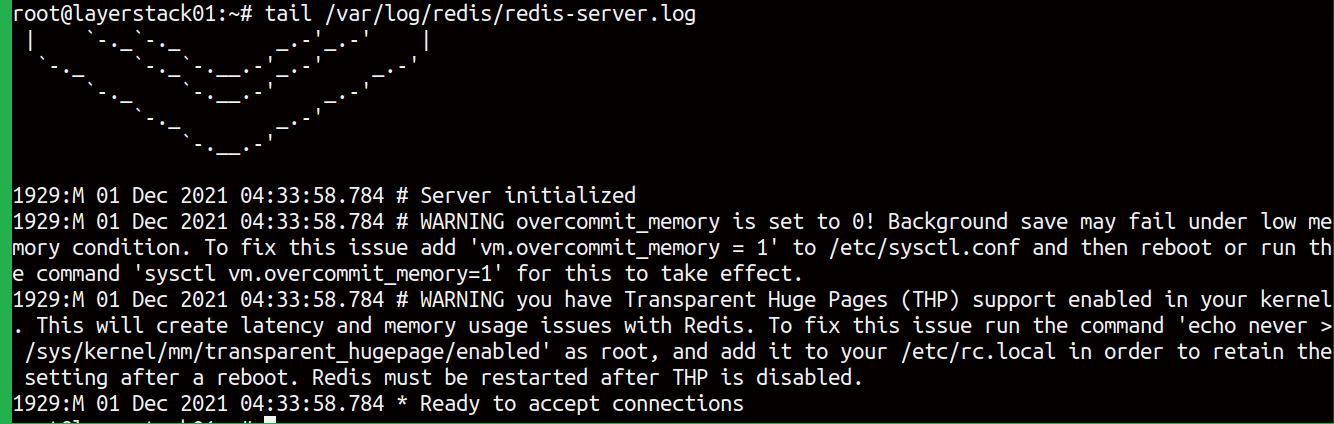
The output will be like the screenshot above.
Fix the first warning message.
# echo 'vm.overcommit_memory = 1' | sudo tee -a /etc/sysctl.conf > /dev/null

# sysctl -p

Now, to fix the second warning, create a new file in the path.
# vi /etc/rc.local
And paste the code below and save the file and close it.
#!/bin/bash
echo never > /sys/kernel/mm/transparent_hugepage/enabled
systemctl restart redis-server.service
exit 0

Finally, fix the permissions of the files.
# chown root:root /etc/rc.local

# chmod 770 /etc/rc.local

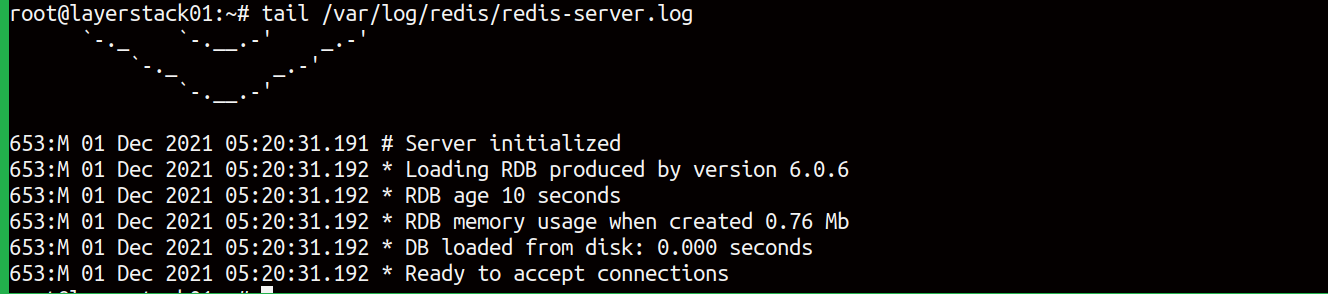
Reboot the server and check with the Redis log files once again by the command.
# tail /var/log/redis/redis-server.log
The output will be like this:
To check the installation whether is successful, give the command.
# redis-cli
If no errors, the output will be like below:

