How to install ZABBIX 6.2 on Ubuntu 22
Zabbix is an open-source software developed and supported by Zabbix SIA, that monitors numerous parameters of a network and the health and integrity of servers, virtual machines, applications, services, databases, websites, the cloud and more.
Zabbix allows users to configure e-mail-based alerts for any event, excellent reporting and data visualization features based on the stored data.
All Zabbix reports and statistics, configuration parameters, network status, server health, etc. can be assessed from any location through a web-based frontend.
This guide will describe the steps to install Zabbix and its basic configuration.
Step 1 - Install Apache web server, PHP and MySQL database
Install the Apache2 service.
# apt-get install apache2 -y
Install MySQL database.
# apt-get install mysql-server -y
Install PHP.
# apt-get install php php-pear php-cgi php-common libapache2-mod-php php-mbstring php-net-socket php-gd php-xml-util php-mysql php-bcmath -y
Step 2 - Download and Install Zabbix 6.2 in Ubuntu 22
Download the
Zabbix Repositoryin Ubuntu using wget.# wget https://repo.zabbix.com/zabbix/6.2/ubuntu/pool/main/z/zabbix-release/zabbix-release_6.2-2%2Bubuntu22.04_all.deb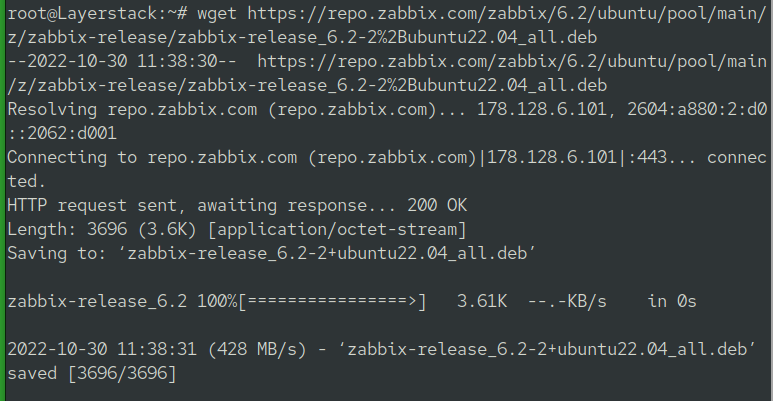
Install the repository using
dpkg tool.# dpkg -i zabbix-release_6.2-2+ubuntu22.04_all.deb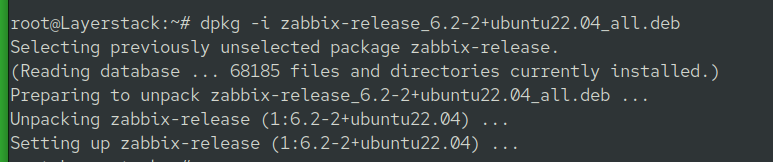
Fetch the latest version of the package list.
# apt-get update
Install Zabbix Server, Frontend and Agent.
# apt-get install zabbix-server-mysql zabbix-frontend-php zabbix-apache-conf zabbix-sql-scripts zabbix-agent -y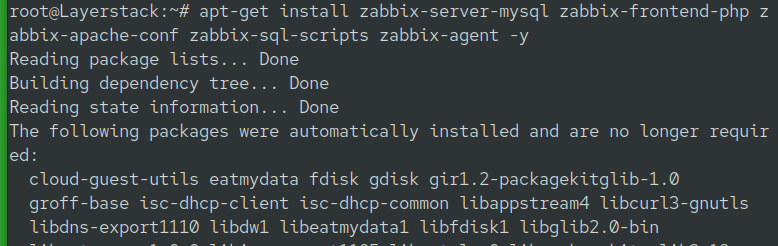
Step 3 - Database configuration
Enter MySQL using the below command.
# mysqlRun the following on your database host.
mysql> create database zabbix character set utf8mb4 collate utf8mb4_bin;

mysql> create user zabbix@localhost identified by 'password';

mysql> grant all privileges on zabbix.* to zabbix@localhost;

mysql> set global log_bin_trust_function_creators = 1;

mysql> quit;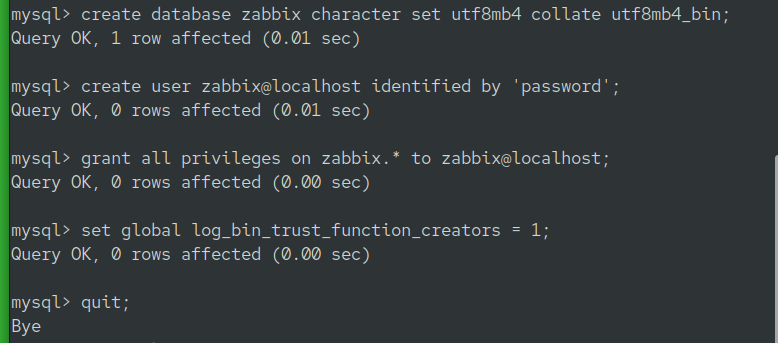
On the Zabbix server host imports the
initial schemaand data.# zcat /usr/share/zabbix-sql-scripts/mysql/server.sql.gz | mysql --default-character-set=utf8mb4 -uzabbix -p zabbixEnter password when prompted:

Disable the
log_bin_trust_function_creatorsoption after importing the database schema.# mysql mysql> set global log_bin_trust_function_creators = 0; mysql> quit;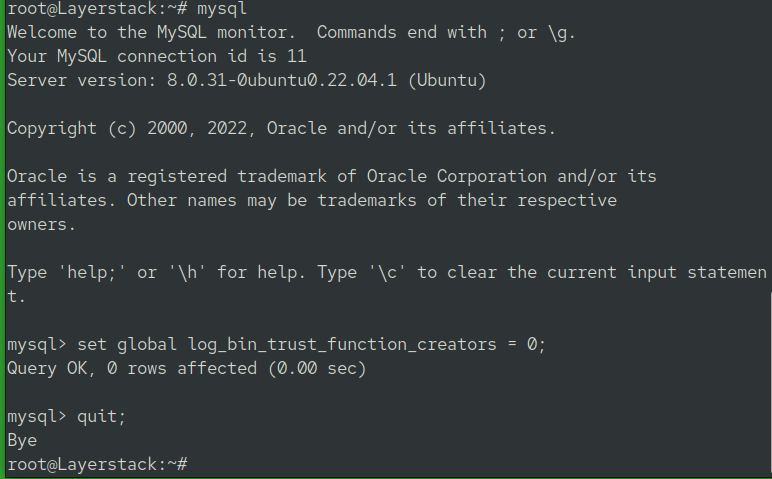
Step 4 - Configure the Zabbix server and start the server processes
Edit Zabbix configuration file
/etc/zabbix/zabbix_server.conf.# vi /etc/zabbix/zabbix_server.conf
Uncomment
DBPasswordand enter the Zabbix database password:DBPassword=password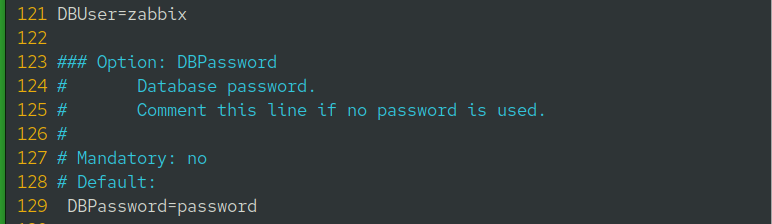
Start the
Zabbix serverand agent processes, and make it start at system boot. Follow the below-given commands.# systemctl restart zabbix-server zabbix-agent apache2 # systemctl enable zabbix-server zabbix-agent apache2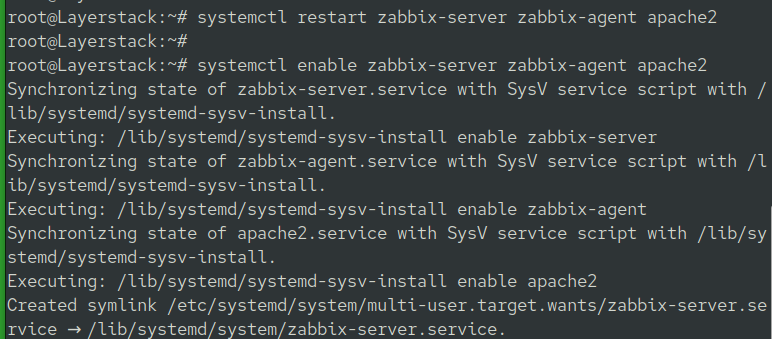
Install
language packsfor Zabbix.# apt-get install language-pack-en
Step 5 - Set up Zabbix monitoring tool
Use the web browser and go to http://IPaddress/zabbix/setup.php, 111.111.111.111 is an example.
http://111.111.111.111/zabbix/setup.php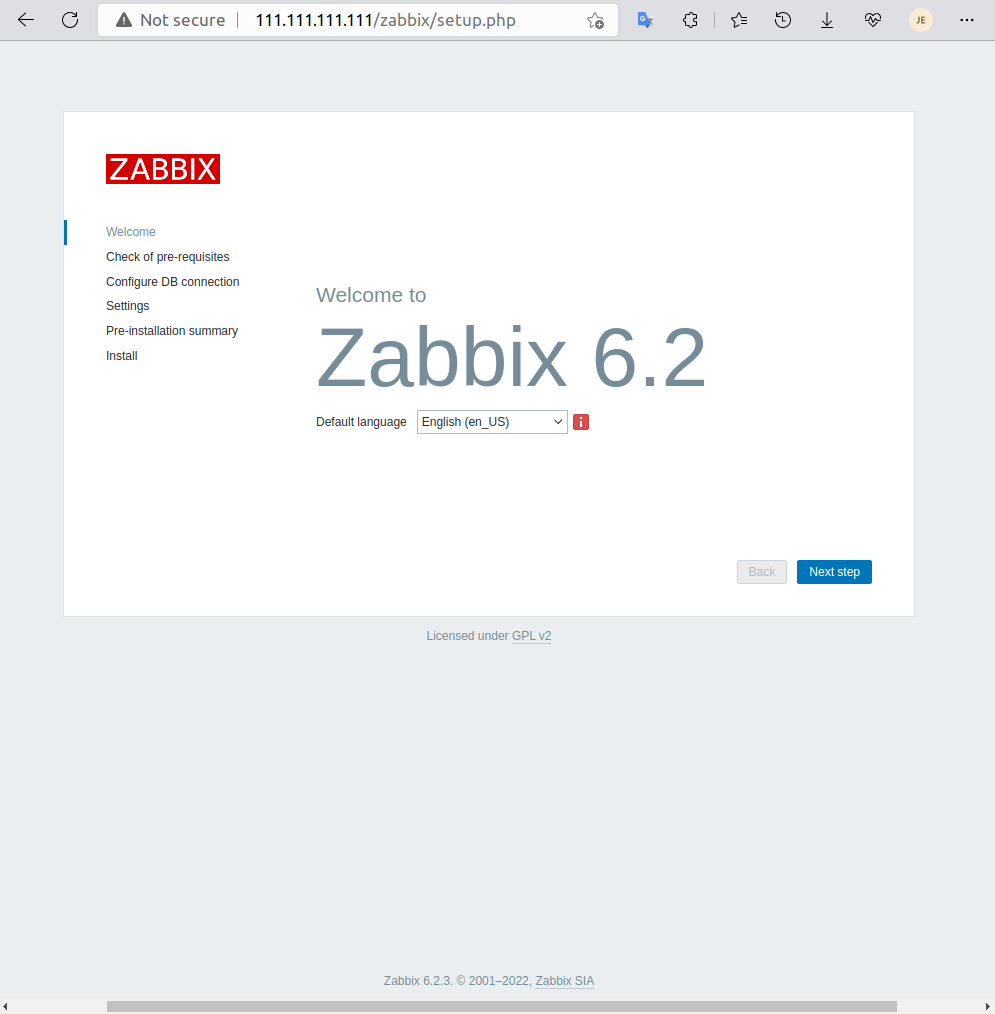
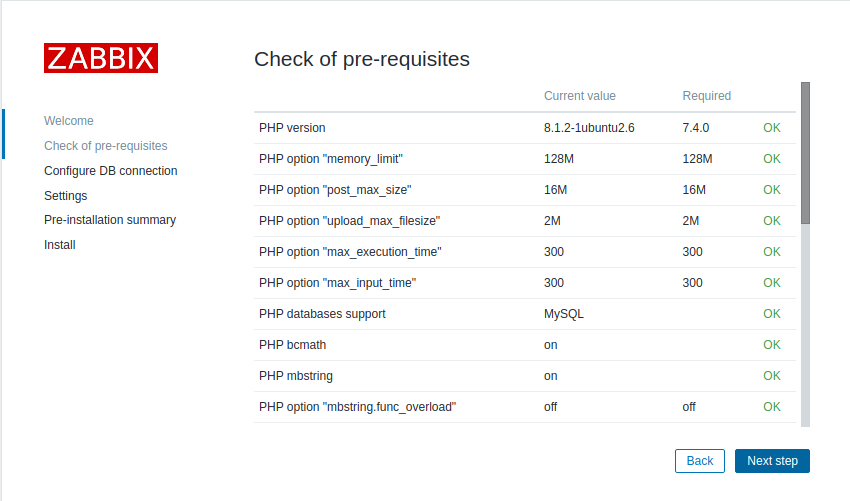
Click
Next stepand continue to the next page.This page shows the prerequisites that are installed and verified.
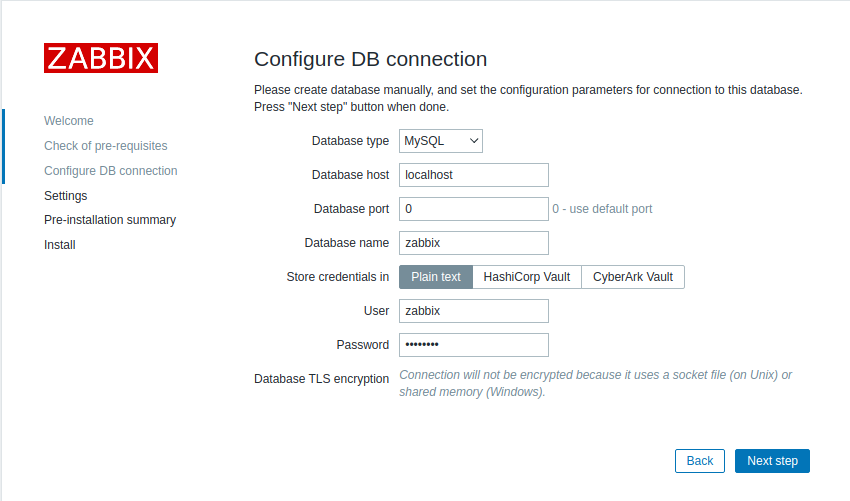
Click
Next stepand continue to the next page.Here you have to enter your MySQL-Zabbix database password.
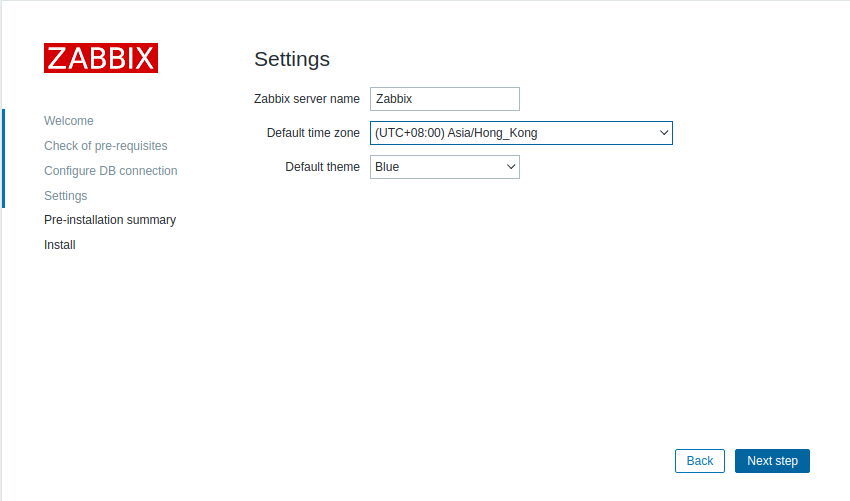
Click
Next stepand continue to the next page.Set your time zone, default theme, etc.
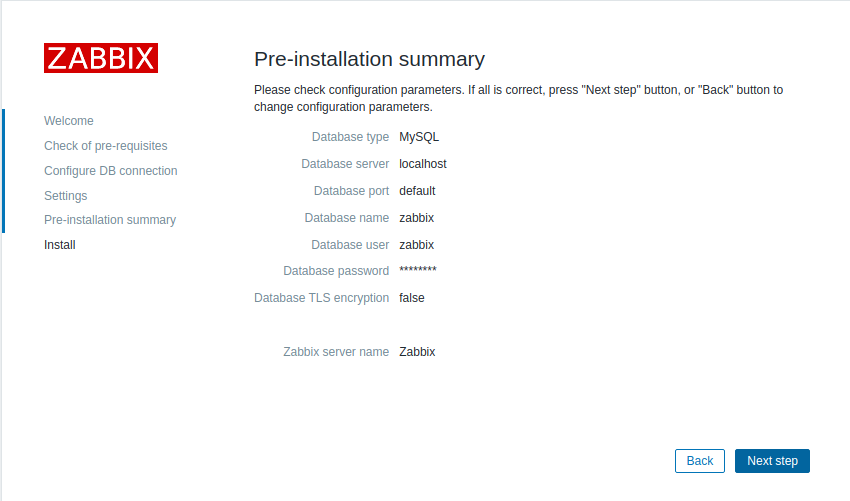
Click
Next stepand continue to the next page.Pre-installtion summary. Check all the configuration parameters.
After the installation process completes, a congratulations message will appear.
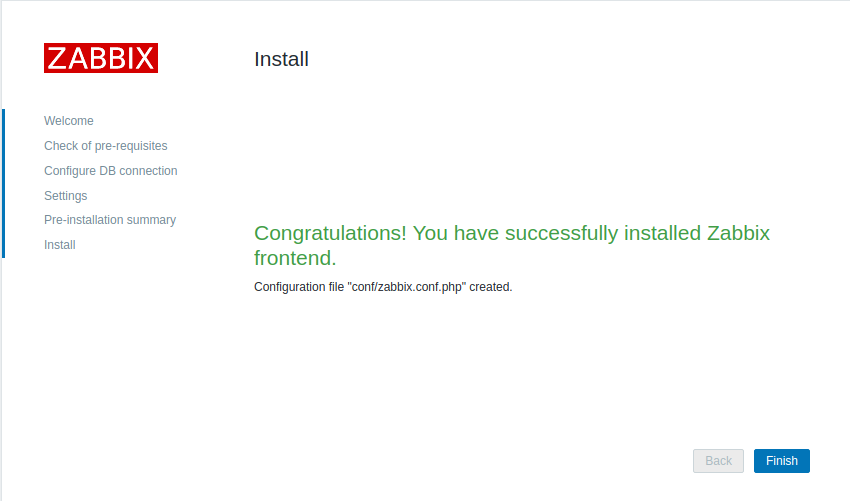
Click
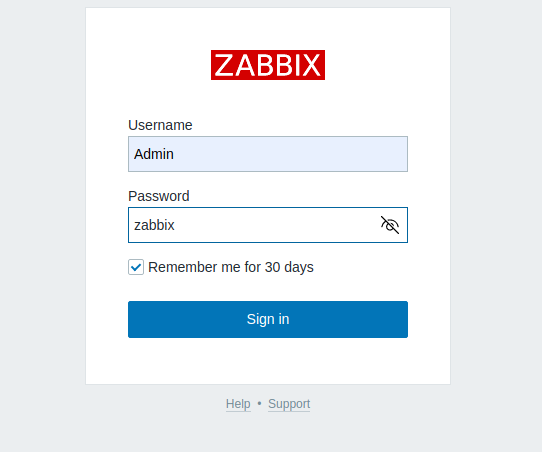
Finish.Log in to Zabbix using http://111.111.111.111/zabbix/.
Default Username: Admin

Default Password: zabbix
Sign in using the above-mentioned credentials:
See
Zabbix dashboard.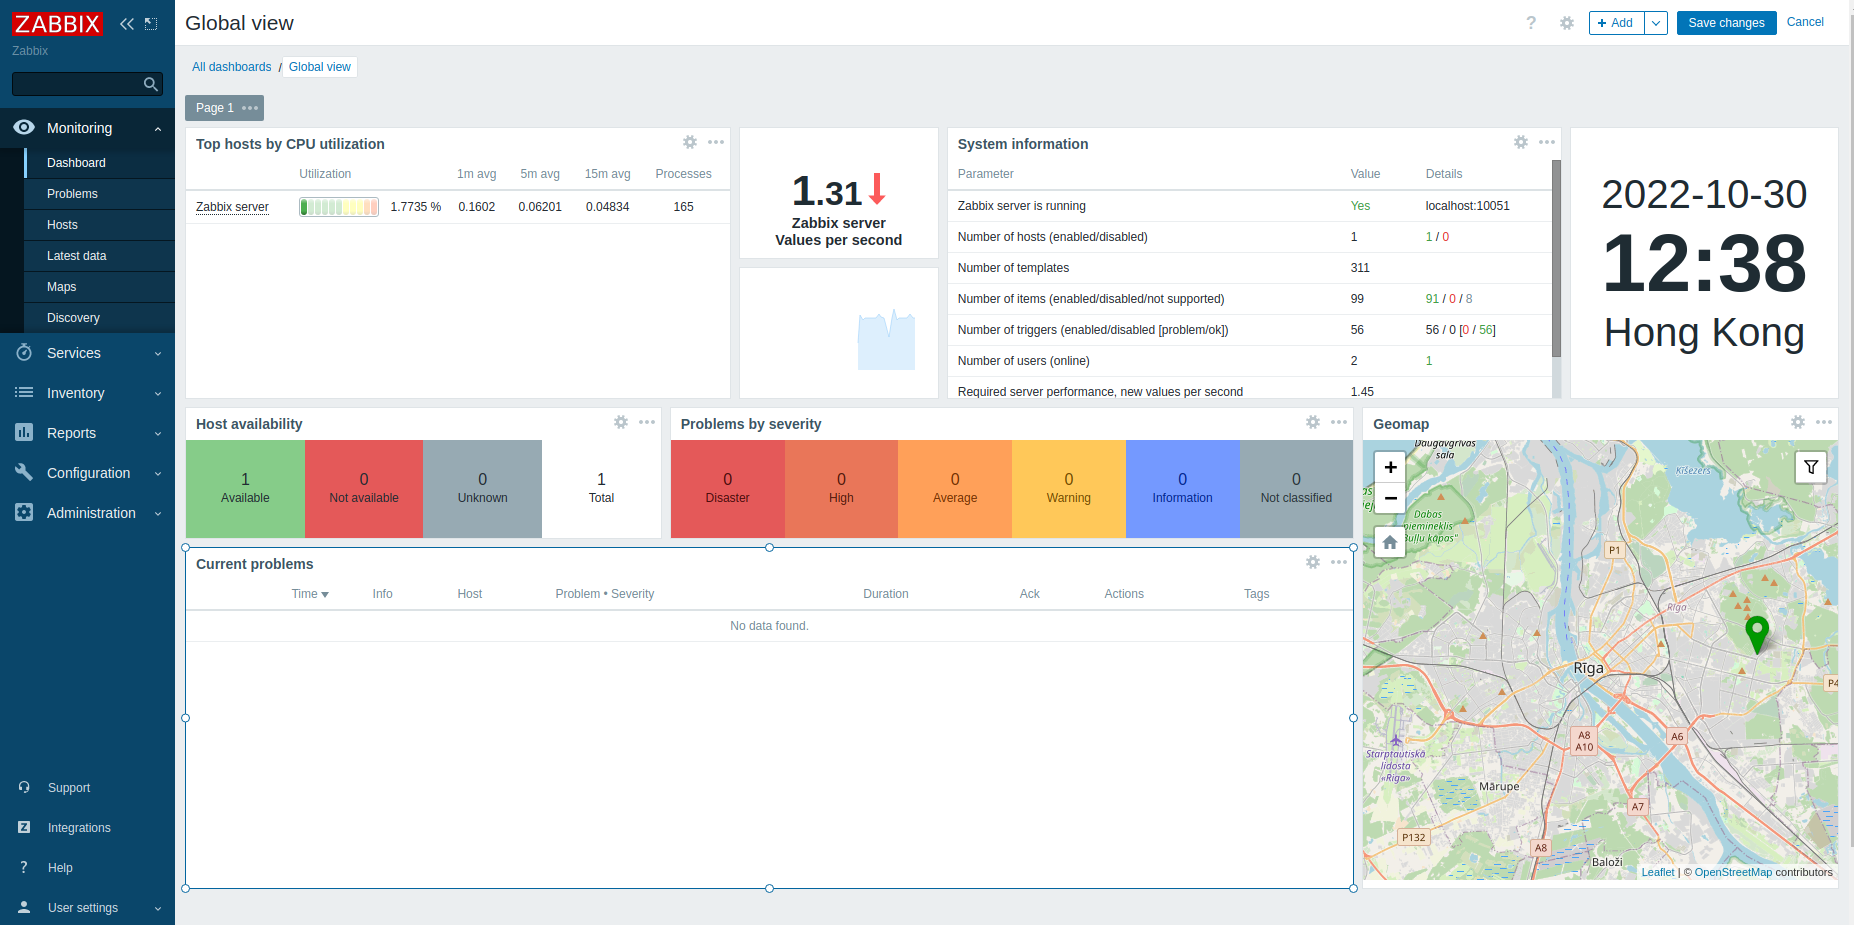
To change the Zabbix frontend admin account password, navigate to
Administration->Users–> and click onAdmin.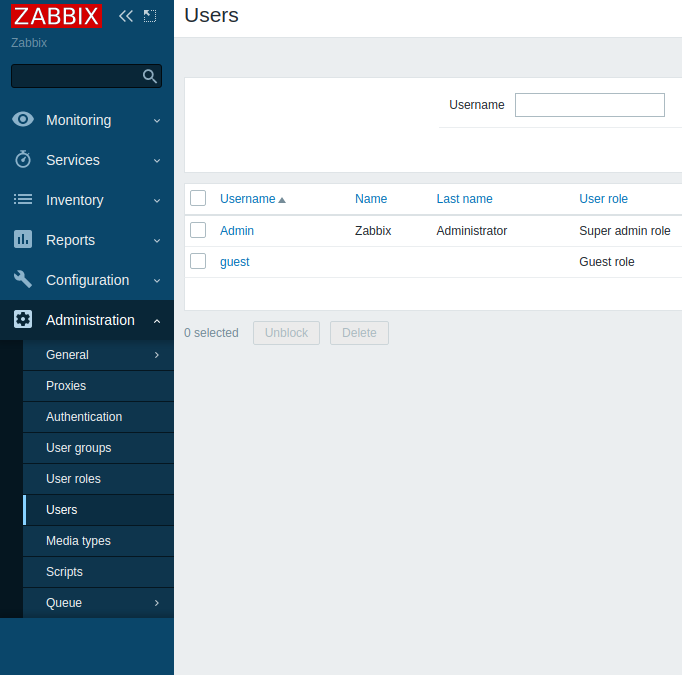
Click on the
Change passwordbutton and add your new password.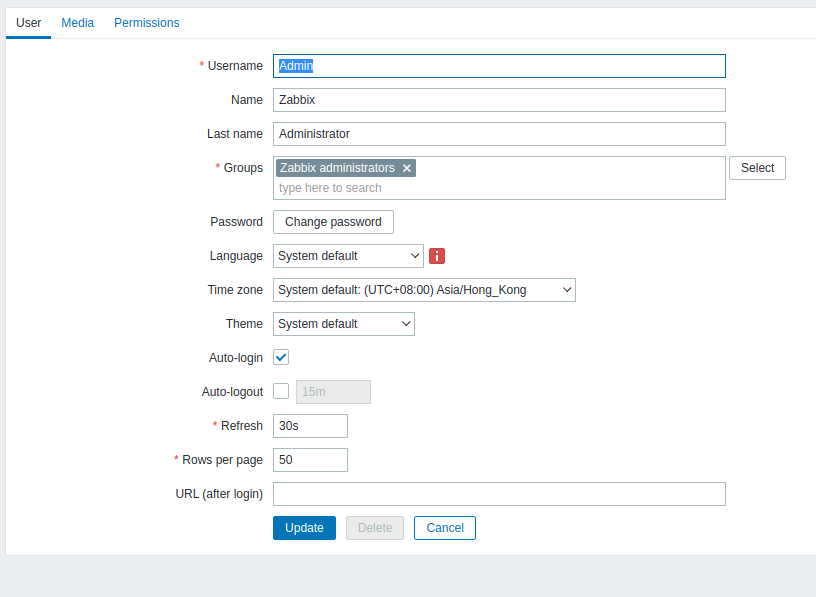
Click on the bottom
Updatebutton in order to save the admin account’s new password.
Related Tutorials
How to check the amount of free RAM memory on Linux Cloud Servers
Manage your Linux Cloud Servers via the Command Line Interface
How to use top and htop Linux command for Process Management
Troubleshooting methods for Web Servers and background services running on Linux Cloud Servers
How to install Fing on CentOS / Ubuntu / Debian Cloud Servers
