How to install Nginx web server on CentOS, Debian & Ubuntu Cloud Servers
The Nginx is a free, open-source, lightweight and high-performance web server designed for high-traffic use cases. It is also acting as a popular Web server behind the Apache Web server and Microsoft’s IIS. Nginx is more resource-friendly than Apache. It can be served in front of other web servers as a reverse proxy.
All Nginx configuration files are stored in the /etc/nginx/ directory and /etc/nginx/nginx.conf is the primary configuration file.
The default server root directory in CentOS is /usr/share/nginx/html and in Ubuntu and Debian it is /var/www/html.
Also, any additional server block (virtual hosts in Apache2) for a website can be added in the location /etc/nginx/conf.d.
See the instructions for installing, configuring and testing the Nginx server on CentOS, Debian and Ubuntu below.
Start to install Nginx
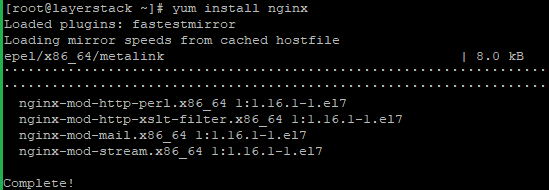
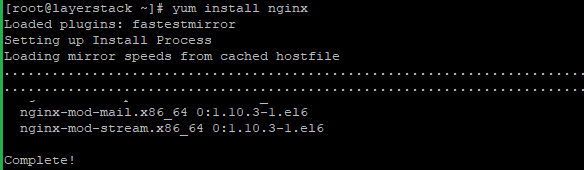
CentOS 7 & 8
Run the following commands to install Nginx:
# yum install epel-release

# yum install nginx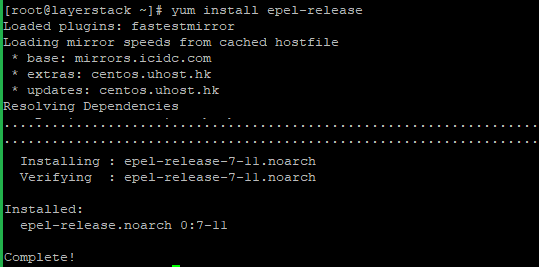
Nginx does not start automatically even after the installation is completed. Run the following command to start the Nginx process.
# systemctl start nginx
Run the following command to make sure the service is running.
# systemctl status nginx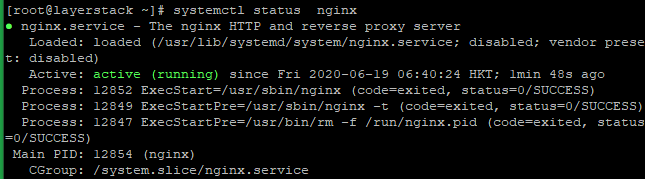
Run the following command to restart Nginx.
# systemctl restart nginx
CentOS 6
Run the following commands to install Nginx:
# yum install epel-release

# yum install nginx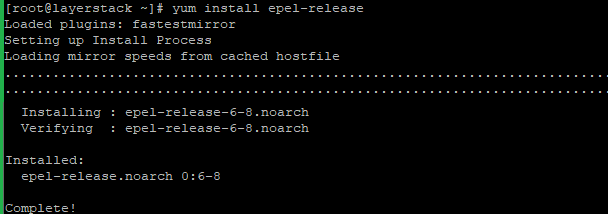
Nginx does not start automatically even after the installation is completed. Run the following command to start the Nginx process.
# service nginx startRun the following command to make sure the service is running:
# service nginx status
Run the following command to restart Nginx.
# service nginx restart
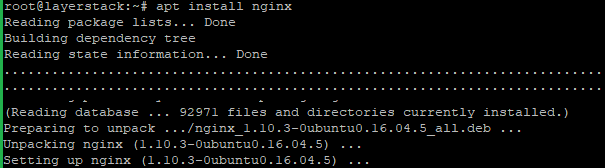
Ubuntu / Debian
Run the following command to install Nginx.
# apt update

# apt install nginx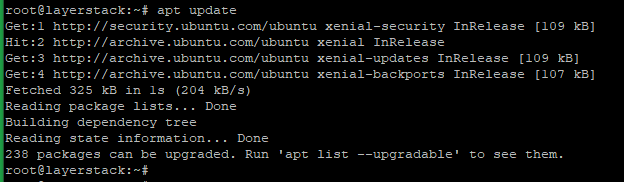
Nginx does not start automatically even after the installation is completed. Run the following command to start the Nginx process.
# /etc/init.d/nginx start
Run the following command to make sure the service is running.
# /etc/init.d/nginx status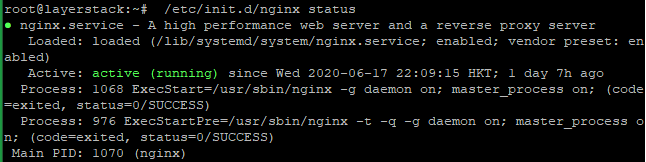
Run the following command to restart Nginx:
# /etc/init.d/nginx restart
After installation is completed, you can check whether the Nginx is installed or not by entering a server IP address into your browser’s address bar:
http://your_server_ip
You can see the default Nginx web page as shown below if it is successfully installed.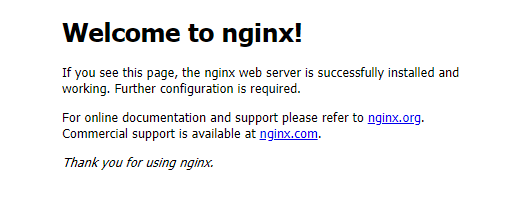
To Configure Nginx
The default Nginx configuration files are kept in /etc/nginx/sites-available and it is symbolically linked with /etc/nginx/sites-enabled/. Commonly needs to create a separate file in the sites-available directory for each domain/subdomain and set up a symlink in the sites-enabled directory.
Remove the symlink in
/etc/nginx/sites-enabled/to disable the default configuration file.# unlink /etc/nginx/sites-enabled/default
Create a new directory and the configuration file for the website and add the below configurations in the configuration file and save. Also, create a basic index file in
/var/www/layerstack.com.# vi /var/www/layerstack.com/index.html
# mkdir /var/www/layerstack.com

# vi /etc/nginx/sites-available/layerstack.com
server {
listen  80;
listen [::]:80;
server_name layerstack.com;
root /var/www/layerstack.com
index index.html;
location / {
try_files $uri $uri/ =404;
}
}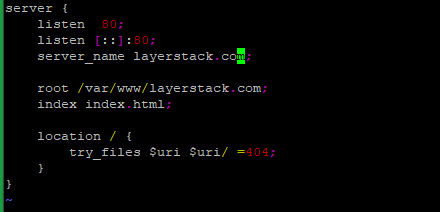
Create a new symlink to the /etc/nginx/sites-enabled/ directory for enabling the configuration.
# ln -s /etc/nginx/sites-available/layerstack.com /etc/nginx/sites-enabled/
To Test Nginx
The below command is used to test the configuration for errors.
# nginx -t
Reload the configuration using the below command.
# nginx -s reload
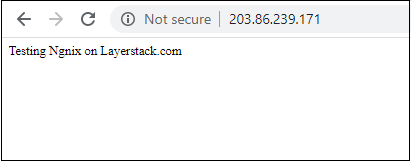
NOTE: Replace the website name
layerstack.comwith the original website nameNow load the website name/ IP address in a browser and the index page will load.
Related Tutorials
