Dotclear is an open-source blog application, which has tremendously gained popularity over the past years. It serves to provide a very-much user-friendly tool that can be used by anyone to publish content over the web, irrespective of their technical skills. It is also written in PHP and supports several database types such as MySQL, MariaDB, PostgreSQL & SQLite.
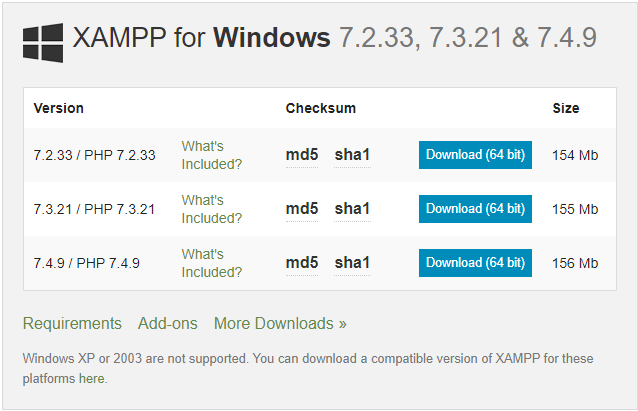
Download XAMPP from the below-mentioned official site and install.
https://www.apachefriends.org/download.html
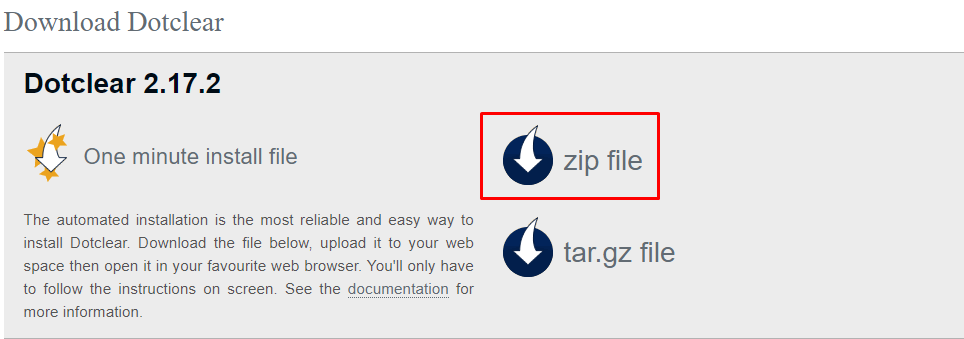
Download Dotclear Blog software from the below-mentioned official site and extract.
https://dotclear.org/download

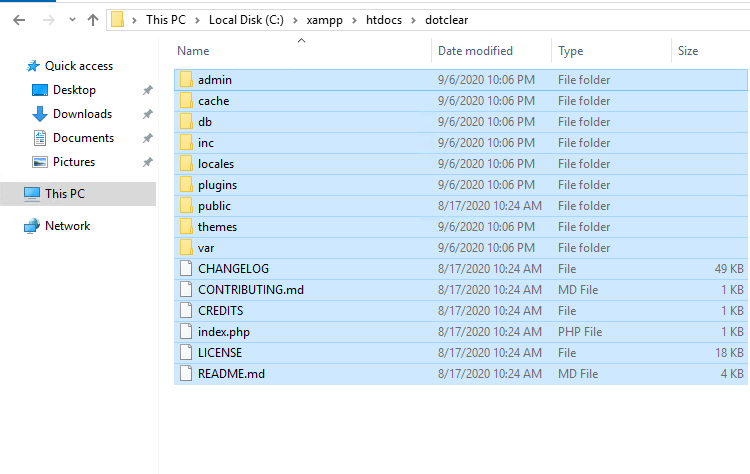
Create folder \dotclear under C:\xampp\htdocs and copy all files from downloaded Dotclear 2.17.2 Blog software to the C:\xampp\htdocs\dotclear.

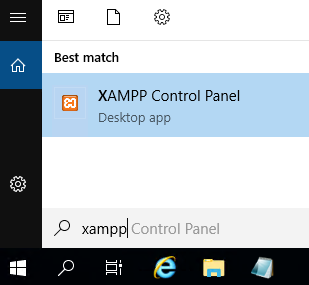
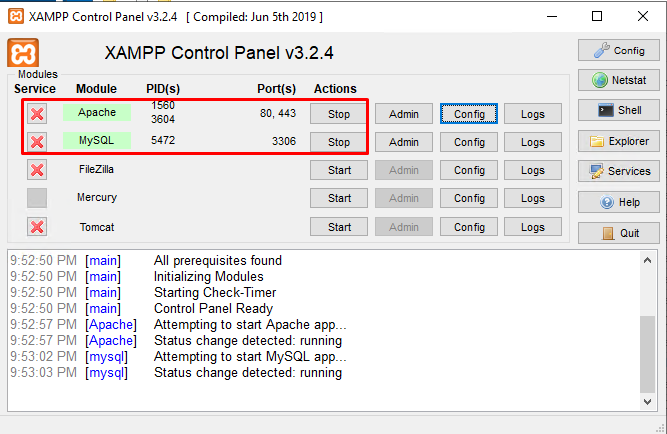
Now open XAMPP control panel. To do the same just click on the Windows key to open start and search XAMPP and then click on the XAMPP Control Panel which is shown in the below image.
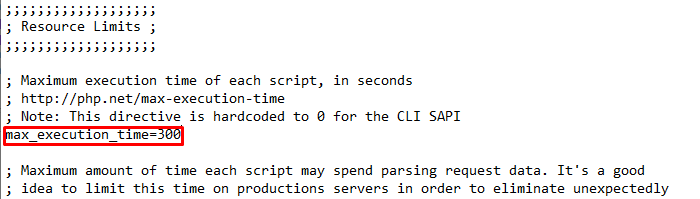
Now open php.ini file and change the parameter: max_execution_time=30 to max_execution_time=300. To open php.ini, click on Config option under the Apache and click on PHP (php.ini) that shown in the below image.

Now start Apache and Database from the XAMPP Control Panel.
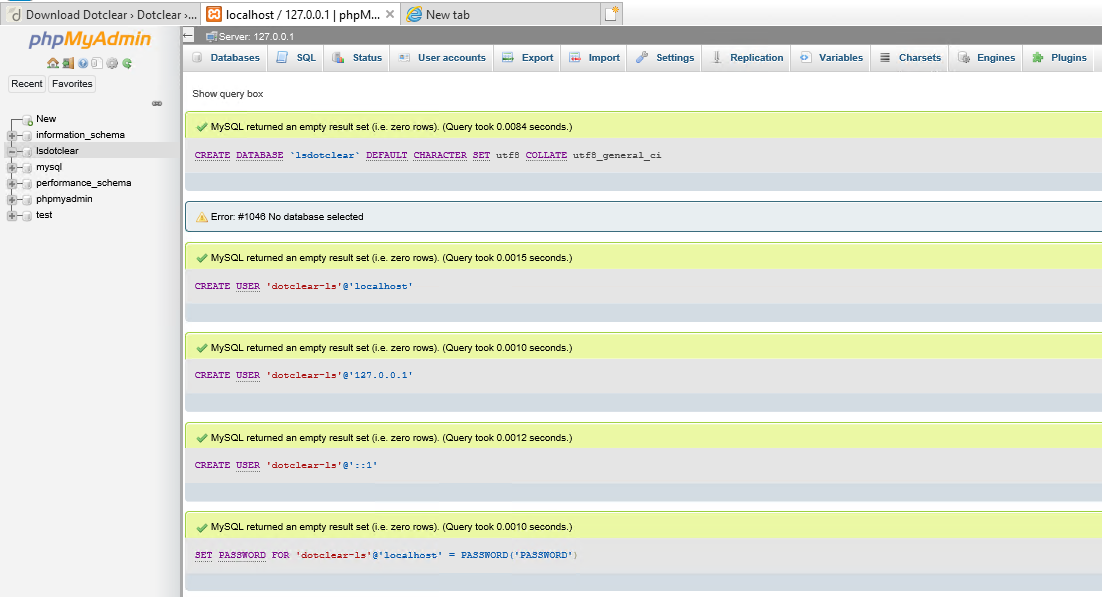
Now need to create a Database. For that open phpMyAdmin with the below URL and Open SQL tab.
http://localhost/phpmyadmin
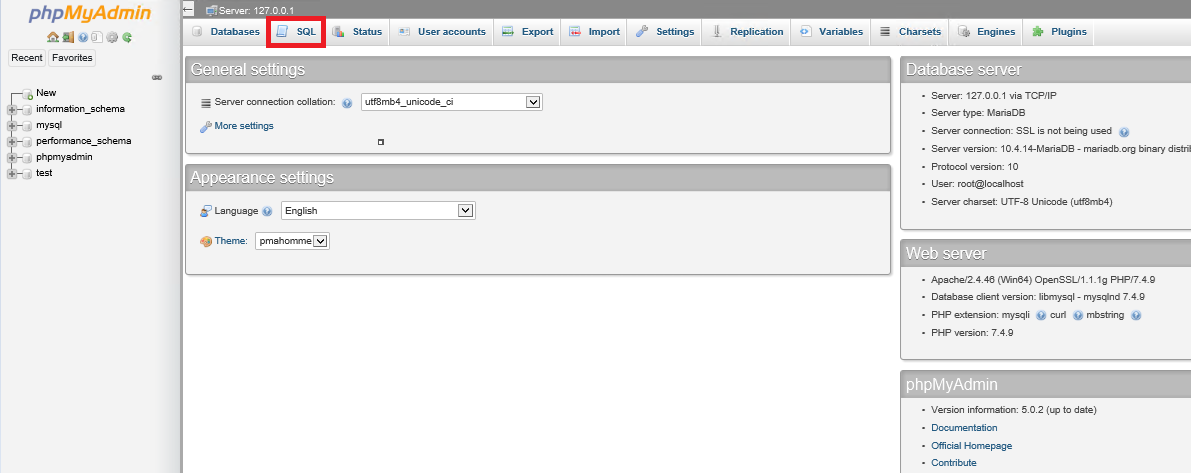
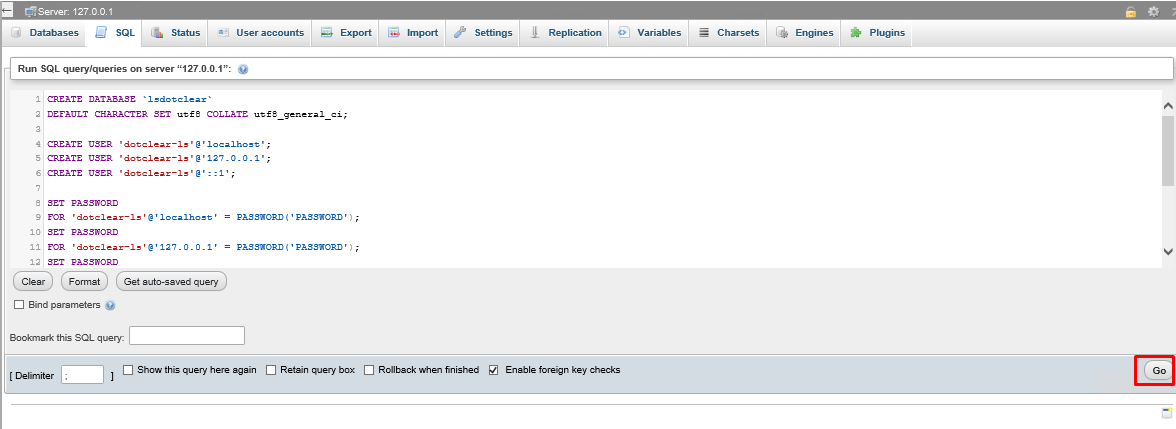
Execute the below query in the SQL tab.
CREATE DATABASE `lsdotclear`
DEFAULT CHARACTER SET utf8 COLLATE utf8_general_ci;

CREATE USER 'dotclear-ls'@'localhost';
CREATE USER 'dotclear-ls'@'127.0.0.1';
CREATE USER 'dotclear-ls'@'::1';

SET PASSWORD
FOR 'dotclear-ls'@'localhost' = PASSWORD('PASSWORD');
SET PASSWORD
FOR 'dotclear-ls'@'127.0.0.1' = PASSWORD('PASSWORD');
SET PASSWORD
FOR 'dotclear-ls'@'::1' = PASSWORD('PASSWORD');

GRANT ALL PRIVILEGES ON
`lsdotclear`.* TO 'dotclear-ls'@'localhost' WITH GRANT OPTION;
GRANT ALL PRIVILEGES ON
`lsdotclear`.* TO 'dotclear-ls'@'127.0.0.1' WITH GRANT OPTION;
GRANT ALL PRIVILEGES ON
`lsdotclear`.* TO 'dotclear-ls'@'::1' WITH GRANT OPTION;
NOTE: Replace database, user name and PASSWORD with the original.
Now Open the below URL in the browser to start Dotclear Blog software web installation.
http://localhost/dotclear/admin/install/wizard.php
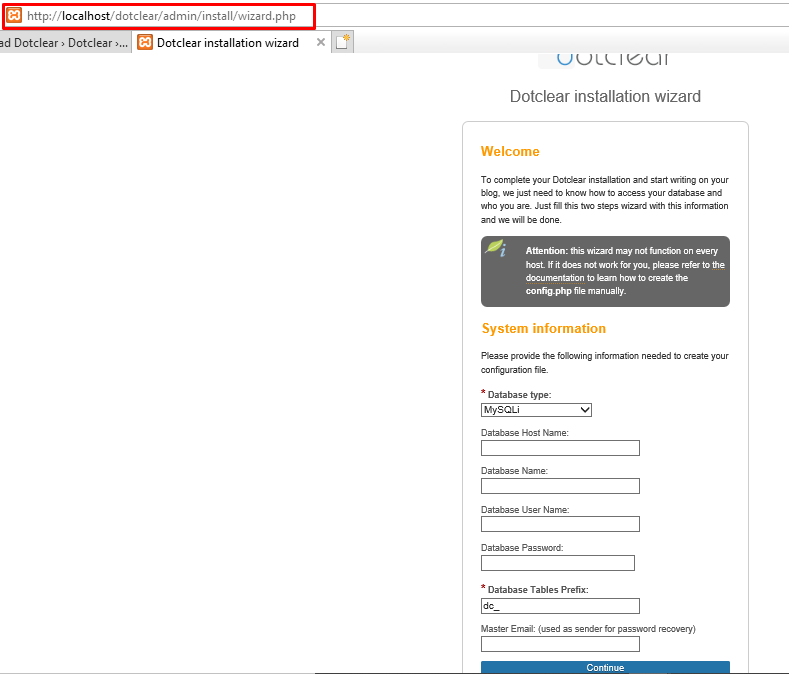
Enter the configuration details as mentioned in the below image.
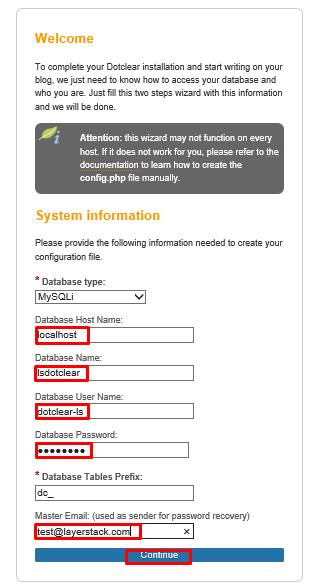
NOTE: Replace the configuration detail with the original.
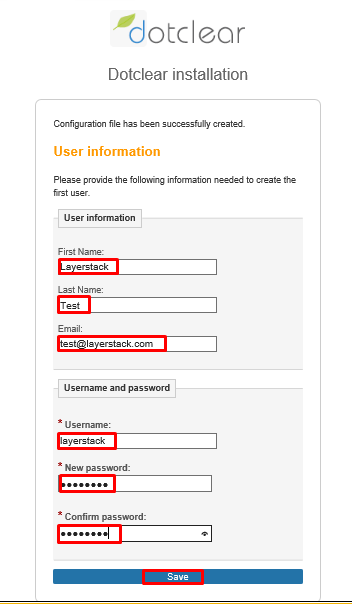
Once the configuration is completed, enter the User information and click on SAVE.