Dotclear is an open-source blog application, which has tremendously gained popularity over the past years. It serves to provide a very-much user-friendly tool that can be used by anyone to publish content over the web, irrespective of their technical skills.
Dotclear is written in PHP and supports several database types such as MySQL, MariaDB, PostgreSQL & SQLite.
This guide outlines the steps that can be used to install the Dotclear application in servers installed with different OS distributions. In this context, it is considered that the servers already have a web server, PHP and database server installed.
Installation on CentOS
The first step in installing Dotclear is to create a database and an associated database user that will be used for storing the data of the application.
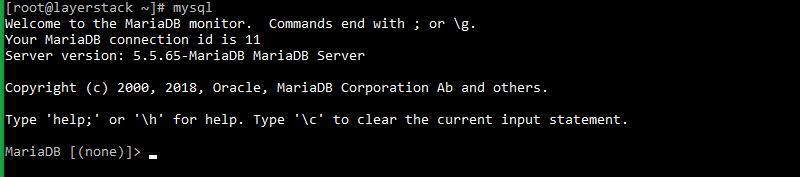
Log in to the MySQL command prompt by executing the below command.
# mysql
Create the Dotclear database. In this context, the database name used is lsdotclear.
> CREATE DATABASE lsdotclear;

Create the database user and grant required permissions for the user on the Dotclear database.
> GRANT ALL PRIVILEGES ON lsdotclear.* TO lsdcuser@localhost IDENTIFIED BY 'PASSWORD';

NOTE: The database user name being used is lsdcuser. Replace PASSWORD with an actual, strong password.
Reload the grants table in MySQL and exist the MySQL prompt.
> FLUSH PRIVILEGES;

Once the MYSQL database and user are created, the next step is to download the Dotclear installation package.
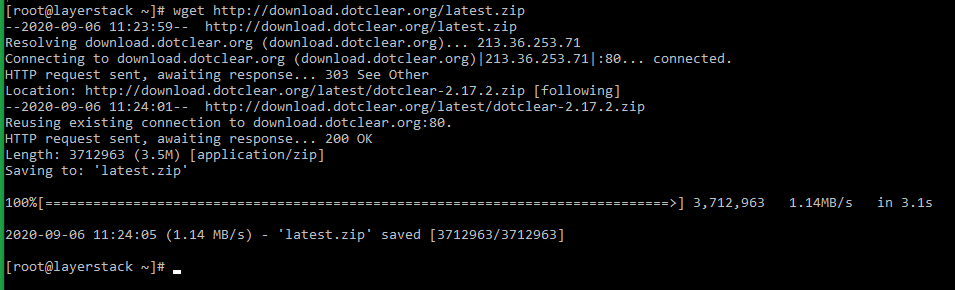
Download the latest stable release of the Dotclear application.
# wget http://download.dotclear.org/latest.zip
Extract the contents of the downloaded ZIP archive to the document root folder of the server or to the document root folder of the domain under which the Dotclear application is to be installed.
In this guide, the application is being installed under the document root folder of the server.
# unzip latest.zip -d /var/www/html/
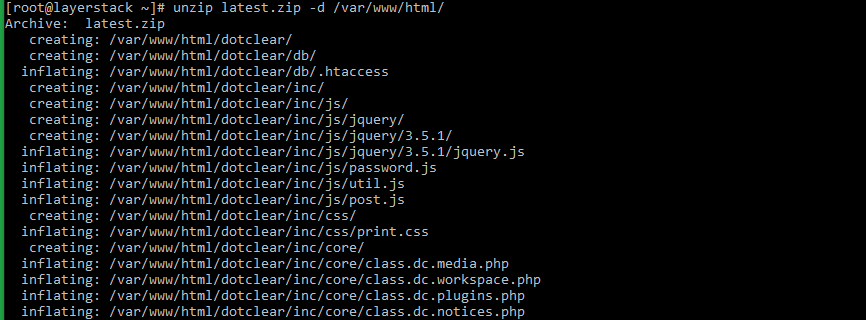
All the files/folders of the ZIP archive will be extracted to a folder named dotclear.
Now open the web browser and navigate to http://IPaddress or http://yourdomain.com to enter the configuration details as in the below image and click on Continue.

NOTE: Replace the configuration detail with the original.
Once the configuration is completed, enter the User information and click on SAVE.
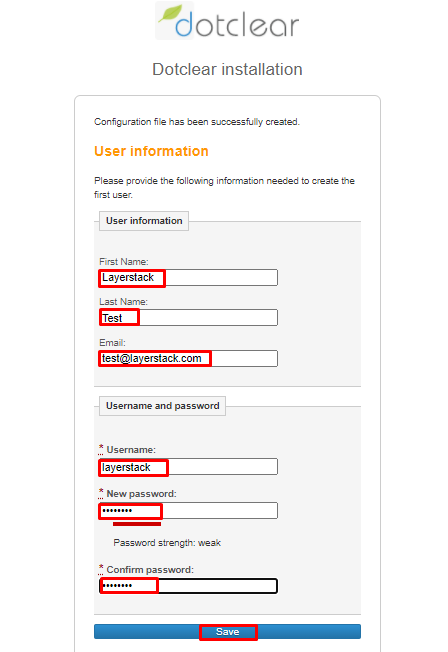
NOTE: Replace the User information detail with the original.
You will get the All done! message page as in the below image after providing the User information.
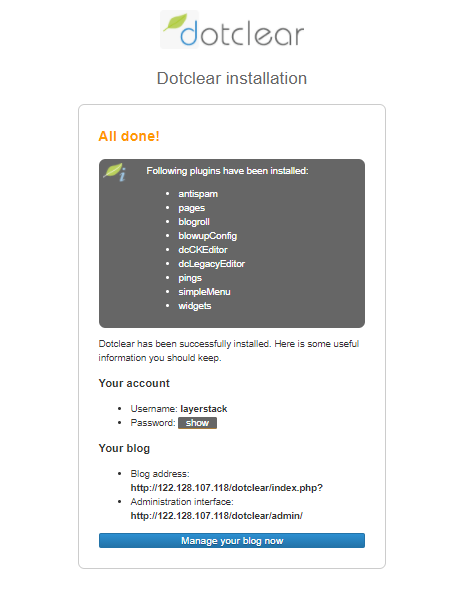
Click on the Manage your Blog now option to access the dashboard directly or navigate to the below URL.
http://IPaddress/dotclear/admin/index.php

http://Domainname/dotclear/admin/index.php
NOTE: Replace the IP address or Domain name with the original.
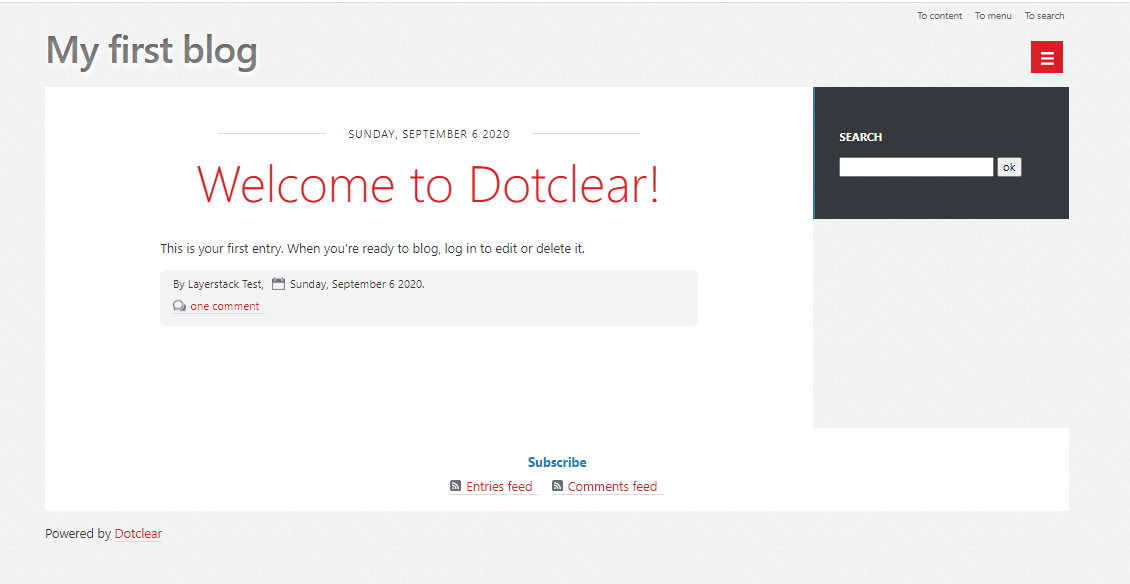
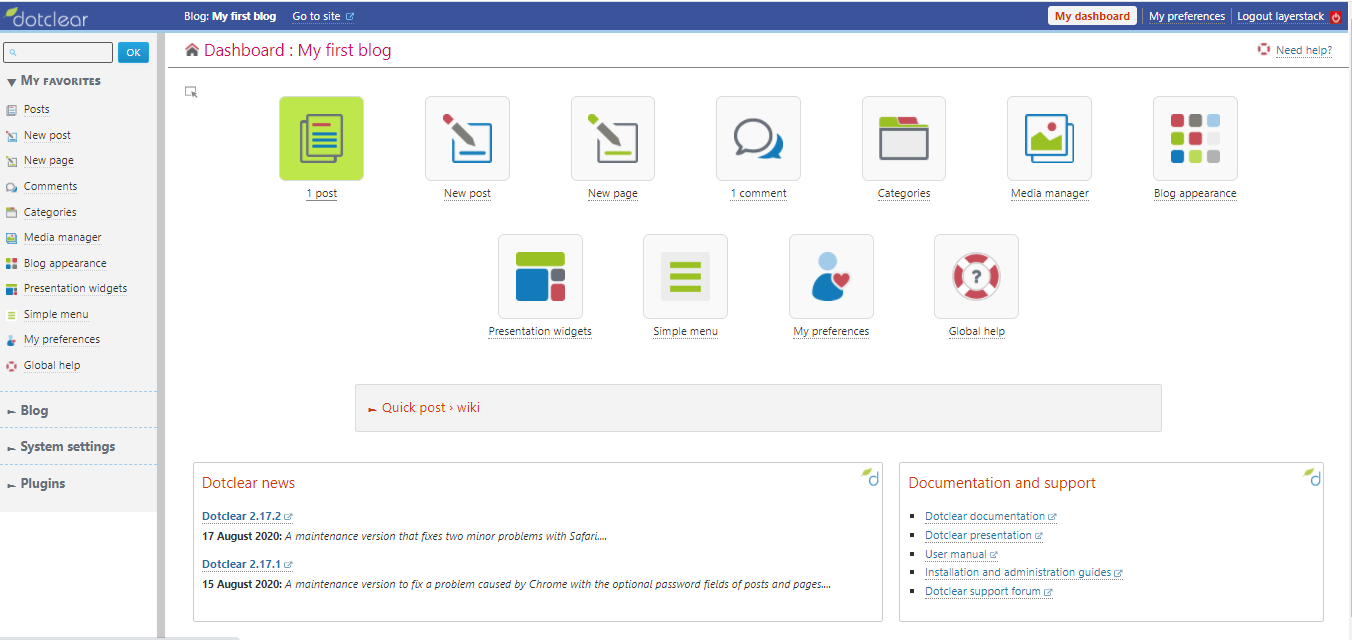
Below are the images of the Dotclear website and dashboard.
Related Tutorial
