How to create SSH Keys with PuTTY on Windows Cloud Servers
SSH (Secure Shell) keys serve as an access credential that is used in SSH protocol. They give added security to SSH in the sense that a password need not be used when making use of SSH keys.
SSH key pair comprises both a public key and a private key, both of which are a long string of characters. The public key is saved in the server to which SSH connection is to be done and the private key is stored on the system from which SSH connection is requested.
To create SSH keys and further use them on Windows, the below utility tools are required.
- PuTTY - used to connect remotely to servers through SSH
- PuTTYgen – used to create SSH keys
Downloading and Installing PuTTY and PuTTYgen
**PuTTY can be installed using the MSI package file available from the PuTTY website.
Access the below link and download the
MSI (‘Windows Installer’)64-bit package to the Windows server.https://www.chiark.greenend.org.uk/~sgtatham/putty/latest.html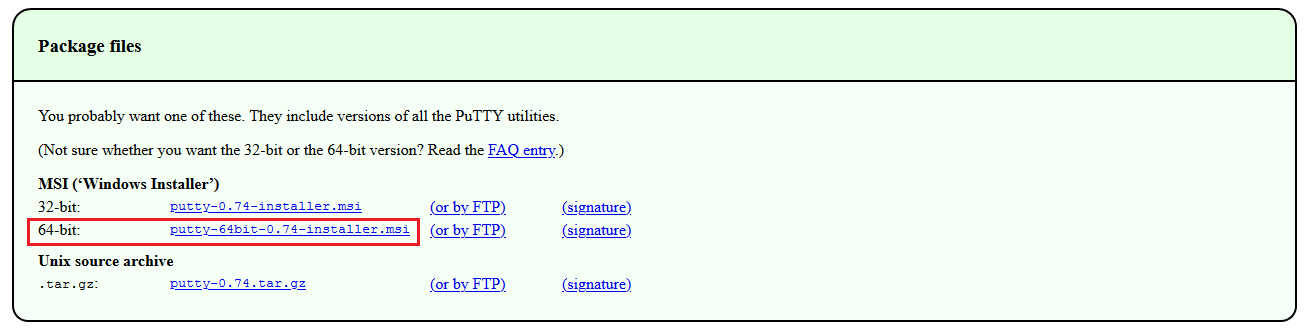
Double click on the downloaded MSI file to start the PuTTY installation wizard. Click on
Next.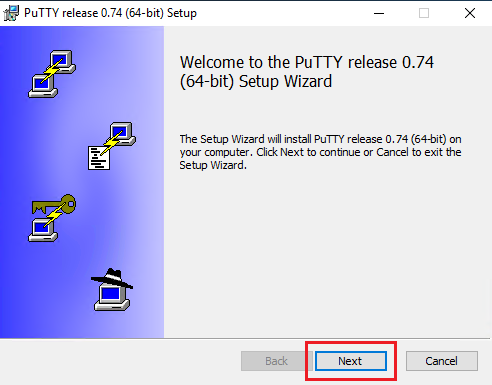
Click on
Nextafter confirming the destination folder to which the application will be installed. In the context of this guide, PuTTY is being installed in the folderC:\Program Files\PuTTY\.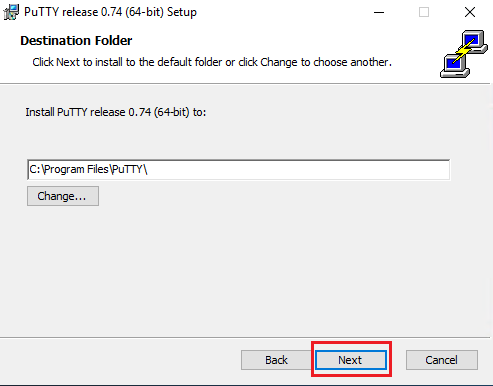
Click on
Installto start the installation process.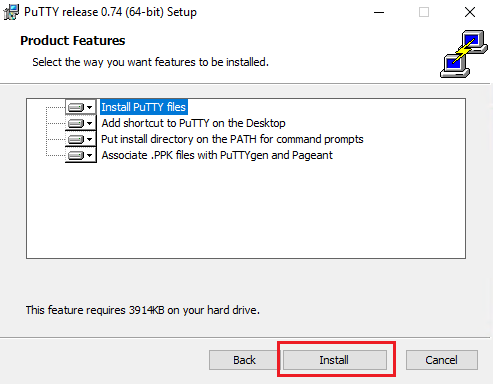
Click on
Finishto complete the PuTTY installation and exit the wizard.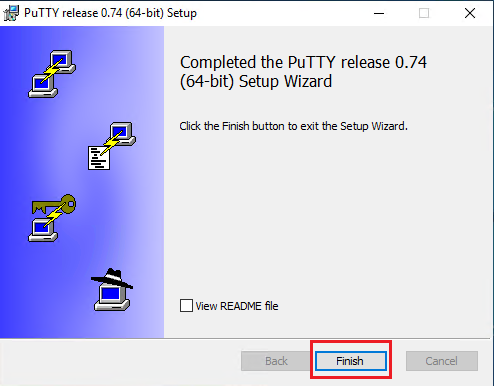
Using PuTTYgen to create the SSH keys
**PuTTYgen utility will be installed along with PuTTY once its installation has been completed.
Click on the
Startmenu, navigate to the folderPuTTY (64-bit)and click onPuTTYgen.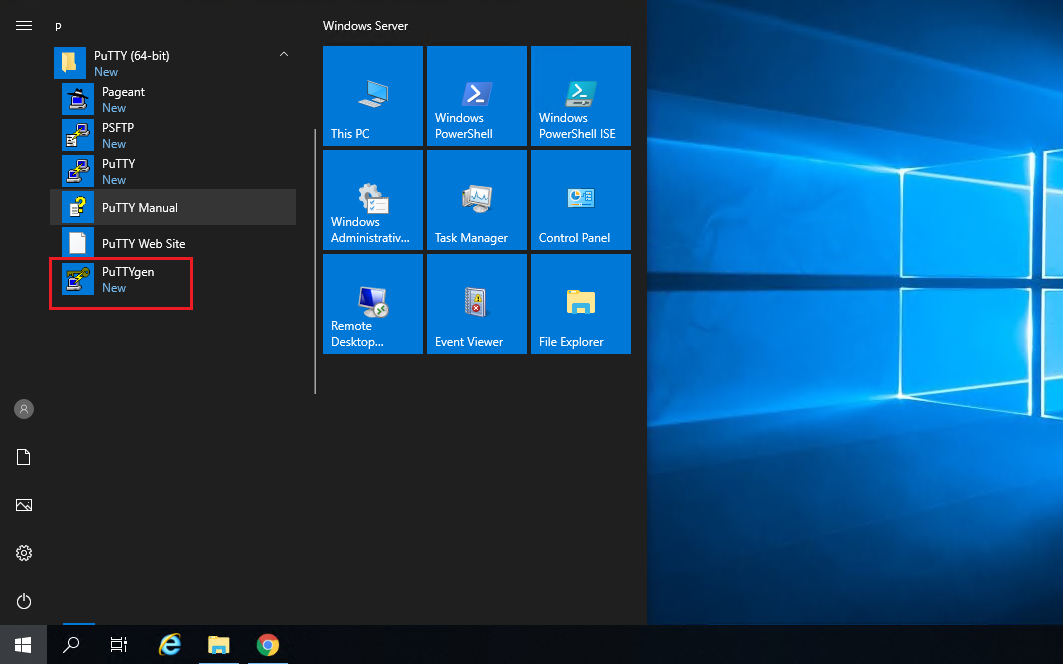
The key generator utility will open up and will look similar as below. Values such as
ParametersandNumber of bitsin the key can be modified, however, the default set values are suitable in almost all cases. Click on theGeneratebutton to generate the SSH key.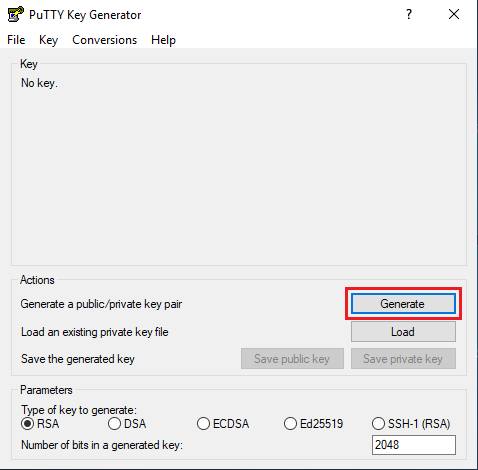
A prompt that reads “Please generate some randomness by moving the mouse over the blank area.” will be shown whereby the mouse pointer can be randomly moved over the area below the message until the green bar fills up.
This randomness is termed
entropyhelps in creating irreproducible keys in a secure manner.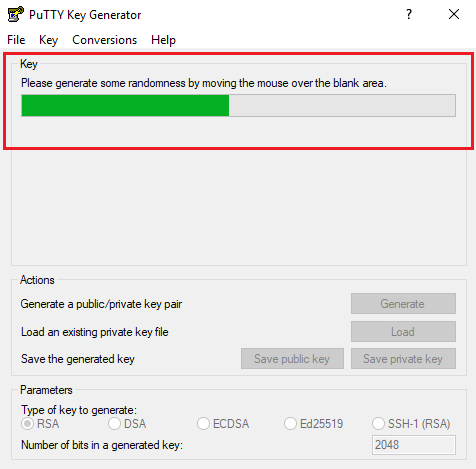
Once the key generation is completed, the public key will be displayed in the text box. This key can be copied/saved safely as this is the key that is to be copied to the Cloud servers for later use.
A passphrase for the SSH key can also be created, which helps in improving the security of the public/private key pair. This passphrase would need to be provided each time the SSH key is used.
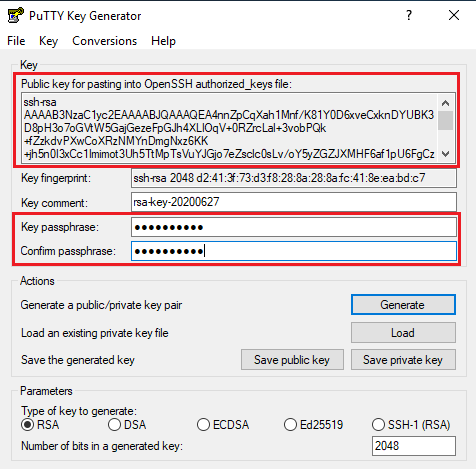
Once the passphrase has been set up, click on
Save private keybutton in-order to save the private key in a secure location, with any name of choice. The private key will be saved with.ppkextension.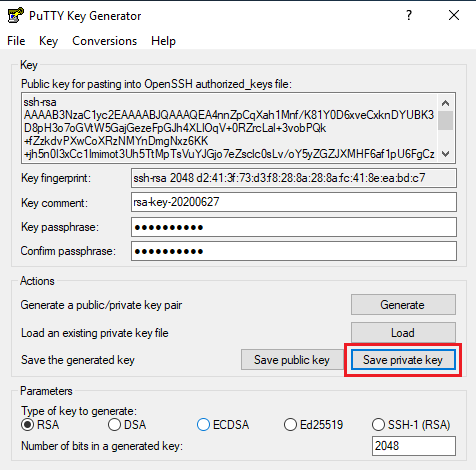
The public key can also be saved, however, the format in which the public key is saved by PuTTYgen is incompatible with the OpenSSH
authorized_keysfiles used on Linux servers.To view the public key in the compatible format again, the already saved private key can be loaded using the
Loadoption in PuTTYgen.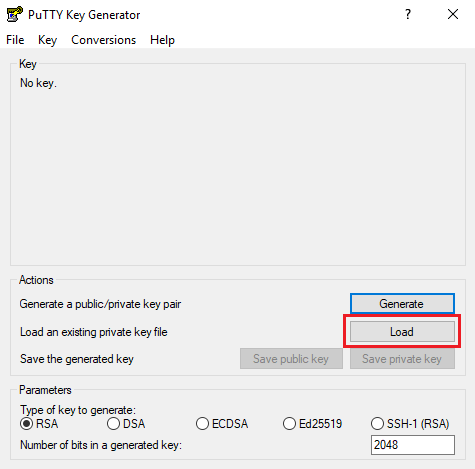
This generated public key-private key pair can now be used to access the Linux OpenSSH server from the Windows machine using SSH key authentication.
Accessing Linux server using the SSH key pair generated by PuTTYgen
**The below steps outlines the procedure of making use of the PuTTYgen generated public key-private key pair to access the Linux server from Windows machine using SSH key authentication.
The first step in this would be to add the PuTTYgen generated public key to the SSH
authorized_keysfile in the Linux server to which the connection is to be established.a) Open the SSH
authorized_keysfile by executing the below command.# vi .ssh/authorized_keys
b) Append the PuTTYgen generated public key to the end of the file.

c) Save and close the file.
In the Windows server, open the PuTTY tool, and under
Sessionoption, specify the Linux server IP as well as any custom SSH port, if set. Make sure that SSH is set as theConnection type.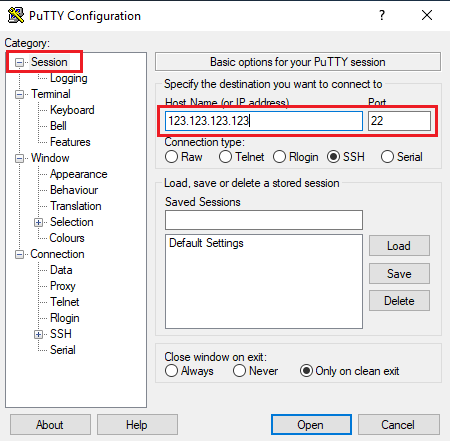
Now expand the
SSHoption in the left panel underConnectionand selectAuth.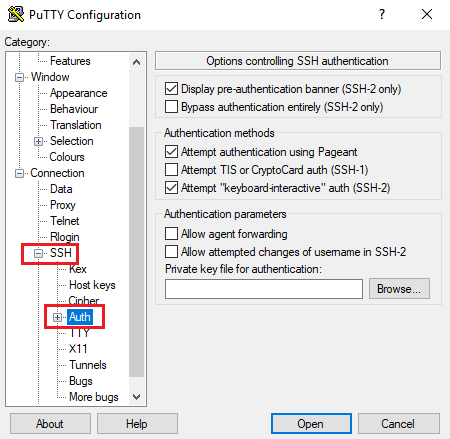
Click on
BrowseunderPrivate key file for authentication:option and select the private key .ppk file that was saved earlier through PuTTYgen. Click onOpenonce the private key has been selected.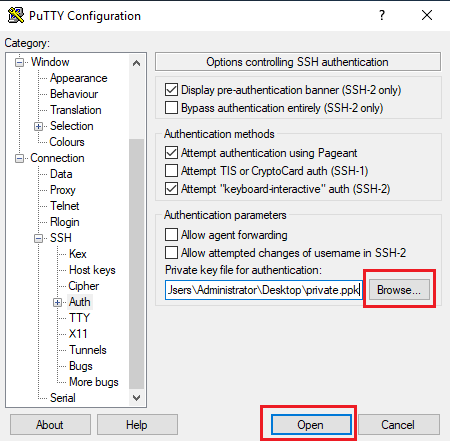
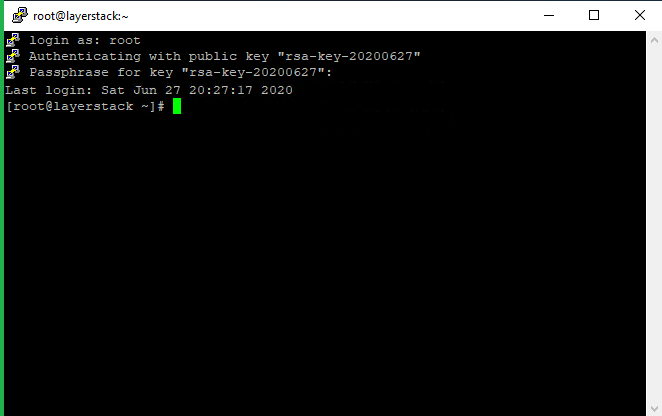
The PuTTY session will open up, prompting to enter the login username and the passphrase key that was set up for the SSH key-pair in PuTTYgen. A prompt for entering the SSH root password will not be shown, thereby confirming that the SSH key authentication is working.