laravel installation on centos7
INTRODUCTION
Laravel is a free, open-source PHP web framework, created by Taylor Otwell and intended for the development of web applications following the model–view–controller (MVC) architectural pattern. Laravel aims to make the development process a pleasing one for the developer without sacrificing application functionality.
Before we get going to the installation of Laravel, there are pre-requisites that must be installed.
REQUIREMENTS
Following requirements must be filled before starting the Laravel installation
- PHP >= 5.6.4
- PHP PDO extension
- PHP mbstring extention
- PHP >= PHP mcrypt extension
- PHP xml extention
- PHP tokenizer extention
The default centos 7 installation has PHP 5.4 installed, but you must update PHP to 5.6.4 or later. If you have the latest PHP installed, skip the updating PHP section.
UPDATING PHP
To update, first, you must add the Webtatic EL yum repository information corresponding to your CentOS7 as shown in Figure 1.
rpm -Uvh https://dl.fedoraproject.org/pub/epel/epel-release-latest-7.noarch.rpm
rpm -Uvh https://mirror.webtatic.com/yum/el7/webtatic-release.rpm
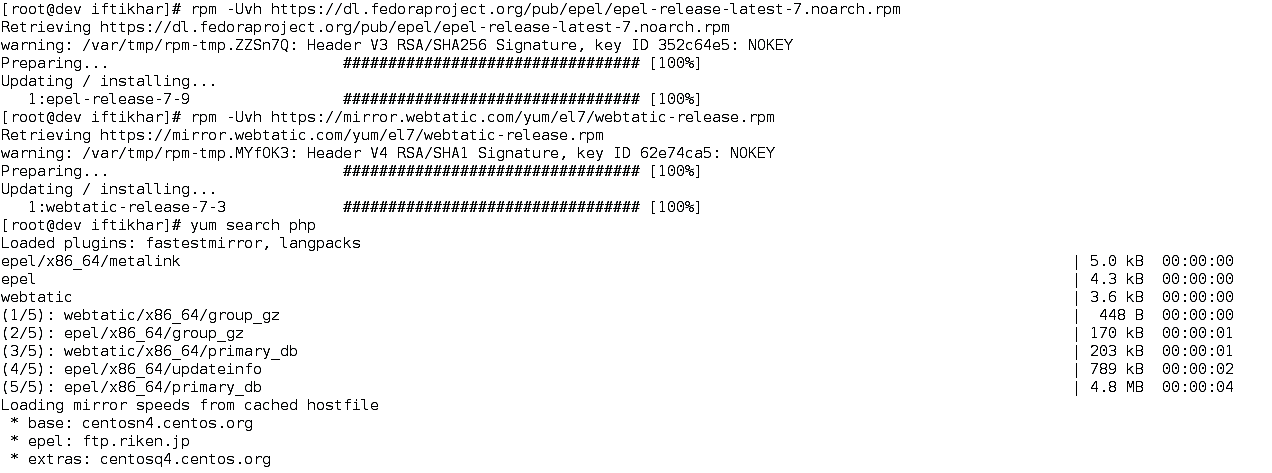
Figure 1 Adding Webtatic EL yum repository
After adding the Webtatic yum repo, php7 will appear in the packages list. Now we can install php7.0 and the corresponding extensions as shown in Figure 2
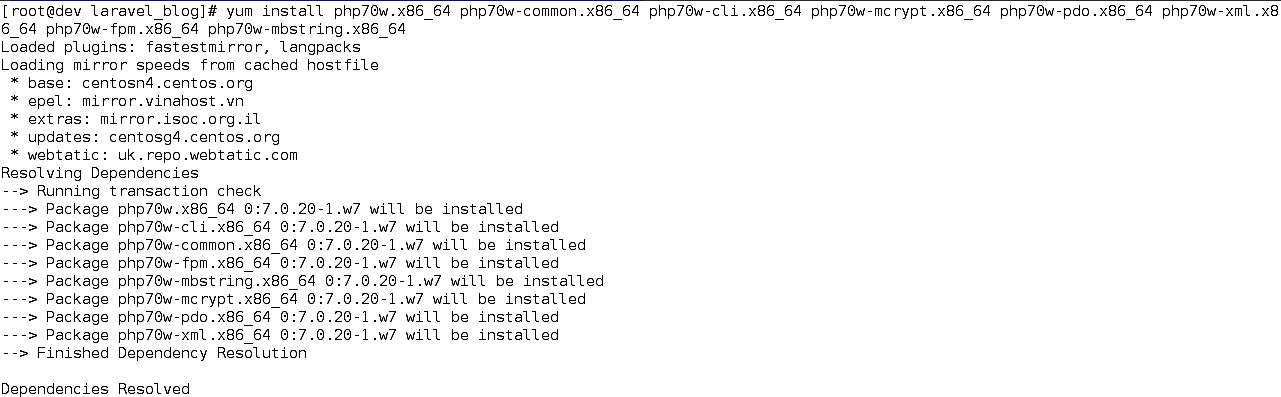
Figure 2 Installing PHP7.0 and required extensions.
VERIFY CURRENT PHP VERSION INSTALLED.
You can verify the current PHP version and extension installed by applying the following command as shown in Figure 3. The versions installed must satisfy the above-stated requirements.
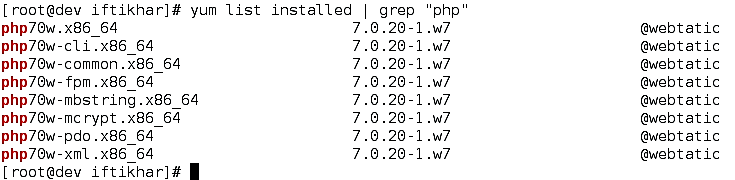
Figure 3 Verify current versions.
INSTALL COMPOSER.
Laravel uses Composer to manage its dependencies. So, before using Laravel, make sure you have Composer installed on your machine.
DOWNLOAD COMPOSER
The latest version of the composer can be downloaded via the following commands.
hp -r "copy('https://getcomposer.org/installer', 'composer-setup.php');"

php -r "if (hash_file('SHA384', 'composer-setup.php') === '669656bab3166a7aff8a7506b8cb2d1c292f042046c5a994c43155c0be6190fa0355160742ab2e1c88d40d5be660b410') { echo 'Installer verified'; } else { echo 'Installer corrupt'; unlink('composer-setup.php'); } echo PHP_EOL;"

php composer-setup.php

php -r "unlink('composer-setup.php');"
INSTALL COMPOSER GLOBALLY
You can place the Composer PHAR anywhere you wish. If you put it in a directory that is part of your PATH, you can access it globally
mv composer.phar /usr/local/bin/composer
The steps are shown in Figure 4.
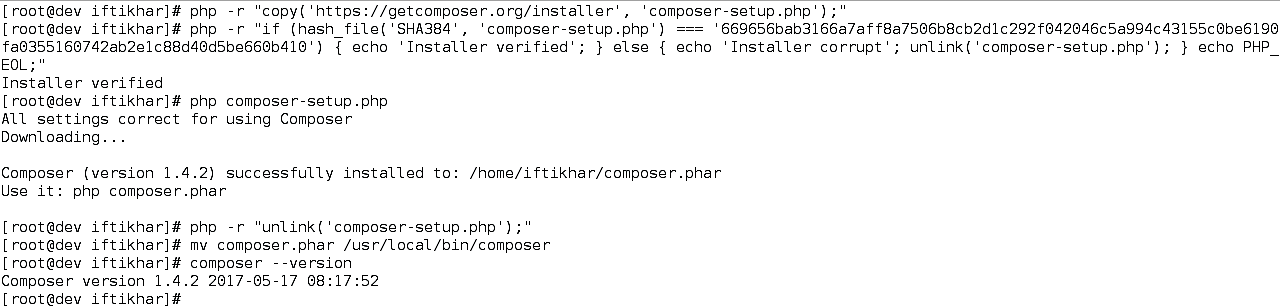
Figure 4 Download and install Composer globally
INSTALLATION
After all the requirements for installation are met, there are two ways to create a Laravel project.
VIA COMPOSER
You may create a Laravel project by following the command, where the blog is the name of the project you want to be created. Show in Figure 5
composer create-project - -prefer-dist laravel/laravel blog
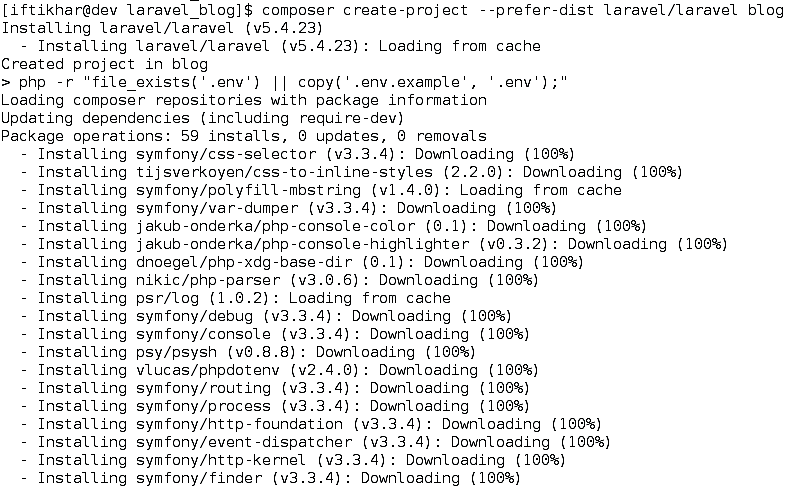
Figure 5 Installing via composer.
VIA LARAVEL INSTALLER
Download the Laravel installer using composer by
composer global require Laravel/installer
Make sure to place the $HOME/.composer/vendor/bin directory (or the equivalent directory for your OS) in your $PATH so the laravel executable can be located by your system. Shown in Figure 6.
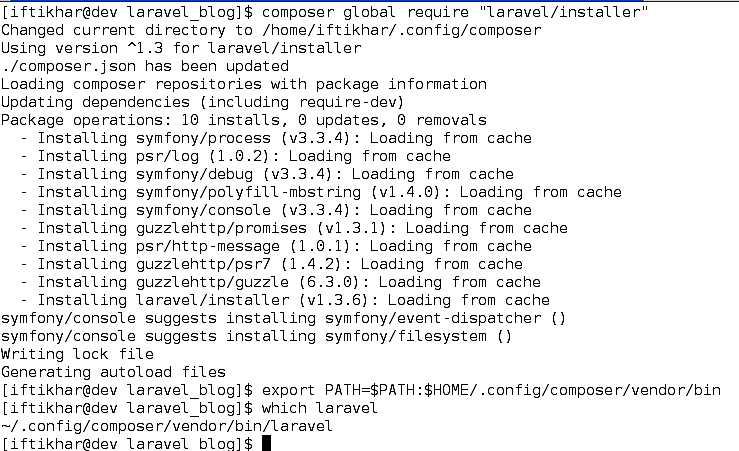
Figure 6 Installing laravel installer
After downloading the installer, you can use the following command to create a project, where test_project is the project name.
laravel new test_project
The procedure is shown in Figure 7.
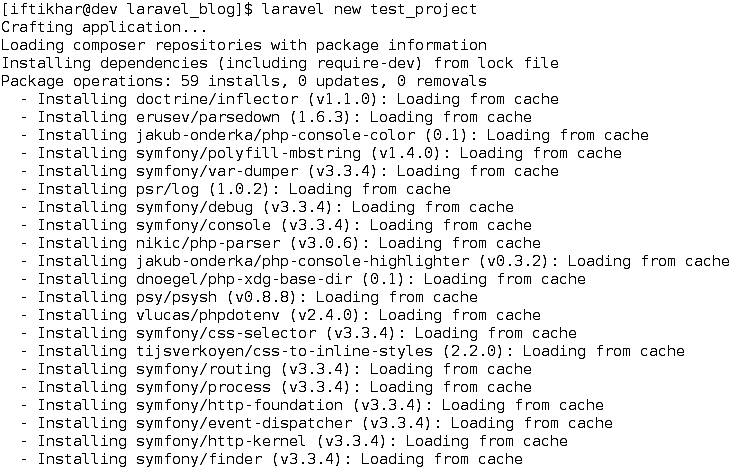
Figure 7 Creating project via Laravel installer
TESTING THE INSTALLATION
After successful installation and creating a project, cd to the directory and apply the command.
The web application will be hosted to http://127.0.0.1:8000 by default.
Now go to the browser end enter the URL. Default Laravel page will appear, as shown in Figure 8 Cheers
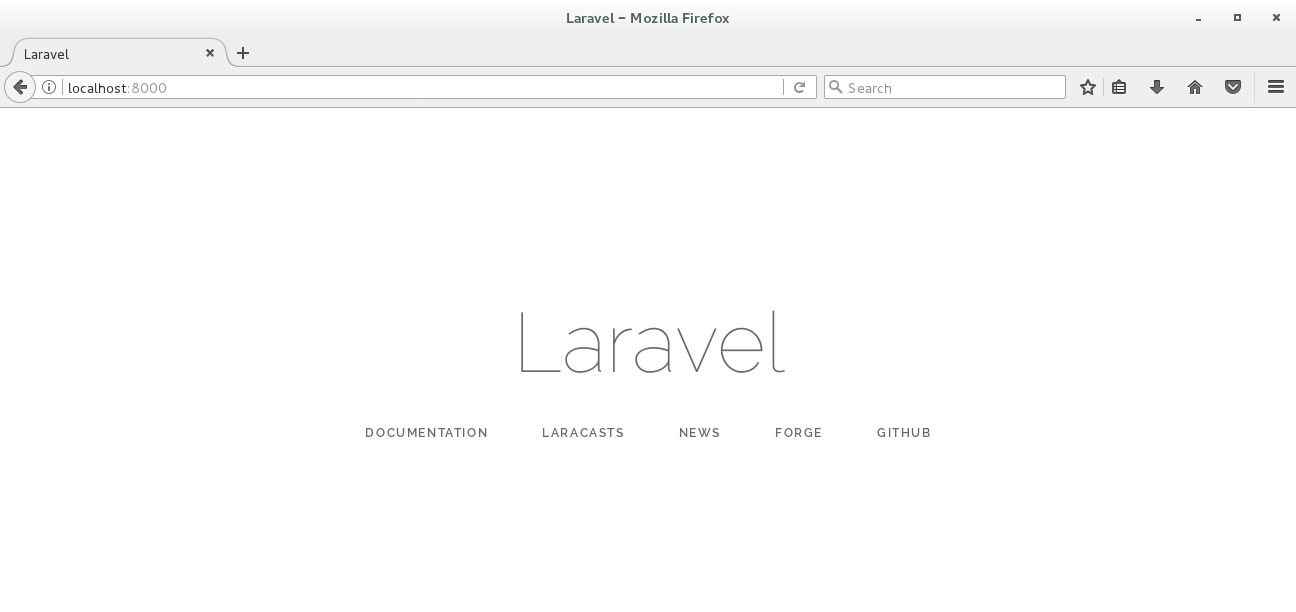
Figure 8 Default Laravel web page.
ADDITIONAL COMPONENTS
You can use additional client and server-side components with Laravel to help develop real-time and fast applications. One of the server-side components is NodeJS.
NODEJS
Node.js is an open-source, cross-platform JavaScript run-time environment for executing JavaScript code server-side. Historically, JavaScript was used primarily for client-side scripting, in which scripts written in JavaScript are embedded in a webpage's HTML, to be run client-side by a JavaScript engine in the user's web browser. Node.js enables JavaScript to be used for server-side scripting and runs scripts server-side to produce dynamic web page content before the page is sent to the user's web browser. npm is the pre-installed package manager for the Node.js server platform. It is used to install Node.js programs from the npm registry, organizing the installation and management of third-party Node.js programs.
The latest current version of nodejs is 8.1.3 but the LTS version is 6.11.0. So in this tutorial, we will install the LTS one.
INSTALLATION
REQUIREMENTS
You need to install the development tools to build native addons to be installed. The packages to be installed are gcc-c++ and make as shown in Figure 9.
curl -sL https://rpm.nodesource.com/setup_6.x | sudo -E bash -
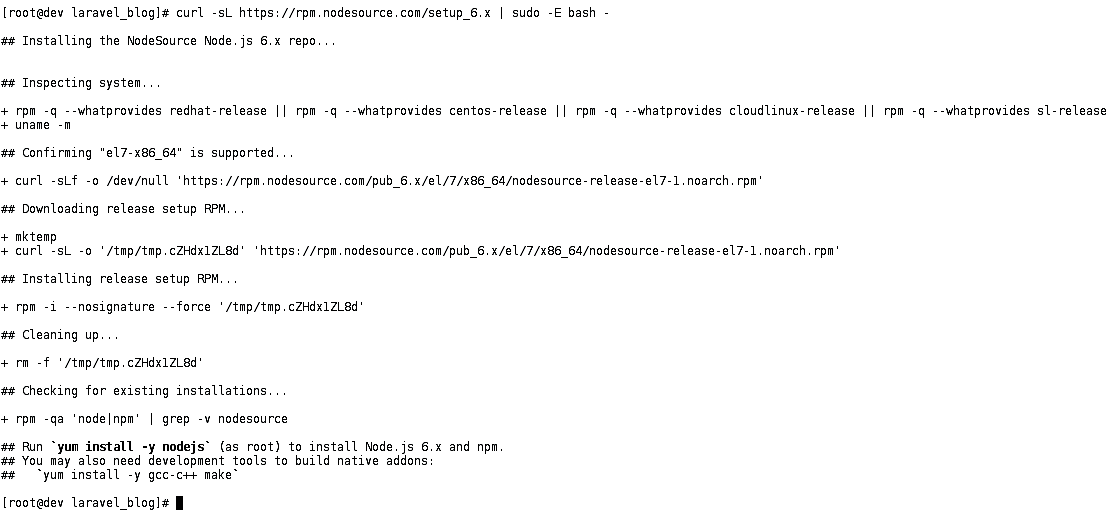
Figure 10 Add nodejs official repo
INSTALL AND VERIFY
After adding the repo you need to install the nodejs package and verify the versions installed as shown in figures 11 and figure 12.
yum install -y nodejs
node -v
npm -v
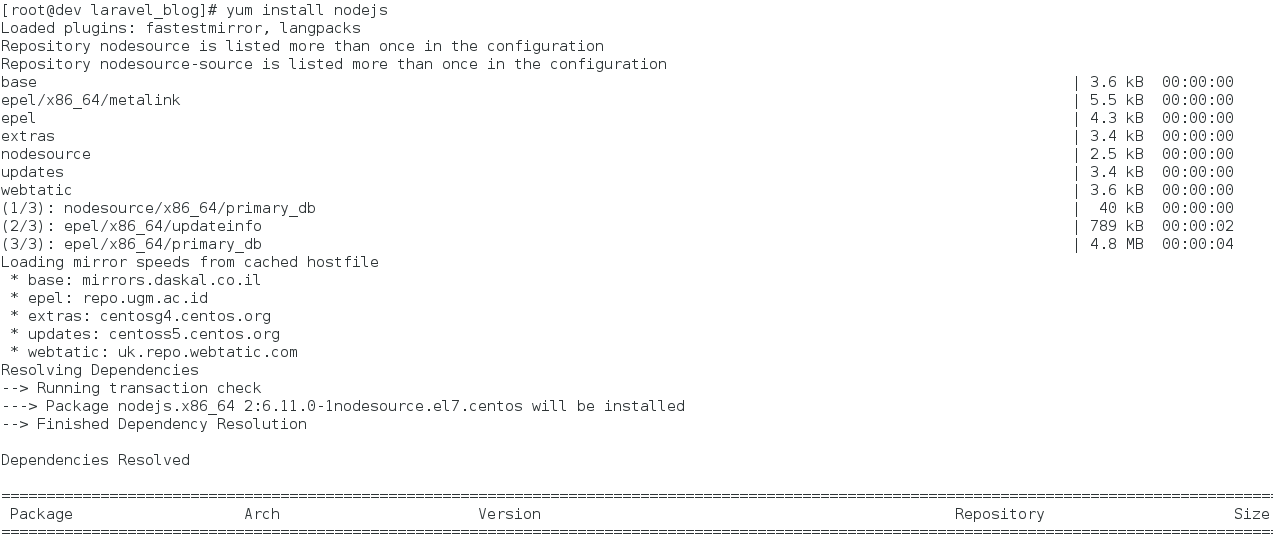
Figure 11 Install nodejs
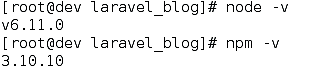
Figure 12 Verify installed versions of nodejs and npm
EXAMPLE
As an asynchronous event-driven JavaScript runtime, Node is designed to build scalable network applications. In the following "hello world" example, many connections can be handled concurrently. Upon each connection, the callback is fired, but if there is no work to be done, Node will sleep.
Create a file example_serv.js with the following contents.
const http = require('http');

const hostname = '127.0.0.1';
const port = 3000;

const server = http.createServer((req, res) => {
  res.statusCode = 200;
  res.setHeader('Content-Type', 'text/plain');
  res.end('Hello World\n');
});

server.listen(port, hostname, () => {
  console.log(`Server running at http://${hostname}:${port}/`);
});
Then run the server by issuing the following command. The server will run on the given port 3000. Once accessed from the browser, it will display the message “Hello World”.
node example_serv.js
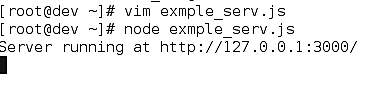
Figure 13 Nodejs server running
