phpMyAdmin is a popular web-based tool for managing MySQL and MariaDB databases. It provides an easy-to-use graphical interface, allowing users to create, modify, and manage databases, users, and tables efficiently.
In Ubuntu 24.04, installing phpMyAdmin requires setting up a web server, installing MySQL (or MariaDB), and configuring phpMyAdmin properly. This guide covers step-by-step instructions to install and configure phpMyAdmin on an Ubuntu 24.04 system.
Prerequisites
- Ubuntu 24.04 Server installed (without a desktop environment).
- A user account with sudo privileges or root privileges.
- Once installed, phpMyAdmin allows database administration through a user-friendly web interface, making it easier to manage databases compared to using the MySQL command line.
A. Setting up the MYSQL Database server
The below steps should be performed to set up the MYSQL Database server and setting up the Database and user.
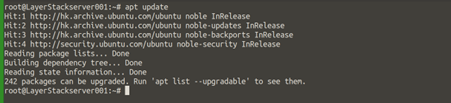
Update the repository of the latest Ubuntu release.
# apt update
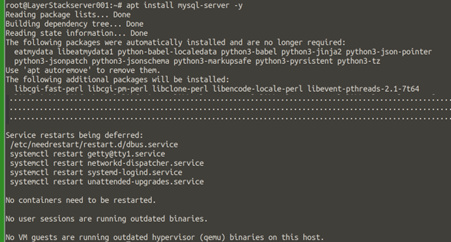
Install MySQL server if it's not installed.
# apt install mysql-server -y
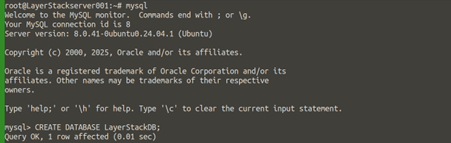
Log in to the MySQL once installation is done.
# mysql
Create a sample Database.
# mysql> CREATE DATABASE <db-name>;
Create a Database User, and then assign to the Database.
mysql> CREATE USER '<dbadmin>'@'localhost' IDENTIFIED BY 'DBPASSWORD';

Assign full privileges to the database.
mysql> GRANT ALL PRIVILEGES ON <db-name>.* TO '<dbadmin>'@'localhost';
Flush the privileges.
# mysql> FLUSH PRIVILEGES;
Once done, it is safe to exit the Database prompt.
# mysql> EXIT;

B. Installing phpMyAdmin
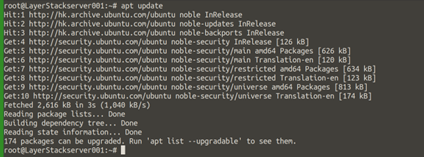
Update the APT package and repository.
# apt update
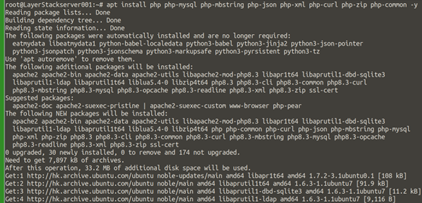
Install PHP and all the dependent extensions.
# apt install php php-mysql php-mbstring php-json php-xml php-curl php-zip php-common -y
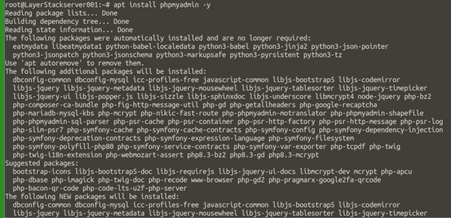
Install phpMyAdmin.
# apt install phpmyadmin -y
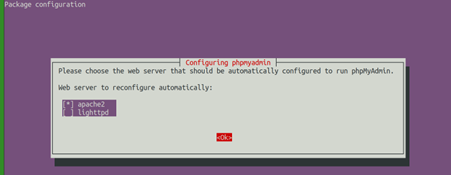
To automatically set the the web server, press SPACE to select apache2, and then press ENTER to confirm your selection.
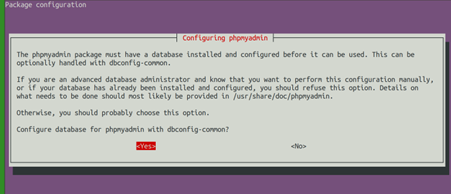
Do you want to configure the database for phpMyAdmin using dbconfig-common?
=> Keep Yes, selected and press ENTER to set up the MySQL database.
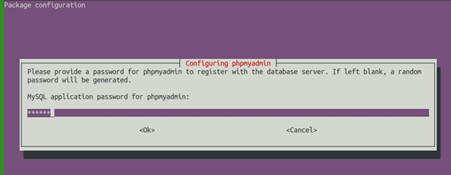
Enter a strong password for the phpMyAdmin database and press ENTER to confirm. Then, re-enter the password and press ENTER to apply the changes.
To verify the phpMyAdmin is installed successfully, can check with following command:
# dpkg -l | awk '/phpmyadmin / {print}'
NOTE: phpMyAdmin comes with a default Apache virtual host configuration file that serves the /phpmyadmin endpoint using your server's IP address or domain.
To Enable the phpMyAdmin virtual host configuration using the a2enconf command.
# a2enconf phpmyadmin.conf

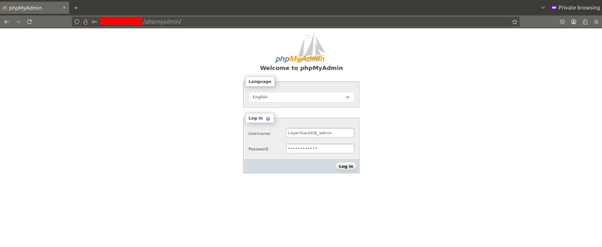
Open a web browser, navigate to the /phpmyadmin endpoint using your server's IP address or domain name.
http://your_server_ip/phpmyadmin
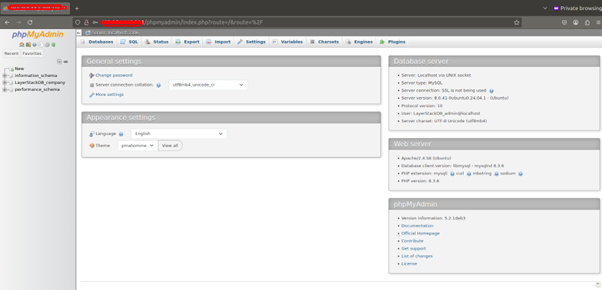
If every step worked fine, you will get the below screen:
Related Tutorials
