How to install and configure FTP server on Windows Cloud Servers
FTP (File Transfer Protocol) is a network protocol used to transfer files between two computers through a private or public network. Below are three ways FTP is commonly accessed
- Command-line FTP client.
- Web browser.
- Graphical FTP clients.
See the instructions for installing & configuring the FTP server on the Windows server below.
Start to install FTP server
Open the
Server Manageron the server. To open the same, just click on theWindows keyto openstartand searchserver manager, and then click on theServer Managerwhich is shown in the below image.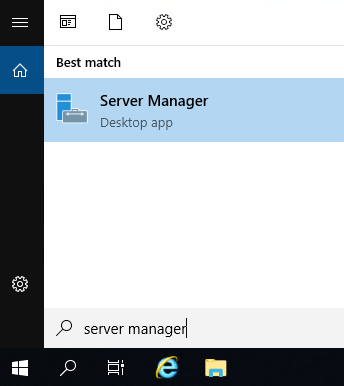
From the server manager, click on
Add roles and featuresunder theDashboardoption.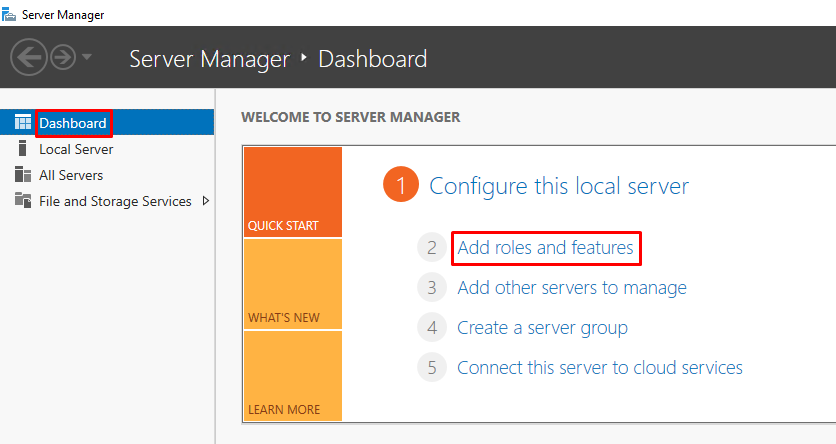
Click on
NextunderBefore you begin.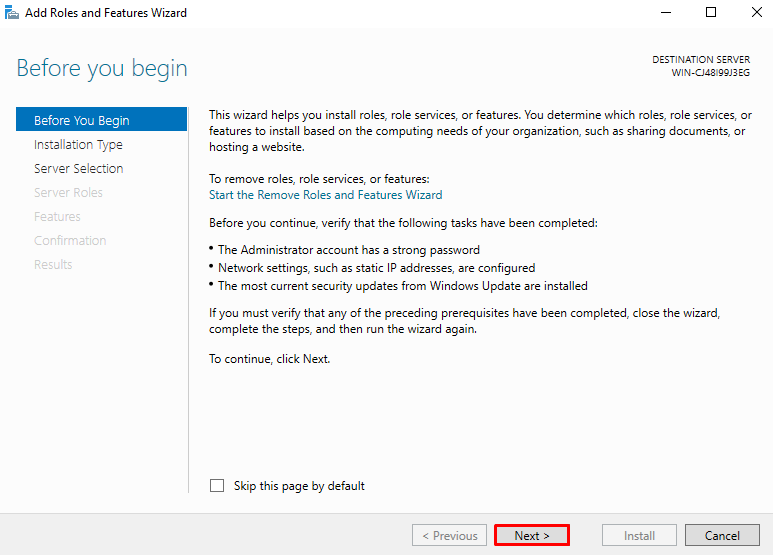
Now select
Role-based or feature-based installationand click onNext.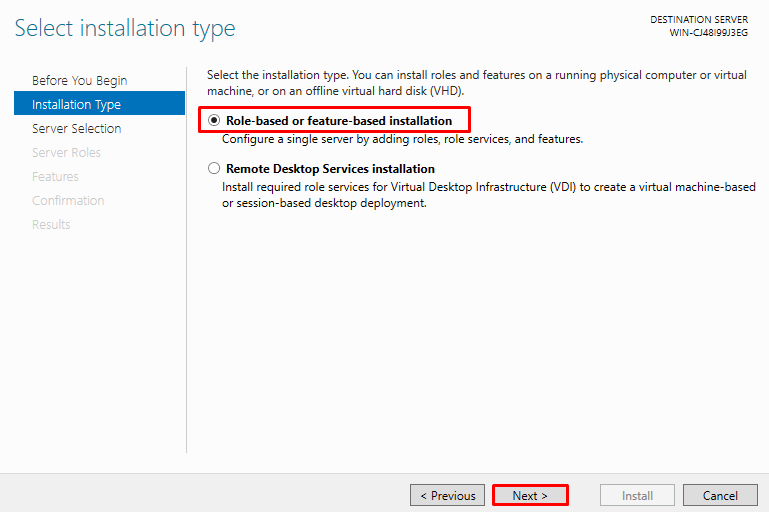
Select the server and click on
Next.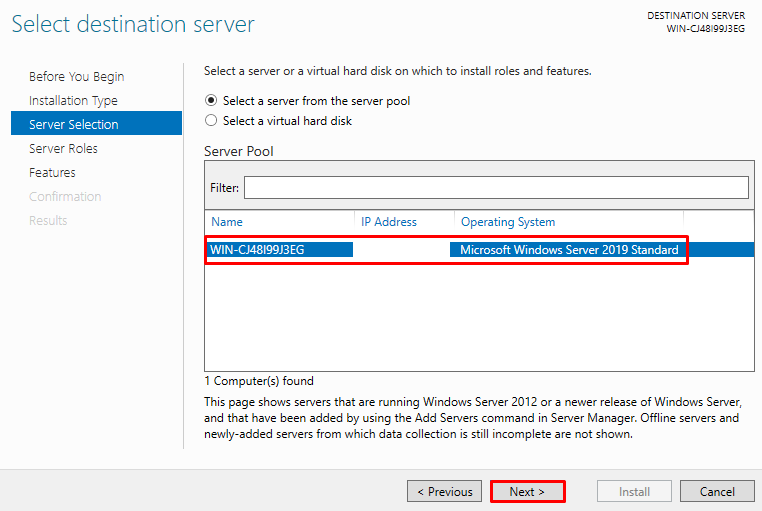
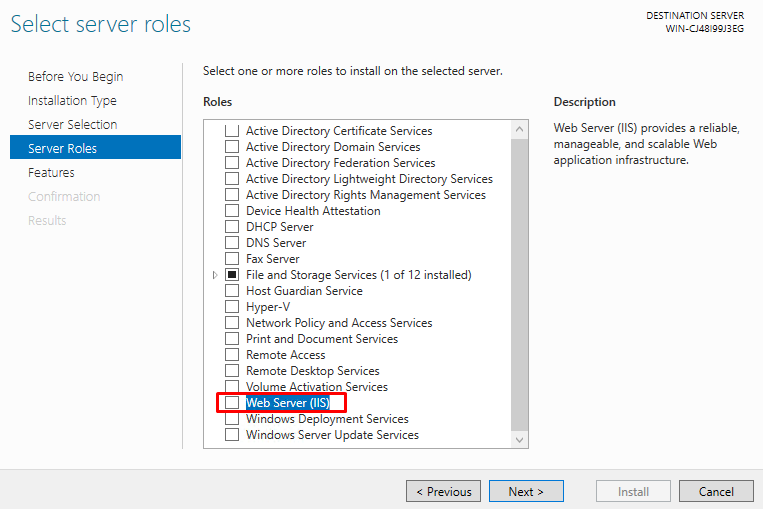
Now check the Web Server (IIS) role as shown in the below image.
Click
Add featuresunderAdd Roles and Feature Wizard.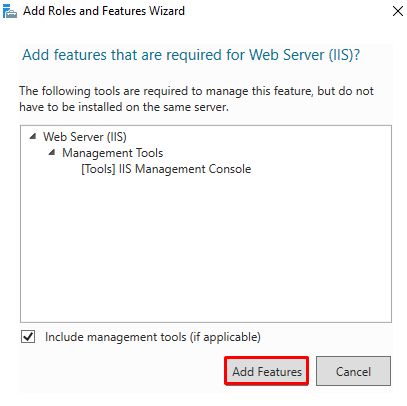
Once it is done, then click on
Next. By default NET Framework 4.7 should be selected, you may not need to check any box in the feature option and only need to click onNext.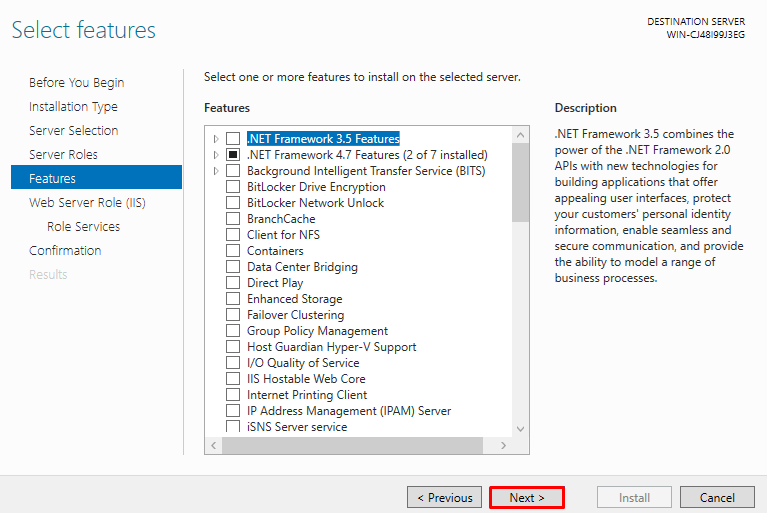
Click on
NextunderWeb Server Role (IIS).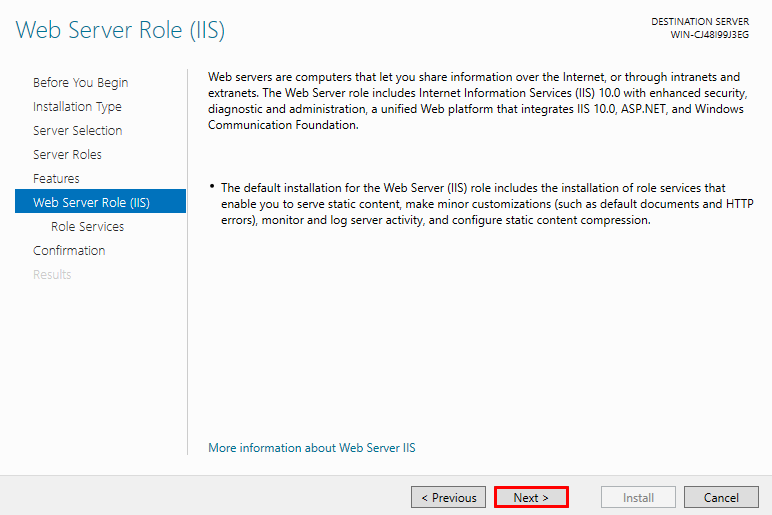
From
Role Servicespage, selectFTP serverand then selectFTP service&FTP Extensibilityas shown in the below image and clickNext.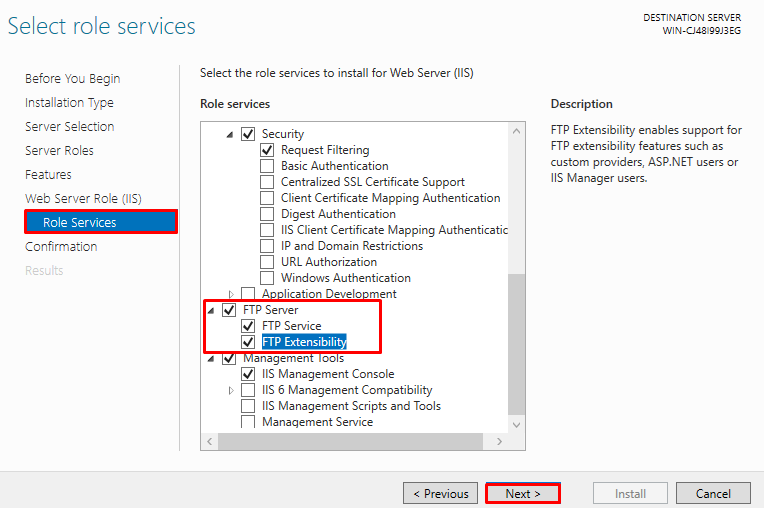
Now confirm the installation selections and click on
Installbutton once it is confirmed.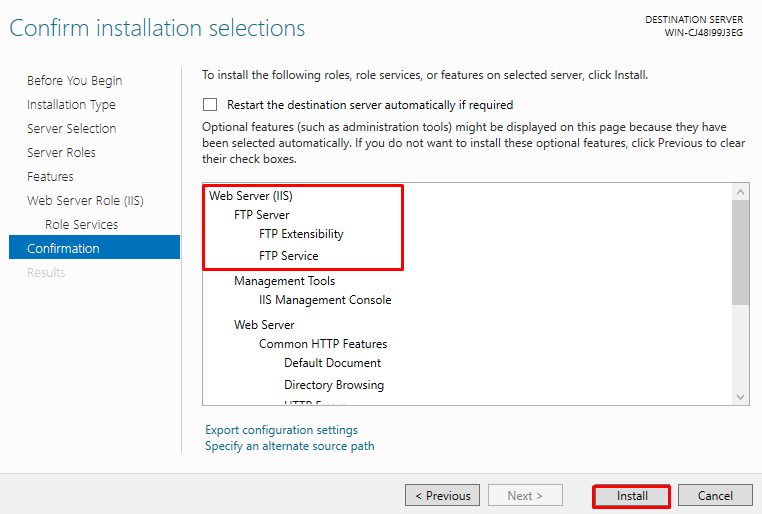
Once it is completed successfully, you will get the message installation succeeded on
server nameas mentioned in the below image.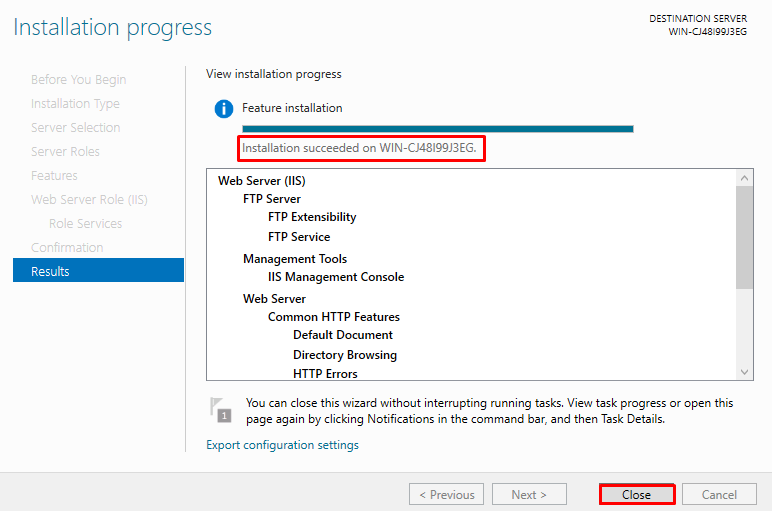
The installation of the FTP server on Windows 2019 is completed and now click on the close button mentioned in the above image.
Adding FTP Site on Windows server
Once the FTP server has been installed, the FTP Site can be added to the server for the purpose of transferring files to the server through FTP.
Assuming that a local user account exists in the server, the FTP Site can be added to the server by following the below steps.
NOTE: The local user account that is used in the context of this guide is
lsuser, which is a part of the defaultUsersgroup.
Step One: Creating folder for FTP site
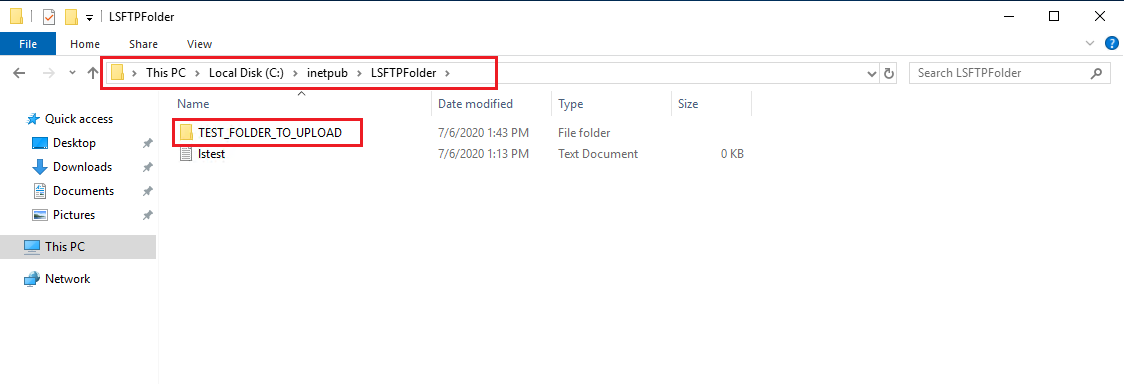
The default FTP root folder is located at C:\inetpub\ftproot. For the FTP Site, create a new folder under C:\inetpub\. In the context of this guide, the folder named LSFTPFolder has been created.

Once the folder has been created, the required permissions are to be assigned for the folder so that FTP can read from it.
Right-click on the folder and click on
Properties.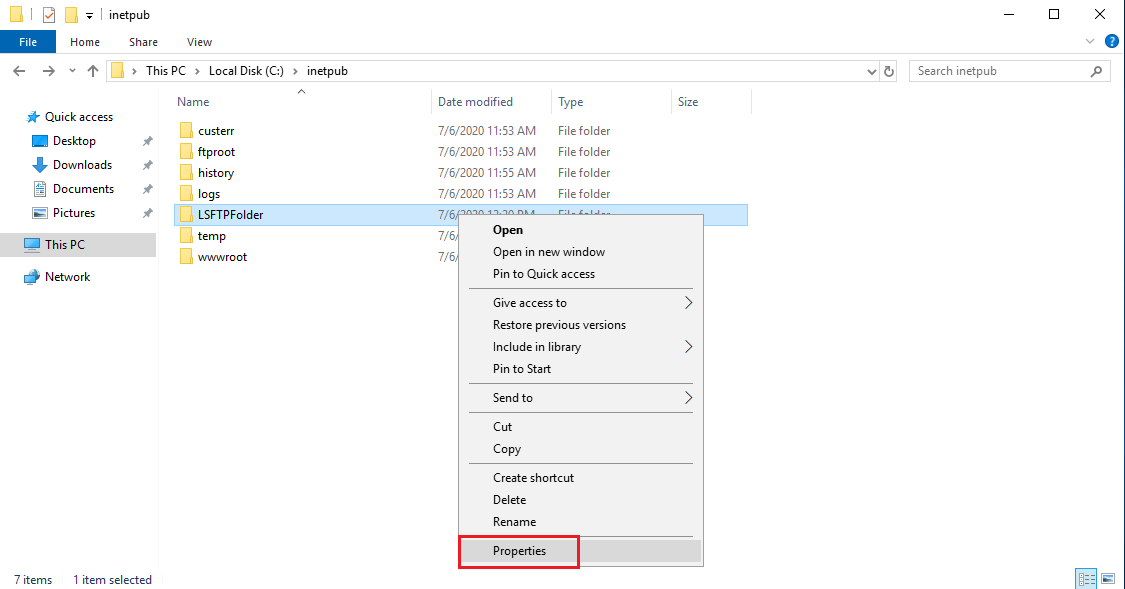
Click on the
Securitytab and then select the group to which the permissions to access the folder are to be assigned to and then click onEdit.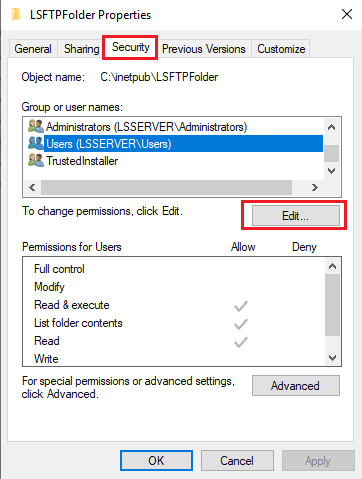
NOTE: Since the local user lsuser is a part of the Users group, it is selected in this step.
In the
Permissionswindow, make sure that theUsersgroup is highlighted and then select theFull controlcheckbox. Click onApply.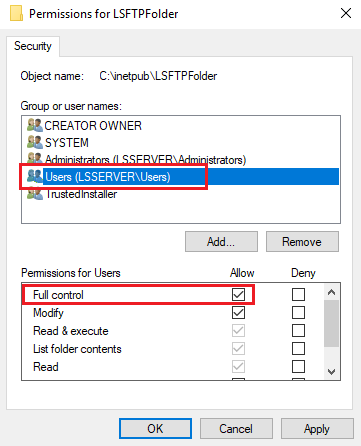
Step Two: Creating the new FTP site
The new FTP Site needs to be created from Internet Information Services (IIS) Manager. Please open this and refer to the following steps.
From the IIS Manager, expand the server name, right-click on
Sitesand then click onAdd FTP Site….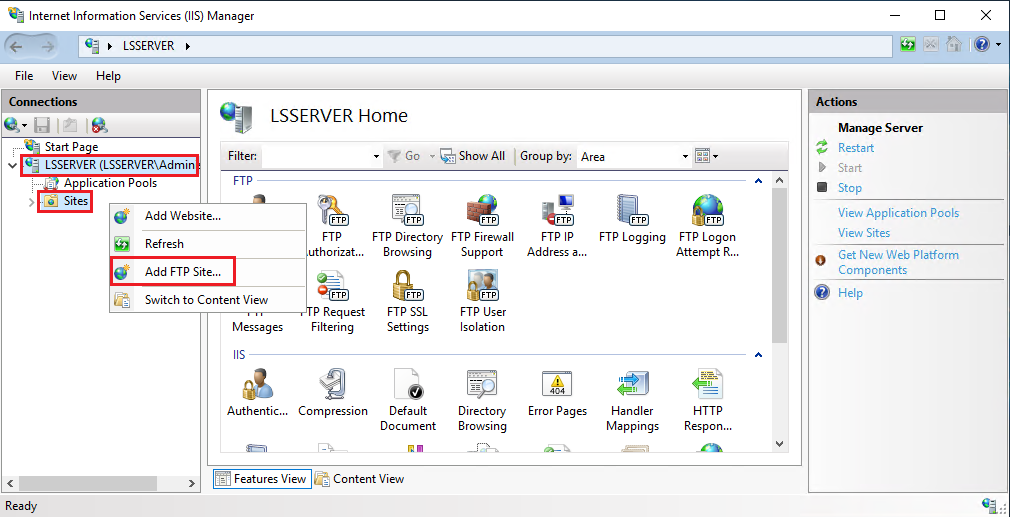
In the
Add FTP Sitewizard, type in the preferred site name in theFTP site name:field and choose the folder created in Step One as the physical path of theContent directory. Click onNextonce the folder is selected.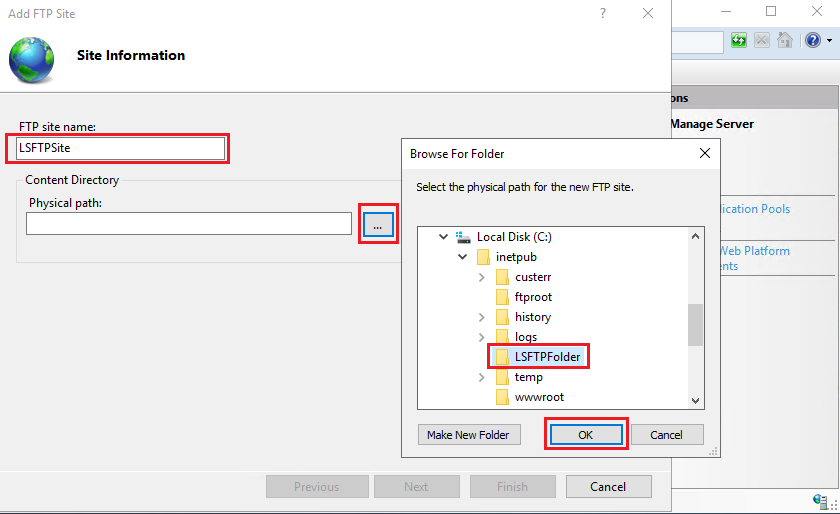
In the next window, the binding and SSL settings can be configured for the FTP Site.
The
IP Addressfield can be left as the defaultAll Unassignedvalue or the specific IP address of the server can be typed in. The port is set as21by default. Since no SSL is being used for the FTP Site, select the radio button next toNo SSLand then click onNext.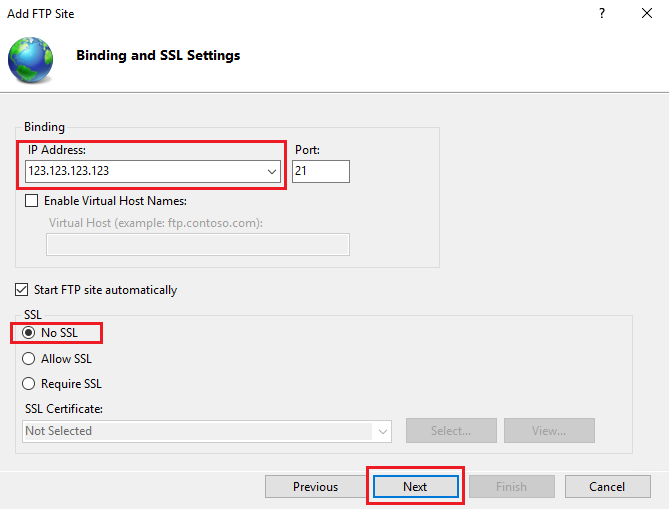
The next step involves setting up authentication and authorization settings for the FTP Site.
Select
Basicauthentication and then from underAuthorizationdrop-down, selectSpecified roles or user groupsto which access to the FTP site needs to be allowed.Since the local user account is a part of the
Usersgroup, type inUsersin the empty field, select the check-boxes next toReadandWrite, and then click onFinishto complete the setup of FTP Site.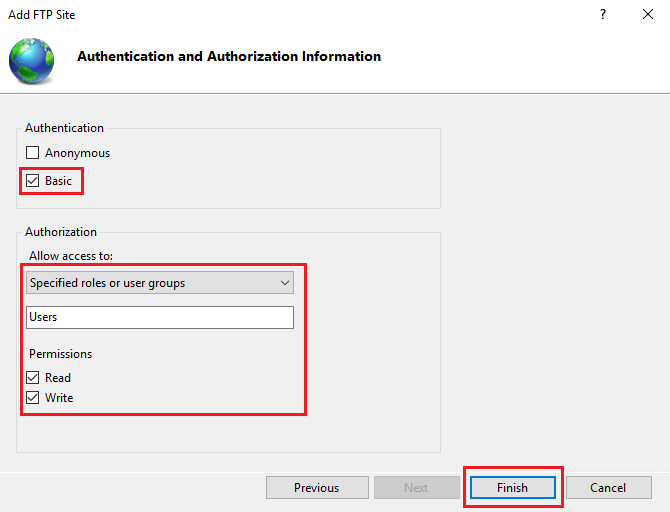
Step Three: Testing connection to FTP site
Once the FTP Site has been set up and configured, the connection to it can be tested using the FTP client such as FileZilla.
Open
FileZillaand type in the server IP address in theHost:field, the FTP local user account name in theUsername:field and the user’s password in thePassword:field.Port can be left empty and the default FTP port will be considered. Click on
Quickconnect.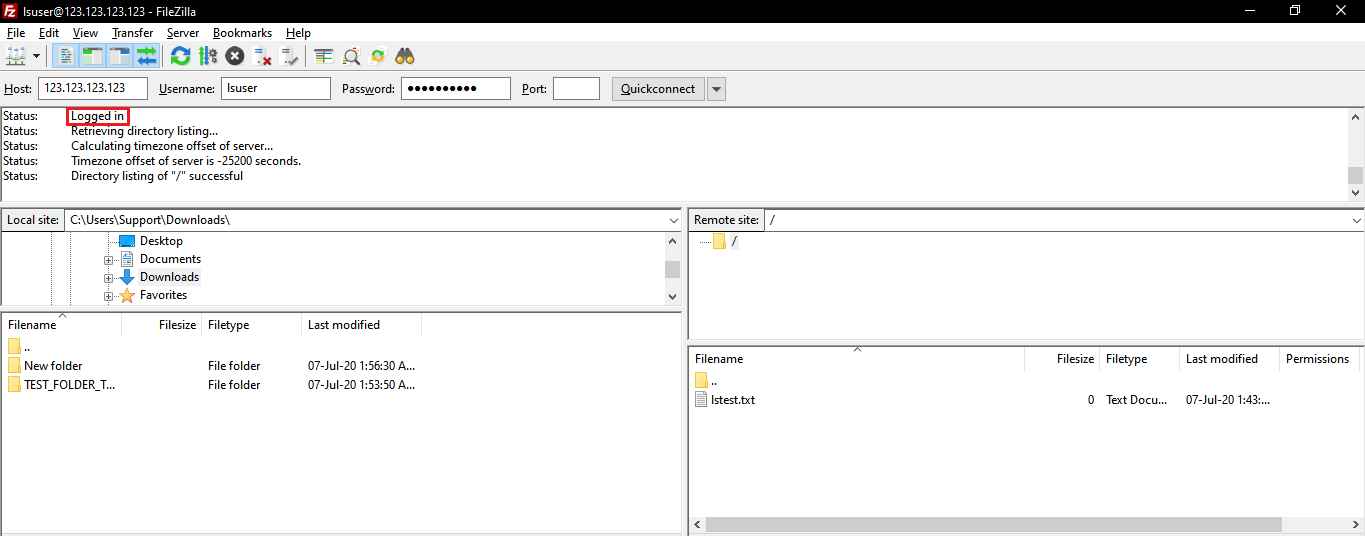
Files/Folders can now be uploaded to the FTP site using the FTP client.
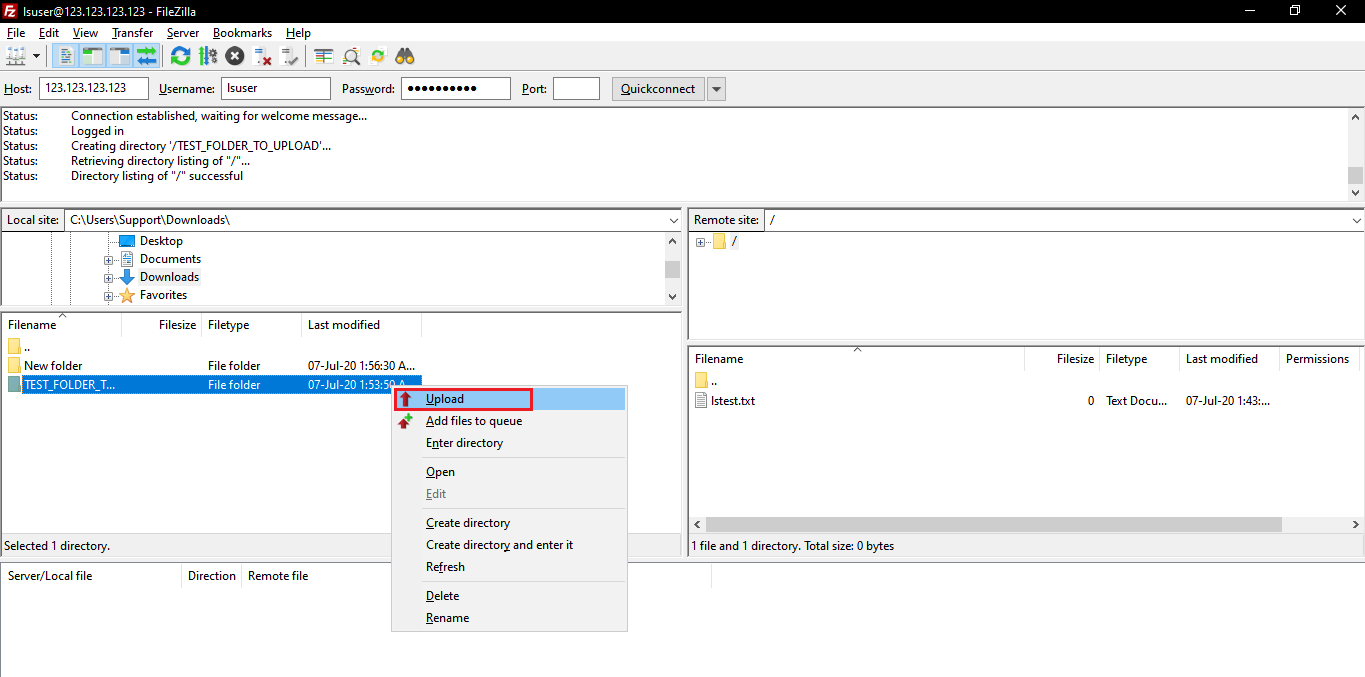
Once uploaded, the assigned folder of the FTP Site can be accessed to verify and confirm that the contents have been successfully uploaded.