Config Server Firewall (CSF) is a popular security tool for Linux that comes with multiple features such as a stateful packet inspection firewall (SPI), intrusion detection, a login failure daemon, DDOS protection, and control panel integration.
This guide will describe the installation, basic configuration, and important commands for CSF on Ubuntu 20.04 LTS server. Please take SSH access to the Ubuntu server as root or a sudo user for running the steps.
Prepare the Ubuntu server for the CSF Installation
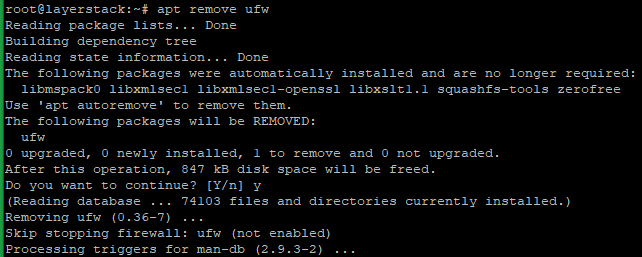
Run the below command to remove the UFW Firewall which is installed on Ubuntu 20.04 by default.
# apt remove ufw
Install the CSF dependencies and Sendmail to send alerts to the administrator.
# apt install perl zip unzip libwww-perl liblwp-protocol-https-perl
# apt install sendmail-bin
Initiate the CSF Installation
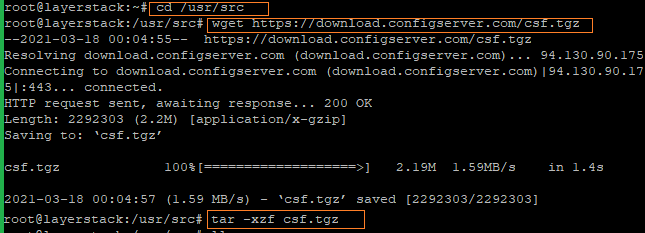
Change the directory on the cloud server to /usr/src and download the CSF distribution, then extract CSF.
# cd /usr/src

# wget https://download.configserver.com/csf.tgz

# tar -xzf csf.tgz
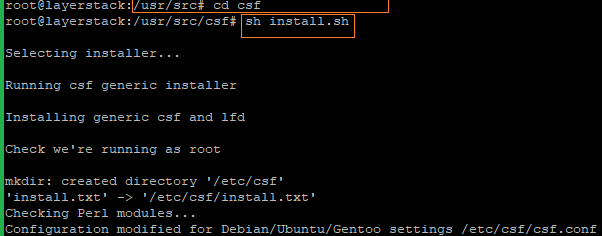
Change to /usr/src/csf and install the script.
# cd csf

# sh install.sh
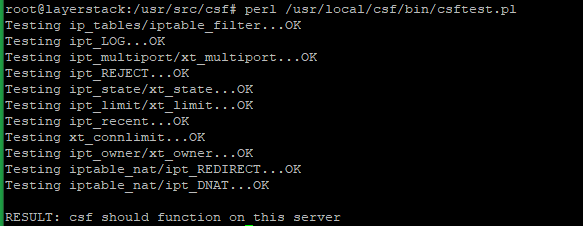
Run the below command to verify the required iptables modules for CSF are available. You may confirm that all tests report OK and the result will be the same as in the image below.
# perl /usr/local/csf/bin/csftest.pl
Verify the CSF status with the below command once installation is completed.
# csf -v

Start CSF Configuration
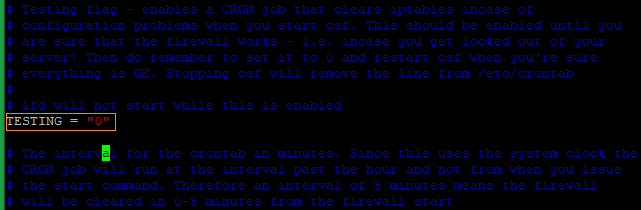
First edit the /etc/csf/csf.conf to disable the TESTING mode. By default, CSF runs in TESTING mode.
# vi /etc/csf/csf.conf
Locate the line TESTING = 1 and change the value to 0 as in the below image.
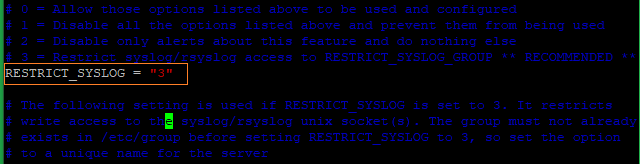
Locate the line RESTRICT_SYSLOG = "0", and change the value to 3 to set the access of syslog/rsyslog files for only the members of the RESTRICT_SYSLOG_GROUP.
Save the configuration file and then stop and reload CSF with the below command.
# csf -ra

Important CSF Commands & Configuration
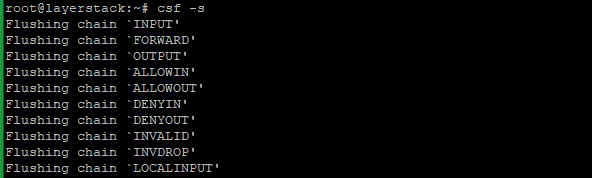
Start CSF tool.
# csf -s
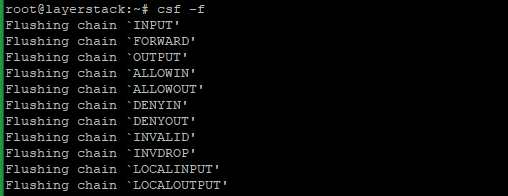
Stop/Flush CSF tool.
# csf -f
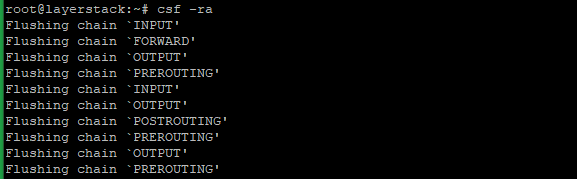
Restart CSF tools.
# csf -ra
Edit /etc/csf/csf.conf to allow IP traffic by port.
# vi /etc/csf/csf.conf
Locate the lines shown in the below image and add the required ports.

Restart CSF for the changes to take effect.
# csf -ra

Deny by IP address.
# csf -d 123.123.123.123

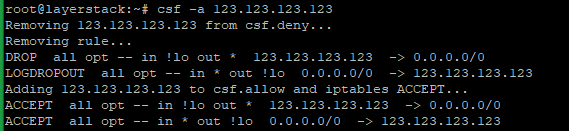
Allow by IP address.
# csf -a 123.123.123.123
Remove IP from the allow list.
# csf -ar 123.123.123.123

Remove IP from the deny list.
# csf -dr 123.123.123.123

Block IP addresses by adding an entry to /etc/csf/csf.deny.

Add trusted IP addresses to /etc/csf/csf.allow.

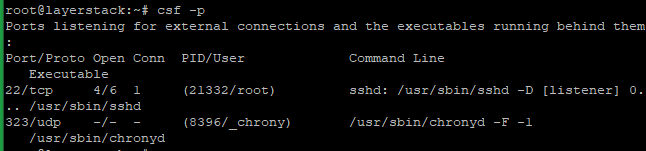
Check ALL listening ports.
# csf -p