Memcached is an open-source, high-performance, distributed memory object caching system. Its simple design promotes quick deployment, ease of development, and solves many problems facing large data caches. Its API is available for most popular languages.
Memcached serves a large hash table distributed across multiple machines. It is used for speeding up dynamic web applications by reducing database load. Memcached reduces the load by storing data objects in dynamic memory. Memcached stores data based on key-values for small arbitrary strings or objects including:
- API calls
- Page rendering
- Result of API calls
This tutorial provides step by step process of installation of Memcached in Ubuntu 20.04.
Installation of Memcached
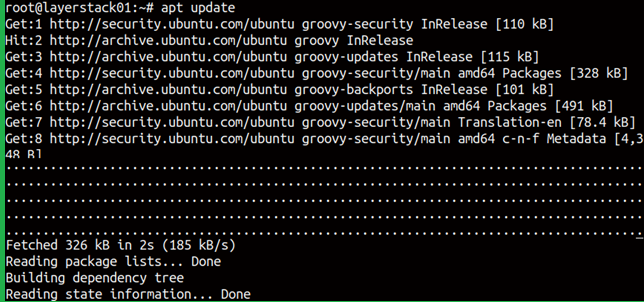
Run a repository update as a primary step prior to the installation.
# apt update
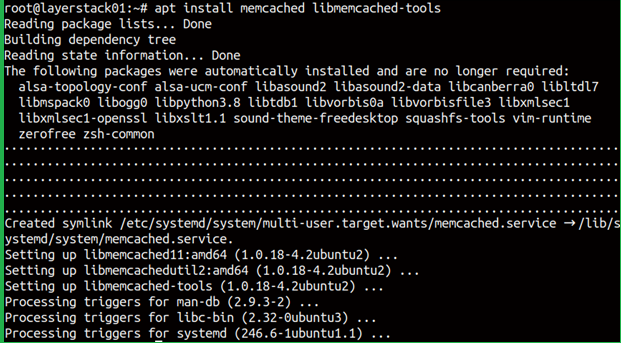
Now CLI toolkit of the Memcached is to be installed even though it is optional, it is highly recommended. Run the following command.
# apt install memcached libmemcached-tools
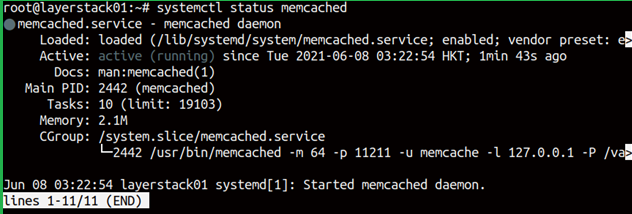
Once done, run the status check by running the following command.
# systemctl status memcached
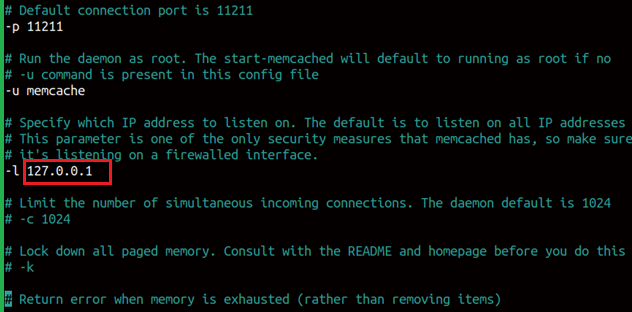
Configuration of Memcached
Edit the configuration file /etc/memcached.conf. Open the file using nano editor and one setting that you can change is the default IP address 127.0.0.1, which Memcached listens on. You can specify the server IP address listening by editing the following line in the config file.
Once the server IP has been entered, save the file and exit.
To reflect the changes, disable and enable the Memcached daemon using the following commands.
# systemctl stop Memcached

# systemctl start Memcached

# systemctl enable memcached

Final step to allow port number 11211 through UFW for allowing Memcached port number.
# ufw allow from 127.0.0.1 to any port 11211

NOTE: Replace the IP address with the original IP address if you have changed the configuration file.
