How to install Apache Guacamole on Ubuntu and Debian Cloud Servers
Apache Guacamole is an open-source web application that enables users to access their remote desktops or applications from anywhere with an internet connection. It provides this access through a web browser without requiring any special software or plugins.
The project is maintained by the Apache Software Foundation and is released under the Apache License 2.0. Guacamole supports a variety of remote desktop protocols, including VNC, RDP, SSH, and Telnet, allowing users to connect to a wide range of remote machines, including Windows, Linux, and macOS.
In addition to its core functionality, Guacamole also supports plugins, which can be used to add new features and extend its capabilities. There are many third-party plugins available for Guacamole, including ones that provide support for additional protocols, advanced authentication options, and integration with other systems.
Overall, Apache Guacamole is a powerful and flexible tool for providing remote access to desktops and applications, with a strong focus on security and ease of use.
Here are the steps to install Apache guacamole on Ubuntu 20.04.
Step 1: Update server and Install dependencies and repositories
Add the following
repositoryto the Linux server.# add-apt-repository ppa:remmina-ppa-team/remmina-next-daily
Update the Linux server.
# apt update && apt upgrade -y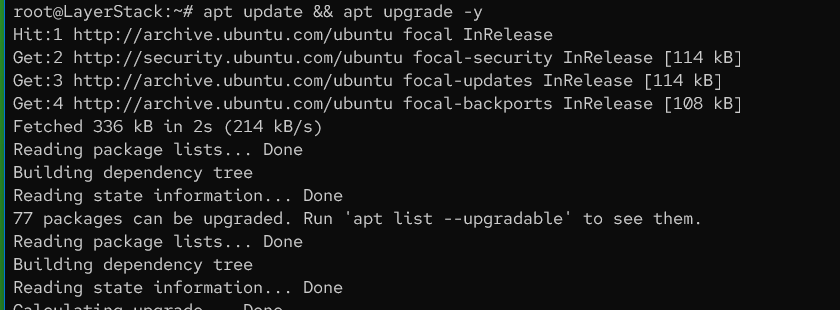
Install
dependenciesfor the server.# apt install -y gcc vim curl wget g++ libcairo2-dev libjpeg-turbo8-dev libpng-dev libtool-bin libossp-uuid-dev libavcodec-dev libavformat-dev libavutil-dev libswscale-dev build-essential libpango1.0-dev libssh2-1-dev libvncserver-dev libtelnet-dev libpulse-dev libssl-dev libvorbis-dev libwebp-dev libwebsockets-dev ubuntu-desktop-minimal freerdp2-dev freerdp2-x11 xrdp -y
Step 2: Install Apache Tomcat and Dependencies
Install
Java.# apt install openjdk-11-jdk
Check the Java version.
# java --version
Create a new
Tomcat system user.# useradd -m -U -d /opt/tomcat -s /bin/false tomcat
Download
Apache Tomcat.# wget https://downloads.apache.org/tomcat/tomcat-9/v9.0.71/bin/apache-tomcat-9.0.71.tar.gz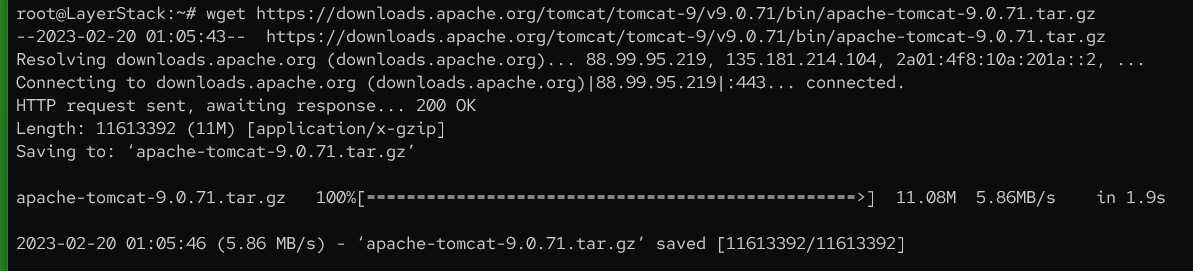
Extract the tomcat application into the
/opt/tomcat/directory.# tar -xzf apache-tomcat-*.tar.gz -C /opt/tomcat/
Rename the directory
/opt/tomcat/apache-tomcat-to the directory/opt/tomcat/tomcatapp.# mv /opt/tomcat/apache-tomcat-*/ /opt/tomcat/tomcatapp
Change the ownership of the
/opt/tomcatdirectory and all of its contents recursively to the usertomcatand the grouptomcat.# chown -R tomcat: /opt/tomcat
Find all files with the
.shextension in the/opt/tomcat/tomcatapp/bin/directory (and its subdirectories), and set their permissions to be executable.# find /opt/tomcat/tomcatapp/bin/ -type f -iname "*.sh" -exec chmod +x {} \;
Add the Tomcat
systemdfile.# vim /etc/systemd/system/tomcat.service
Add the below script to the
tomcat.servicefile:[Unit] Description=Tomcat 9 servlet container After=network.target [Service] Type=forking User=tomcat Group=tomcat Environment="JAVA_HOME=/usr/lib/jvm/java-11-openjdk-amd64" Environment="JAVA_OPTS=-Djava.security.egd=file:///dev/urandom -Djava.awt.headless=true" Environment="CATALINA_BASE=/opt/tomcat/tomcatapp" Environment="CATALINA_HOME=/opt/tomcat/tomcatapp" Environment="CATALINA_PID=/opt/tomcat/tomcatapp/temp/tomcat.pid" Environment="CATALINA_OPTS=-Xms512M -Xmx1024M -server -XX:+UseParallelGC" ExecStart=/opt/tomcat/tomcatapp/bin/startup.sh ExecStop=/opt/tomcat/tomcatapp/bin/shutdown.sh [Install] WantedBy=multi-user.target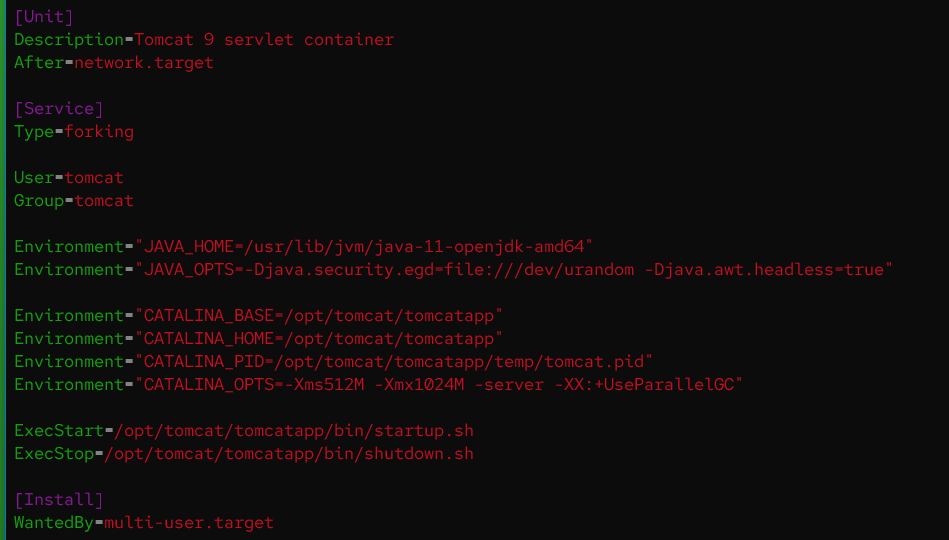
Reload the
daemon.# systemctl daemon-reload
Start and enable the
Apache Tomcat service.# systemctl enable --now tomcat
Check the
tomcat.servicestatus.# systemctl status tomcat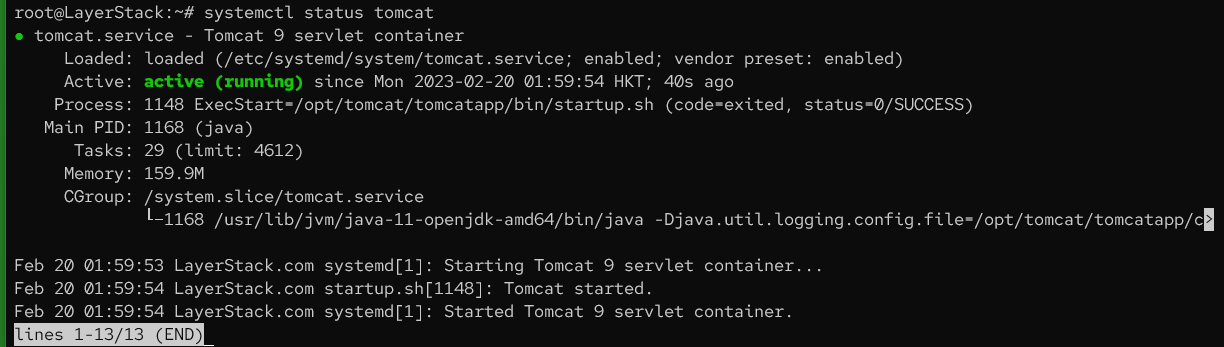
Step 3 : Installing Apache Guacamole server
Download the
Guacamole server.# wget https://apache.org/dyn/closer.lua/guacamole/1.4.0/source/guacamole-server-1.4.0.tar.gz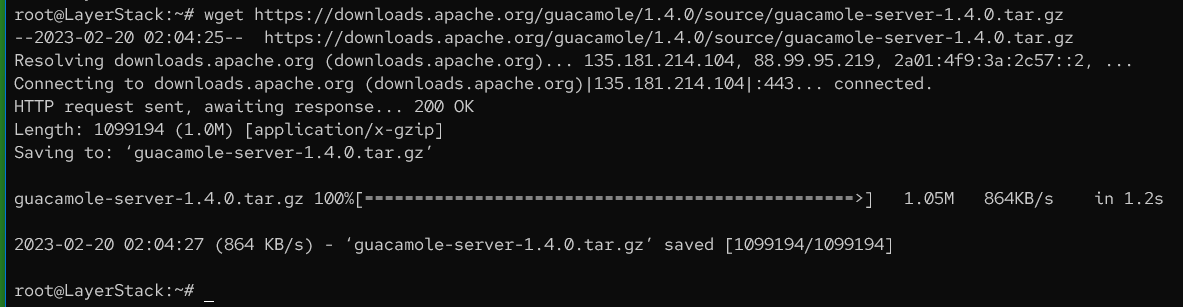
Extract the
compressed file.# tar -xzf guacamole-server-1.4.0.tar.gz
Change the directory to
guacamole-server-1.4.0/.# cd guacamole-server-1.4.0/
Execute the
./configure scriptalong with the--with-init-dir=/etc/init.doption, and instruct the configure script to utilize the/etc/init.ddirectory as the designated location for the system initialization scripts generated during the installation process../configure --with-init-dir=/etc/init.d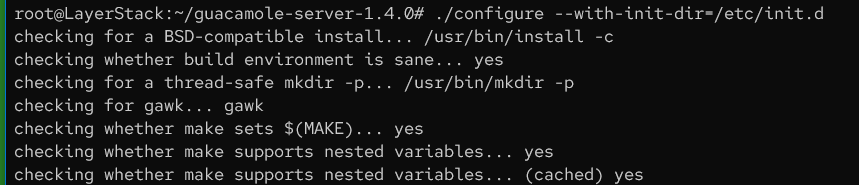
Run the
makeandmake installcommands.# make && make install
To ensure that the latest shared libraries in the Guacamole server directory are used, execute the
ldconfigcommand, which creates the necessary links and cache.# ldconfig
Create a directory in
/etc/for the Apache Guacamole configuration file.# mkdir /etc/guacamole
Create a
guacd.confconfiguration file.# vim /etc/guacamole/guacd.conf
Add the below script to the file.
[daemon]
pid_file = /var/run/guacd.pid
#log_level = debug

[server]
#bind_host = localhost
bind_host = 127.0.0.1
bind_port = 4822

#[ssl]
#server_certificate = /etc/ssl/certs/guacd.crt
#server_key = /etc/ssl/private/guacd.key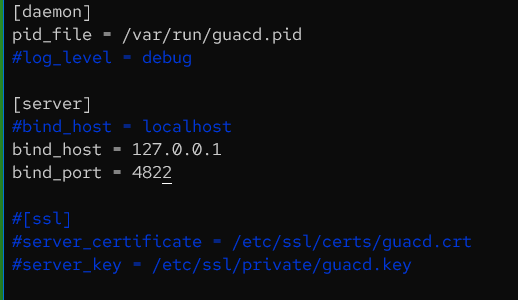
Reload the
daemon.# systemctl daemon-reload
Start and enable the
Apache Guacamoleservice.# systemctl start guacd # systemctl enable guacd
Check the status of the Guacamole server.
# systemctl status guacd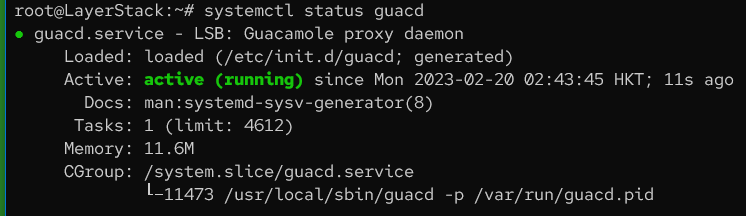
Step 4: Installing the Guacamole Web Application
Download the Guacamole web application.
# wget https://archive.apache.org/dist/guacamole/1.4.0/binary/guacamole-1.4.0.war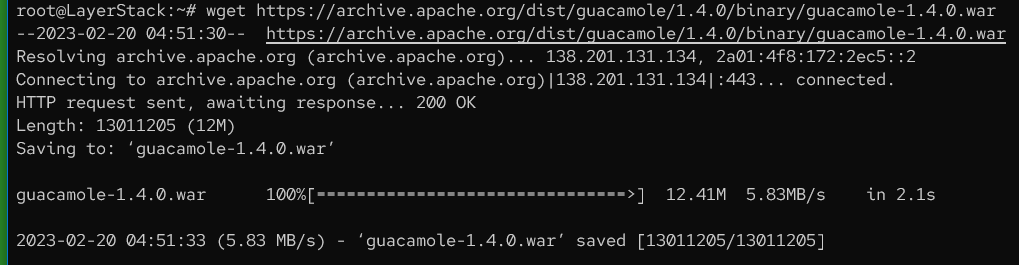
Move
guacamole-1.5.0.warto a directory named/etc/guacamole/, and rename it toguacamole.war.# mv ~/guacamole-1.4.0.war /etc/guacamole/guacamole.war
Create a symbolic link in the
/opt/tomcat/tomcatapp/webappsdirectory calledguacamole.warthat points to the file/etc/guacamole/guacamole.war.# ln -s /etc/guacamole/guacamole.war /opt/tomcat/tomcatapp/webapps
Add a new line to the end of the
/etc/default/tomcatfile, which sets the environment variable GUACAMOLE_HOME to the directory/etc/guacamole.# echo "GUACAMOLE_HOME=/etc/guacamole" | sudo tee -a /etc/default/tomcat
Add a new line to the end of the
/etc/profile file, which sets the environment variable GUACAMOLE_HOME to the directory/etc/guacamole.# echo "export GUACAMOLE_HOME=/etc/guacamole" | sudo tee -a /etc/profile
Create a
/etc/guacamole/guacamole.propertiesconfig file.# vim /etc/guacamole/guacamole.properties
Add the following to the
guacamole.propertiesconfig file.guacd-hostname: localhost guacd-port: 4822 user-mapping: /etc/guacamole/user-mapping.xml auth-provider: net.sourceforge.guacamole.net.basic.BasicFileAuthenticationProvider
Create a symbolic link in the
/opt/tomcat/tomcatappdirectory calledguacamolethat points to the directory/etc/guacamole.# ln -s /etc/guacamole /opt/tomcat/tomcatapp/.guacamole
Change the ownership of the
/opt/tomcatdirectory and its contents to the usertomcatand the default group oftomcat.# chown -R tomcat: /opt/tomcat
Set up Guacamole Authentication using
OpenSSLto generate anMD5 hashof the string.For example: Here the password we use is
layerstackpassword.# echo -n layerstackpassword | openssl md5
Copy the output.
Create the
user-mapping.xmlfile.# vim /etc/guacamole/user-mapping.xml
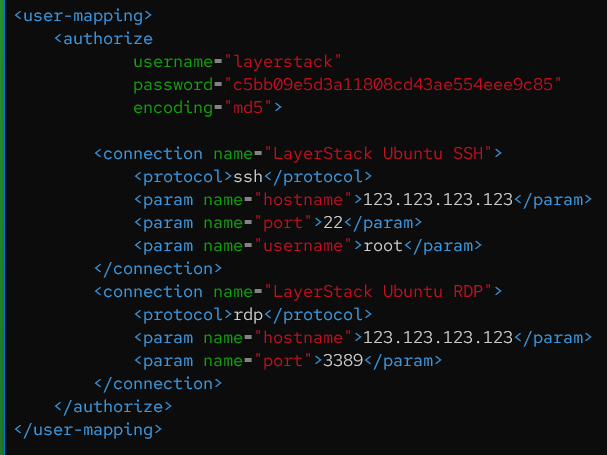
Add your custom
usernameand copiedencrypted passwordon the marked field.Restart the
Apache TomcatandGuacamoleserver.# systemctl restart tomcat guacd
Make sure all
TomcatandGuacamoleservices are running.# systemctl status tomcat guacd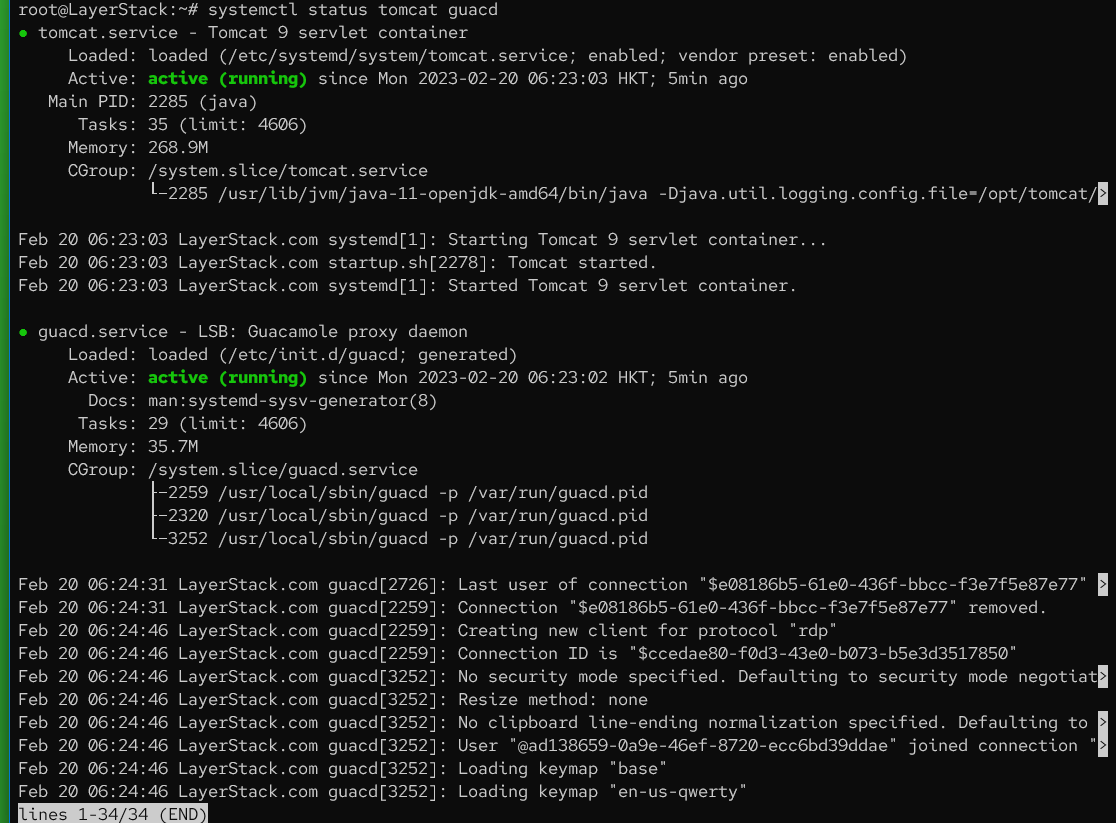
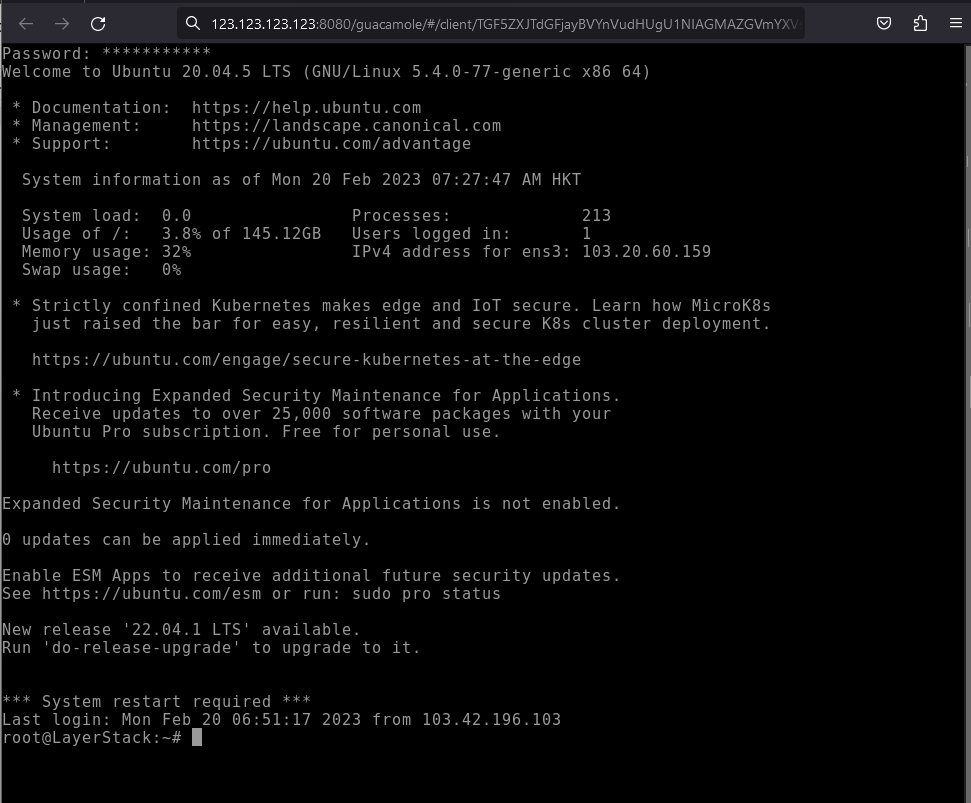
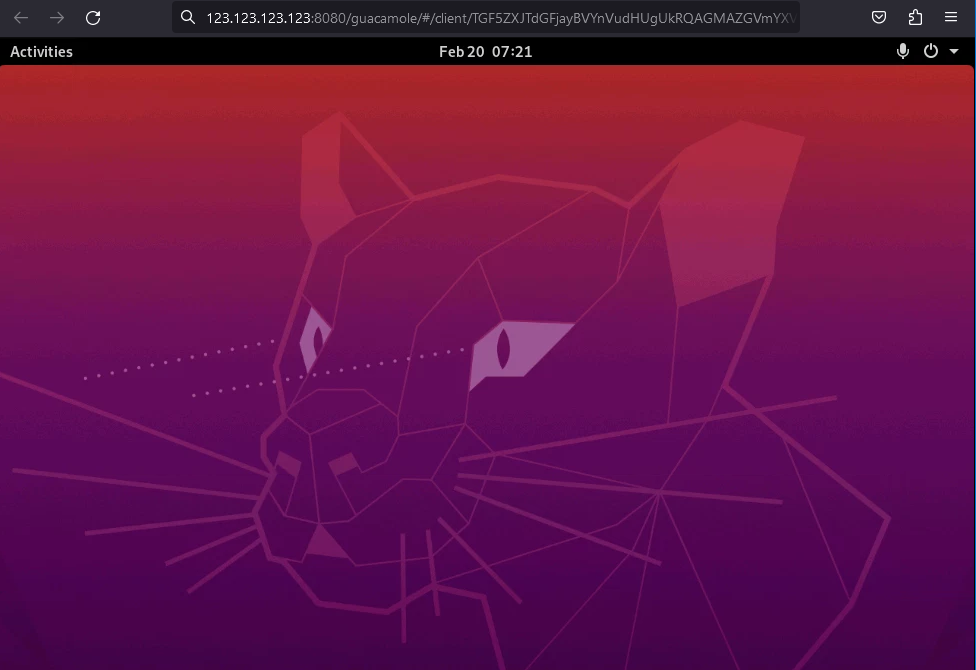
Step 5 : Accessing Apache Guacamole through browser
Access webpage
http://<server__ip_ address="" or=""domain="" name:8080="" guacamole="" #=""="" through="" web="" browser.="" ="" 2.="" select=""ubuntu="" rdp.="" ="" 3.="" use="" the="" server=""root="" password="" to="" log="" in.="" ="" <br="">Desktop Screen:
Likewise use
Ubuntu SSHto log in to the server through SSH.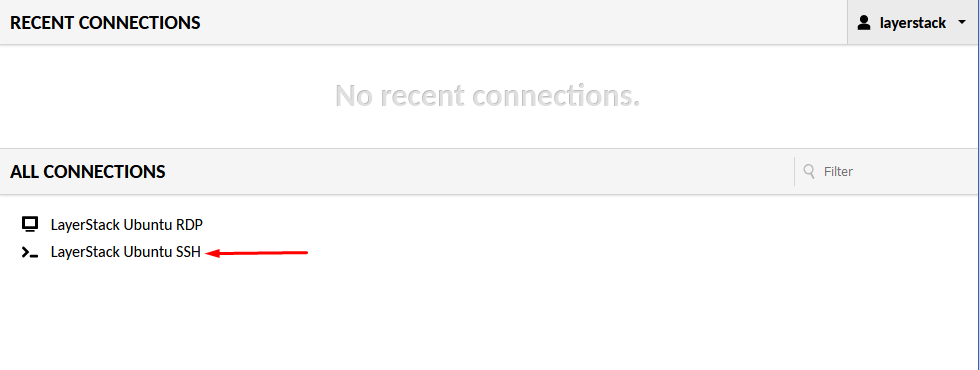
Use root password to proceed:

SSH Terminal: