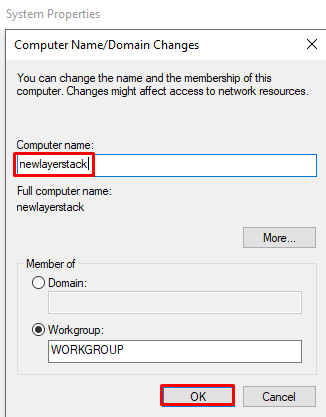
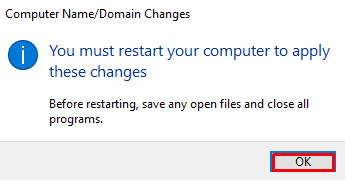
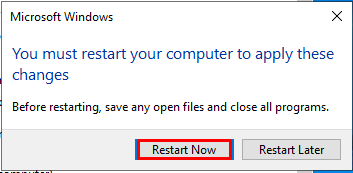
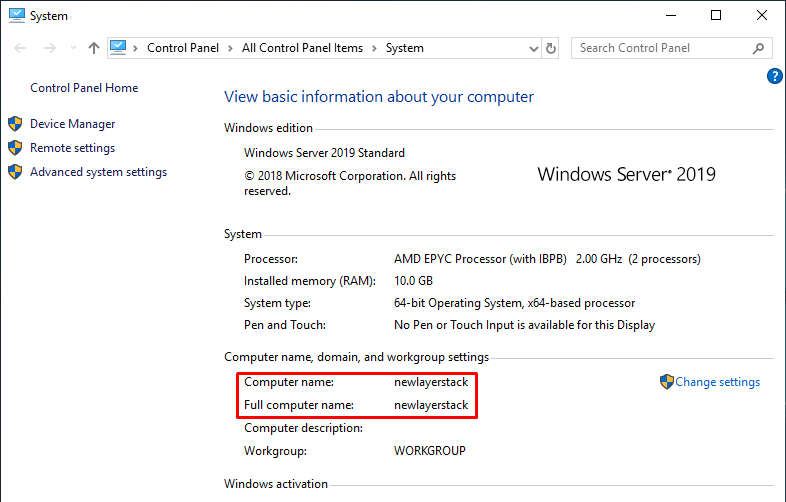
How to change Hostname / Computer's name on Windows Cloud Servers

2020-06-10 By Robert 3643 Views windows hostname networking
1 reviews

A hostname is used to identify a server and this is the unique name. The requirements for enabling computers to communicate with each other on a network using the concept of the hostname.


This article will guide you on how to change the hostname on the Windows server.


  1. Click on the Windows icon.

    hostnamewindows1

  2. From the new Window right-click This PC icon and then select More & Properties.

    hostnamewindows2

  3. From the new window, click Change settings.

    hostnamewindows3

  4. This will open System Properties in a new window and Click Change.

    hostnamewindows4

  5. Input the new hostname in the Computer name field and then click OK.

    hostnamewindows5

  6. A new dialog box will appear with a message that the server will need to be restarted for the changes to take effect and then click OK.

    hostnamewindows6

  7. If you are ready to restart your server, select Restart Now.

    hostnamewindows7

  8. After the restart, your Windows hostname will be updated into a new one.

    hostnamewindows8


Related Tutorial

What do you think about this article?

Rate this article
Need assistance?

Try this guide to receive free bundled services at signup on a new free account.

Sign Up

Your Feedback Is Important

We hope you’ll give the new products and updates a try. If you have an idea for improving our products or want to vote on other user ideas so they get prioritized, please submit your feedback on our Community platform. And if you have any questions, please feel free to ask in the Community or contact our Technical Support team.